Rebuilding the battery pack in an Outin Espresso Machine
I have an original Outin battery powered espresso machine. It lives in my campervan as the only time I use coffee pods as it keeps the mess down and I like something that is roughly espresso like in the morning rather than a longer style of coffee.
I've had it for a couple of years and been very happy with it. However, while at the otherwise excellent Electromagnetic Field it stopped charging. The first of the four lights came on, but no combination of charger or cable or time would make it progress. This felt like either a failed battery, or something wrong in the charging circuit itself
So, lets take it apart and see if we can see why.
Disassembly
Firstly, how do we get in it. Remove the pod / ground holder, and then the 4 rubber covers on the screws.
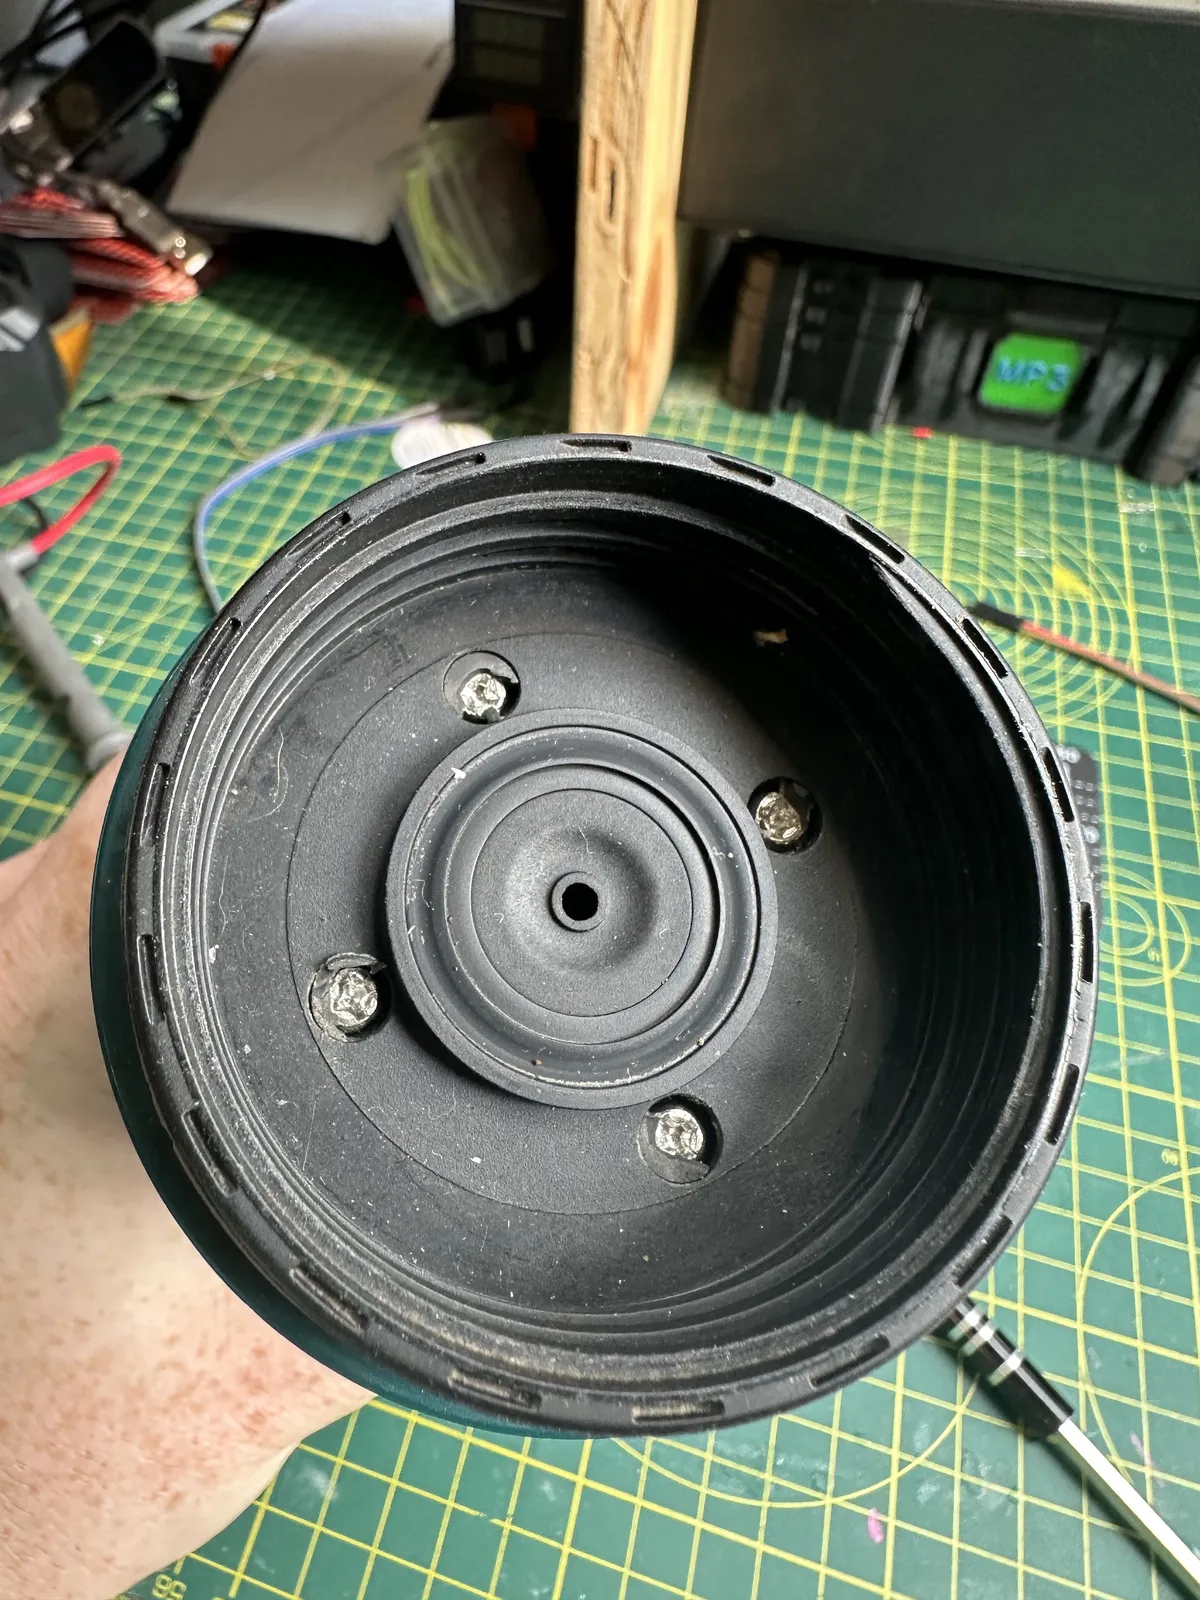
Remove the screws, then remove the next set of screws under them.
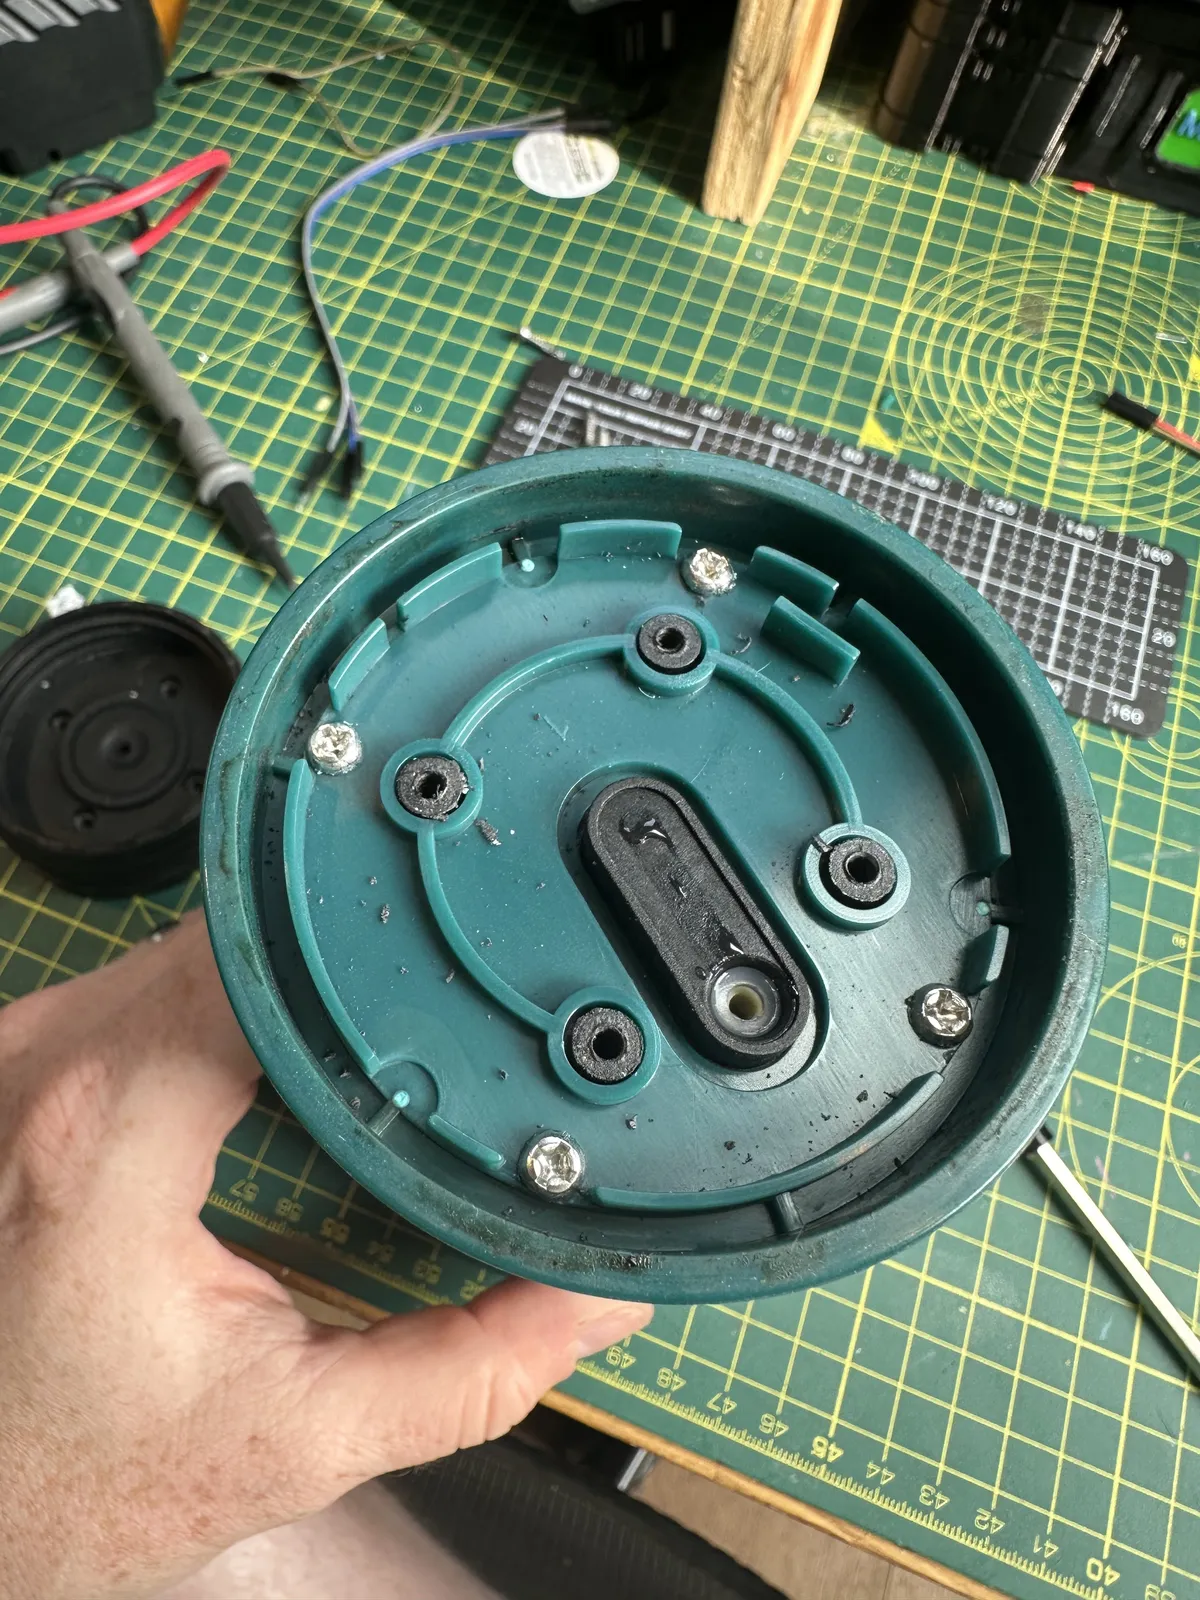
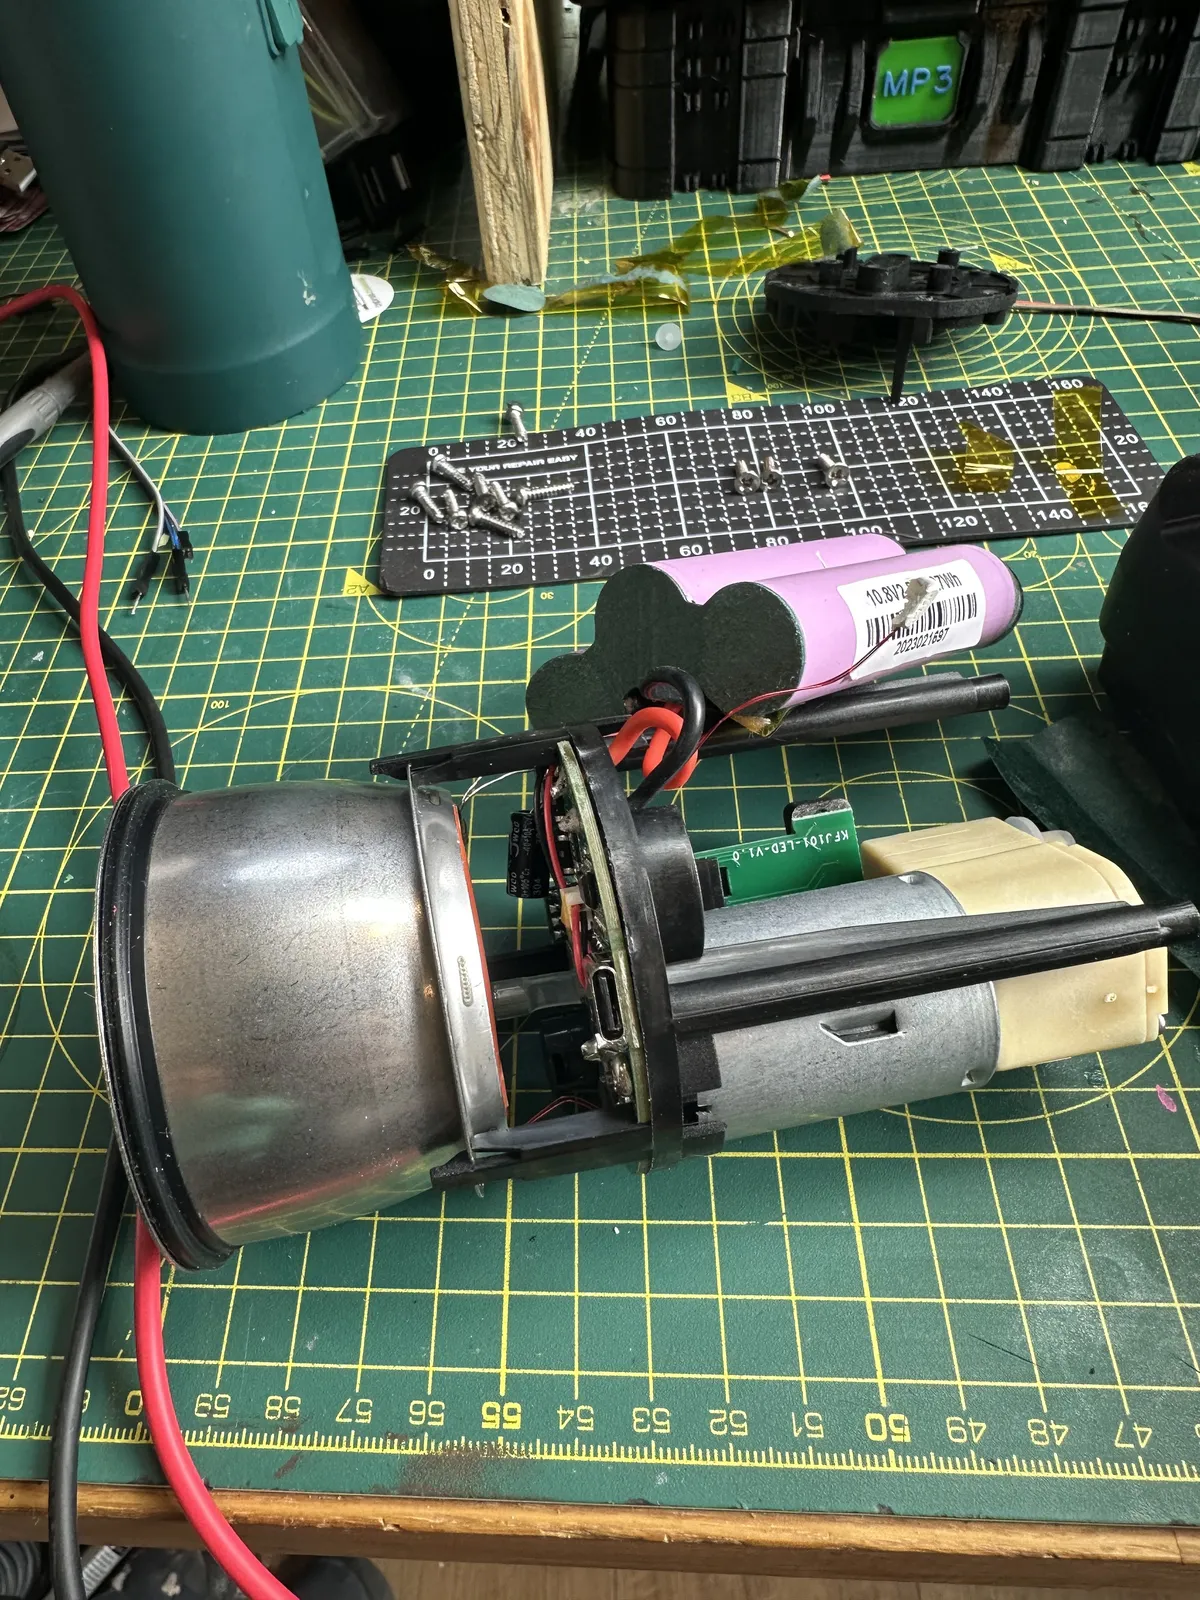
Then push on that lightly, and at the other end the water basin will pop out of the end and you can lift the whole internals free. Might take a bit of persuasion as the seals around the USBC port can catch a bit.
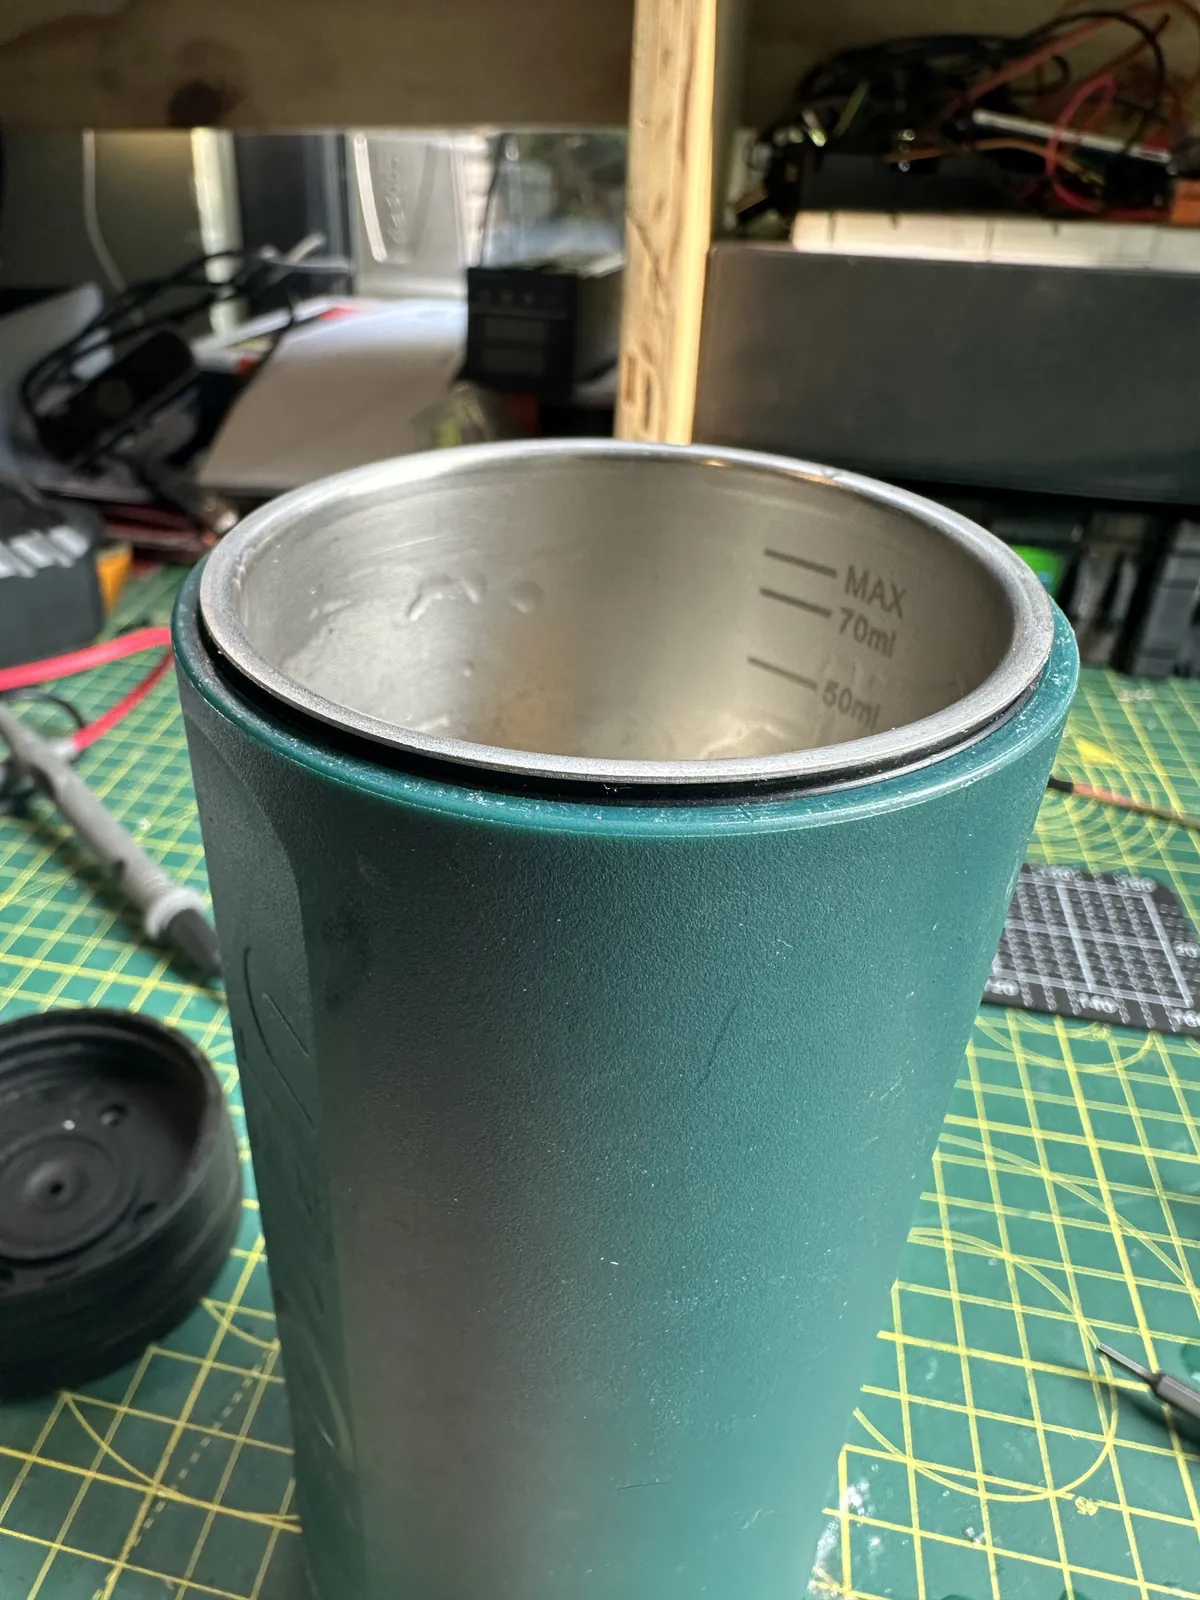
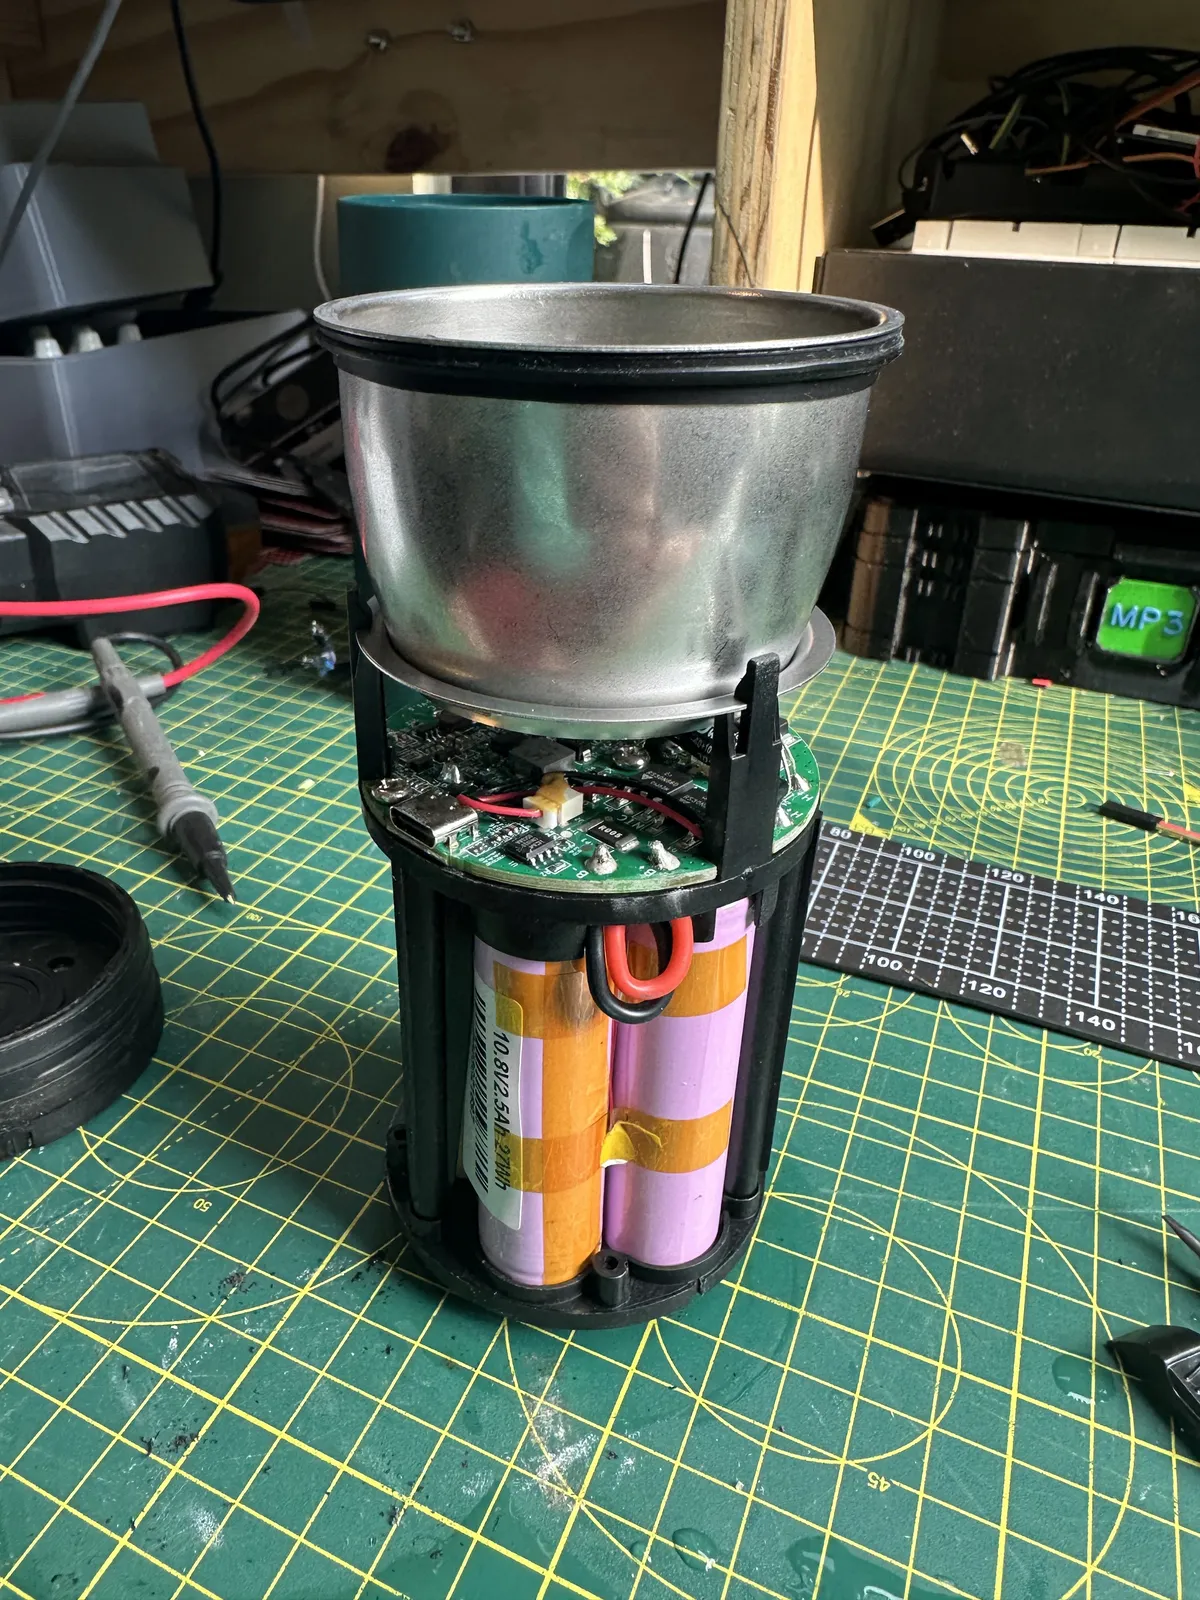
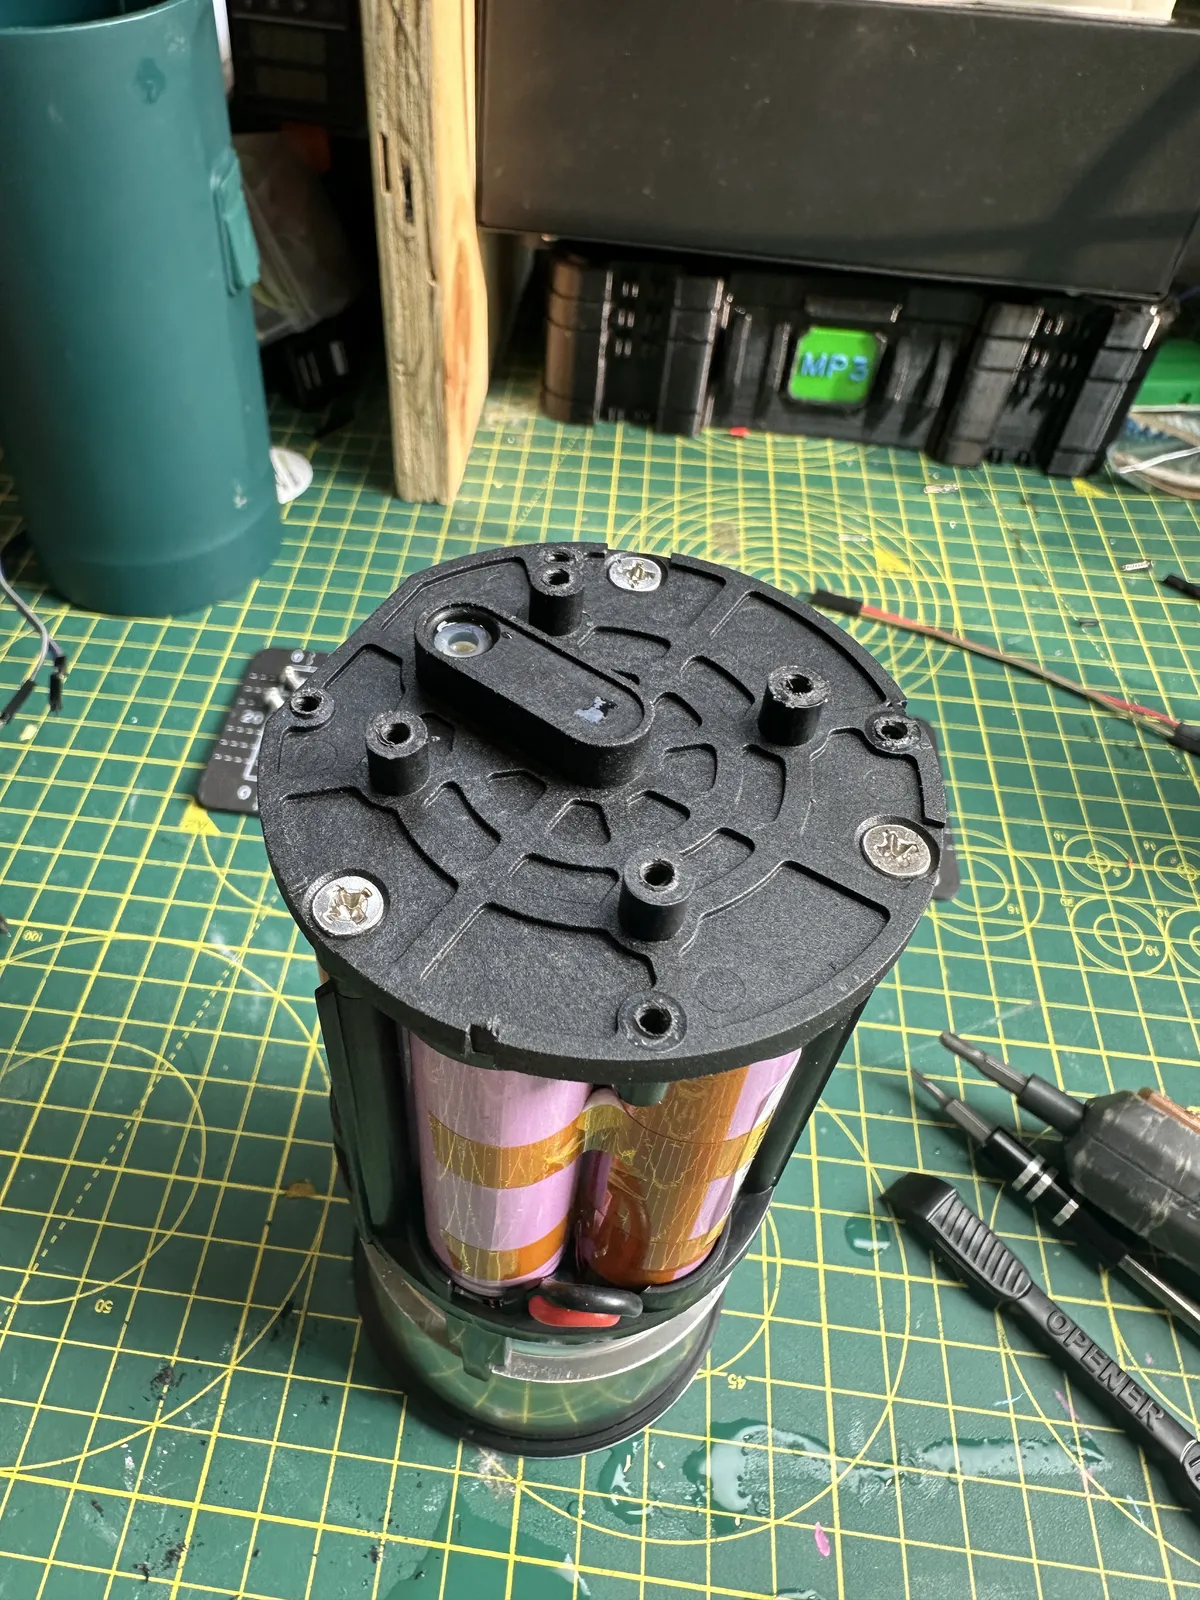
The battery pack is the easier place to start. I don't trust my electronics skills enough to debug a charging circuit first go. Also, given that the pack is 3 cells, there's a decent chance it's just one of those that's failed, so lets start there.
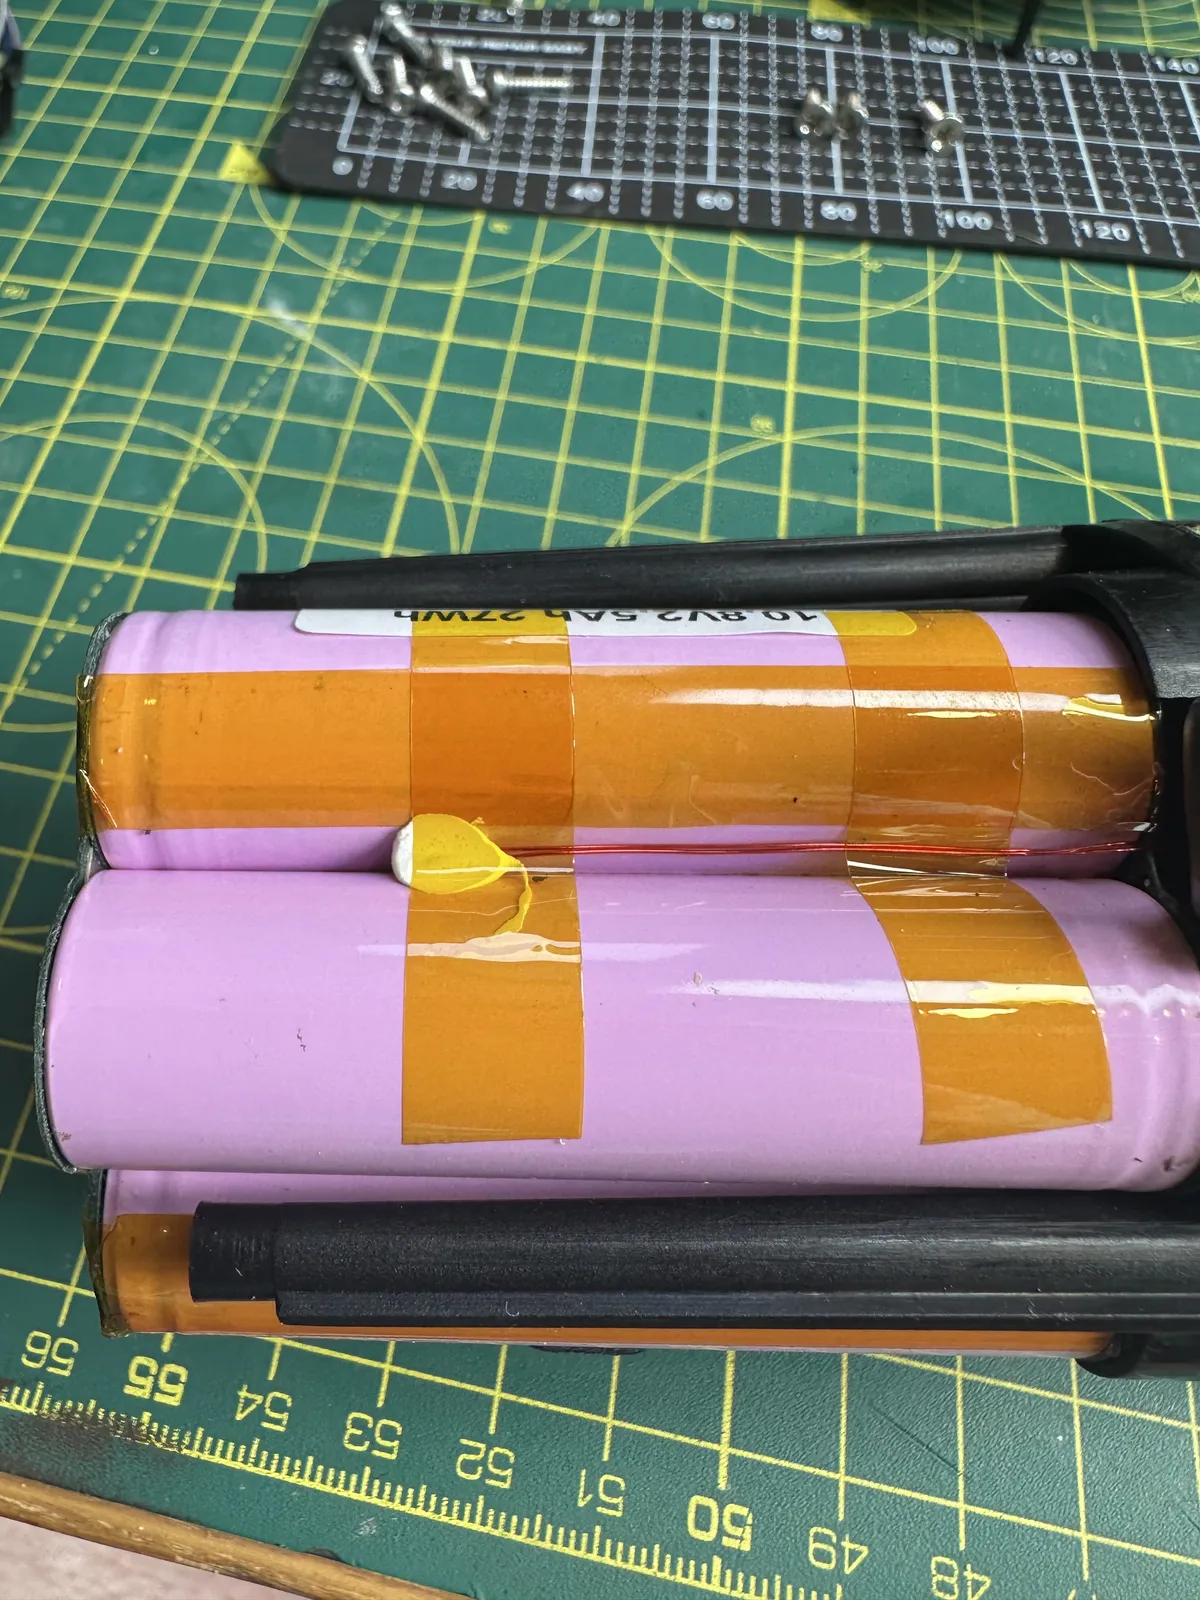
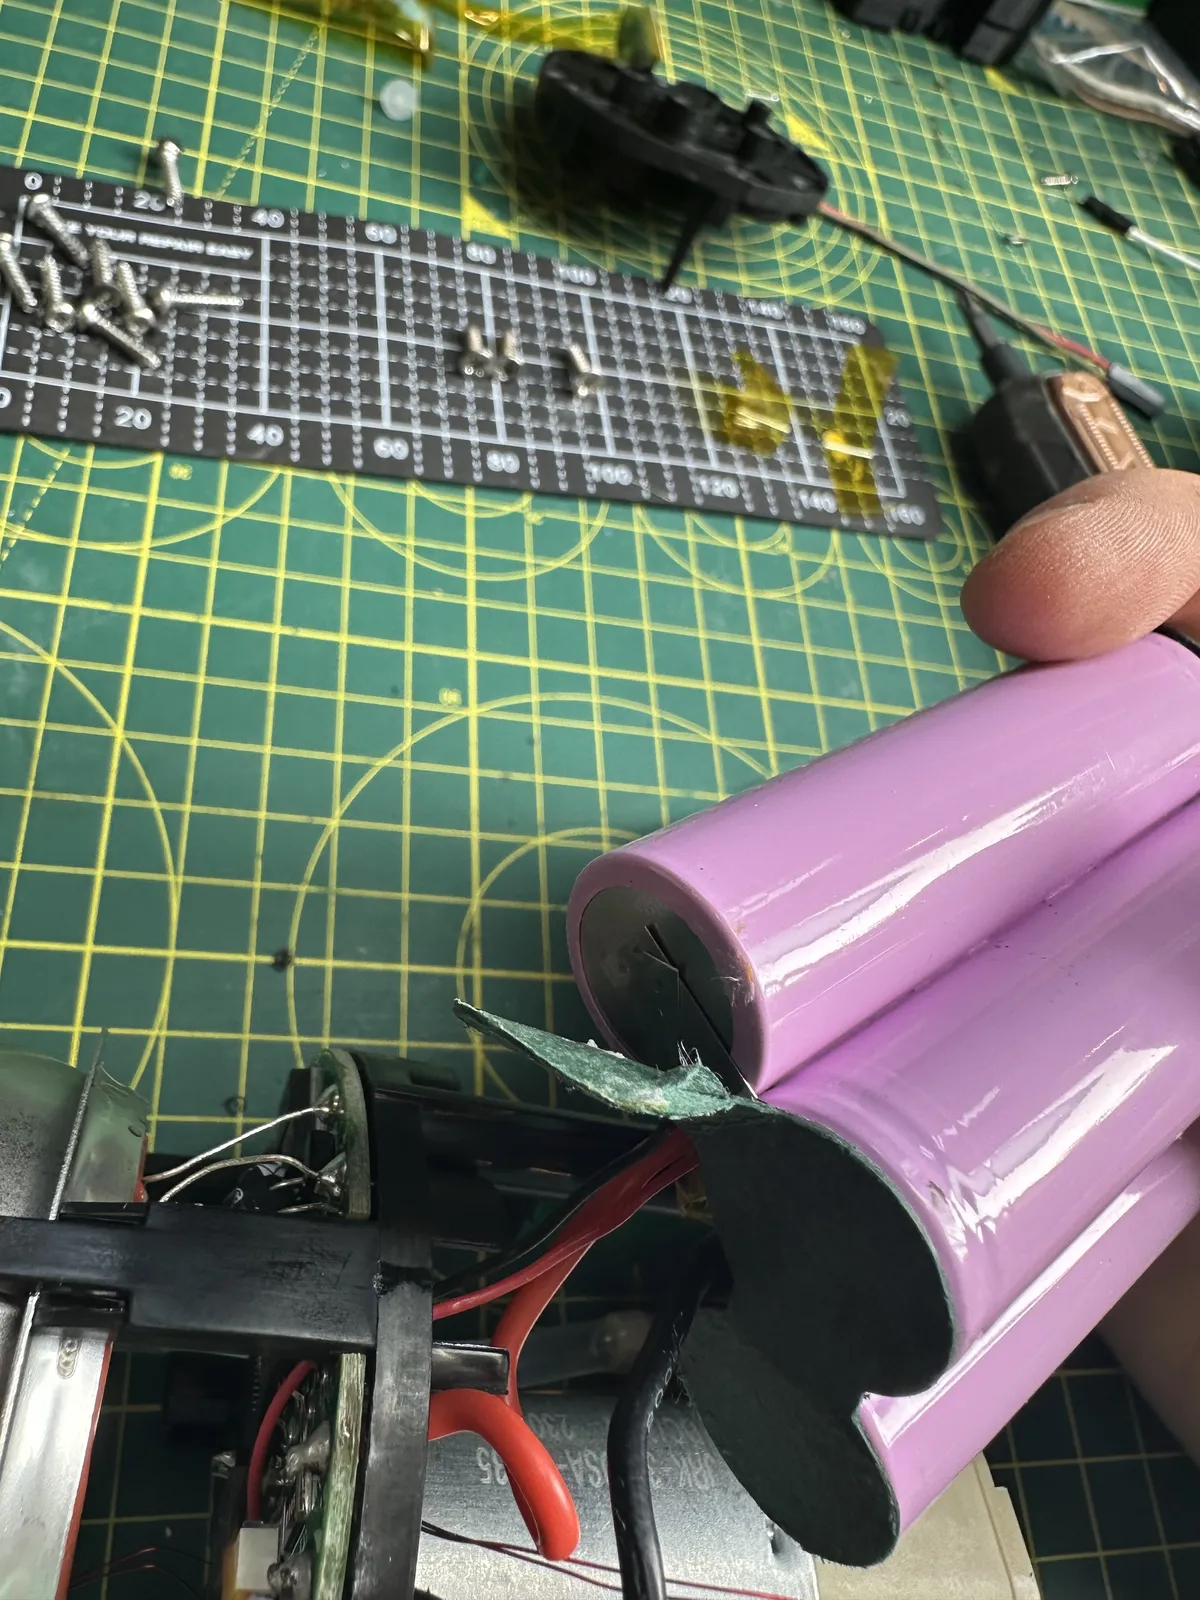
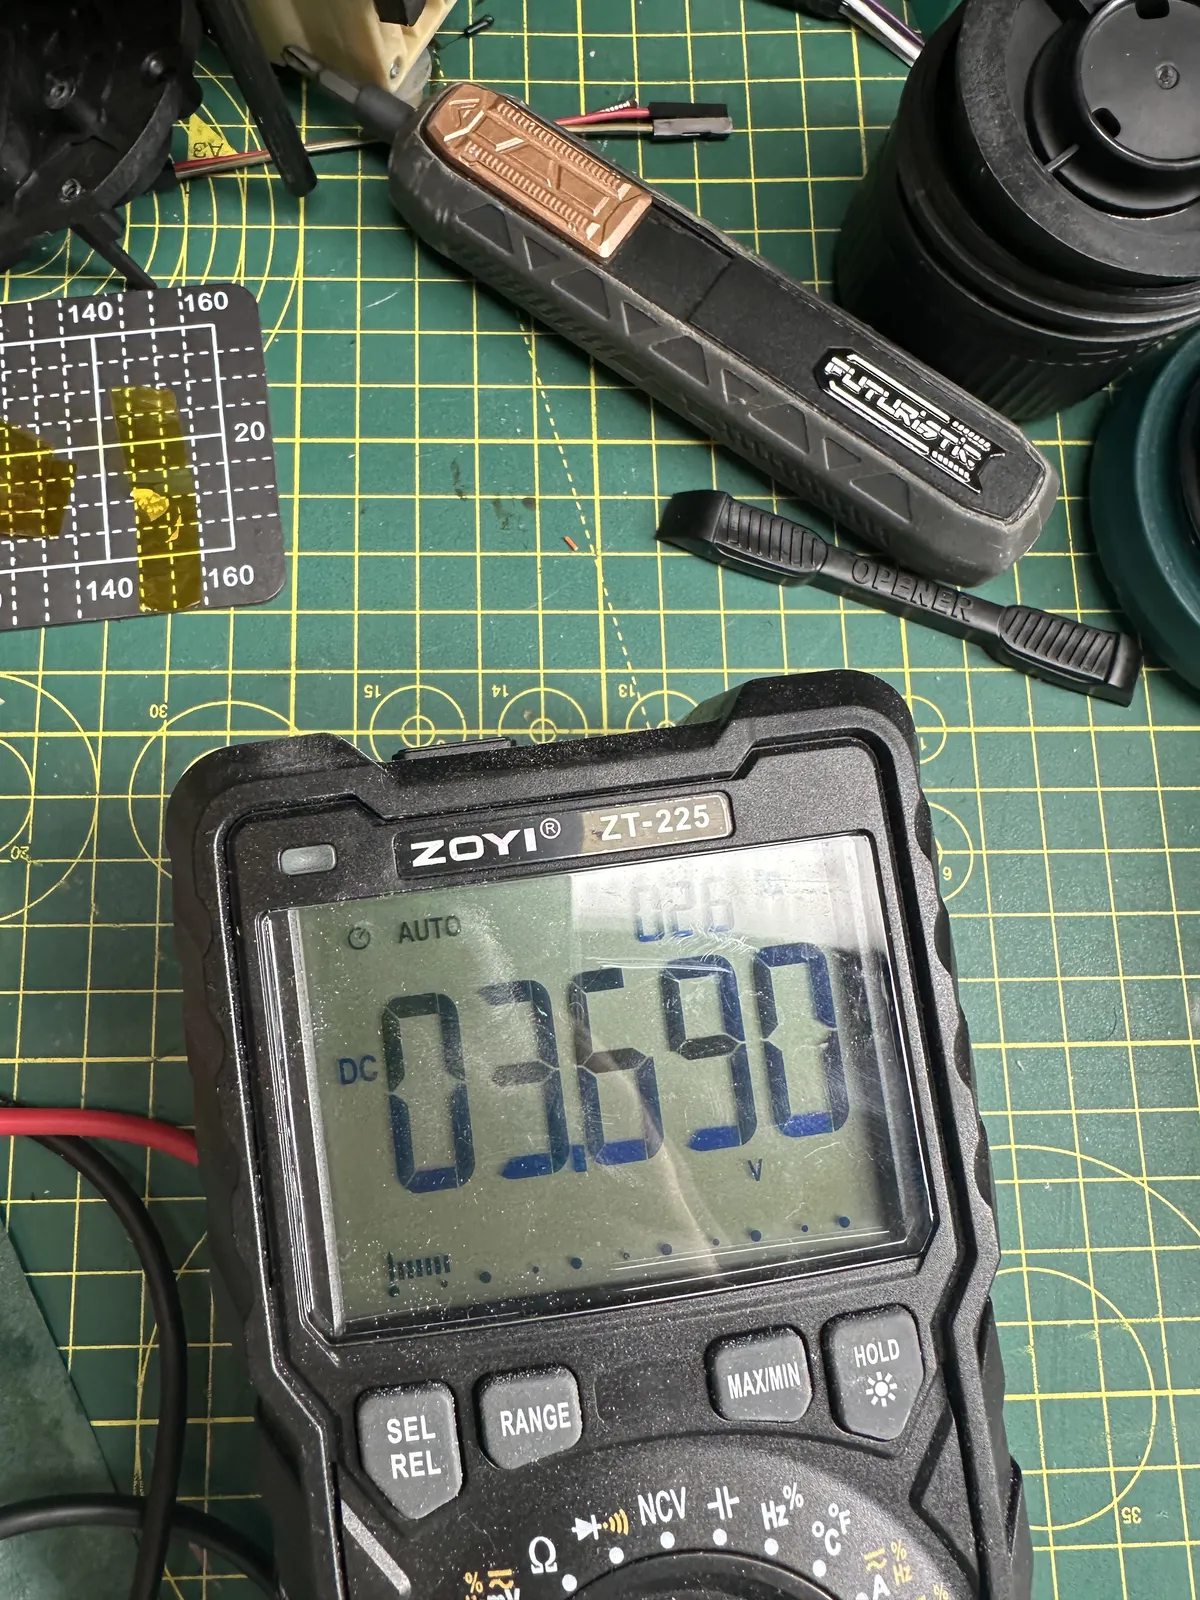
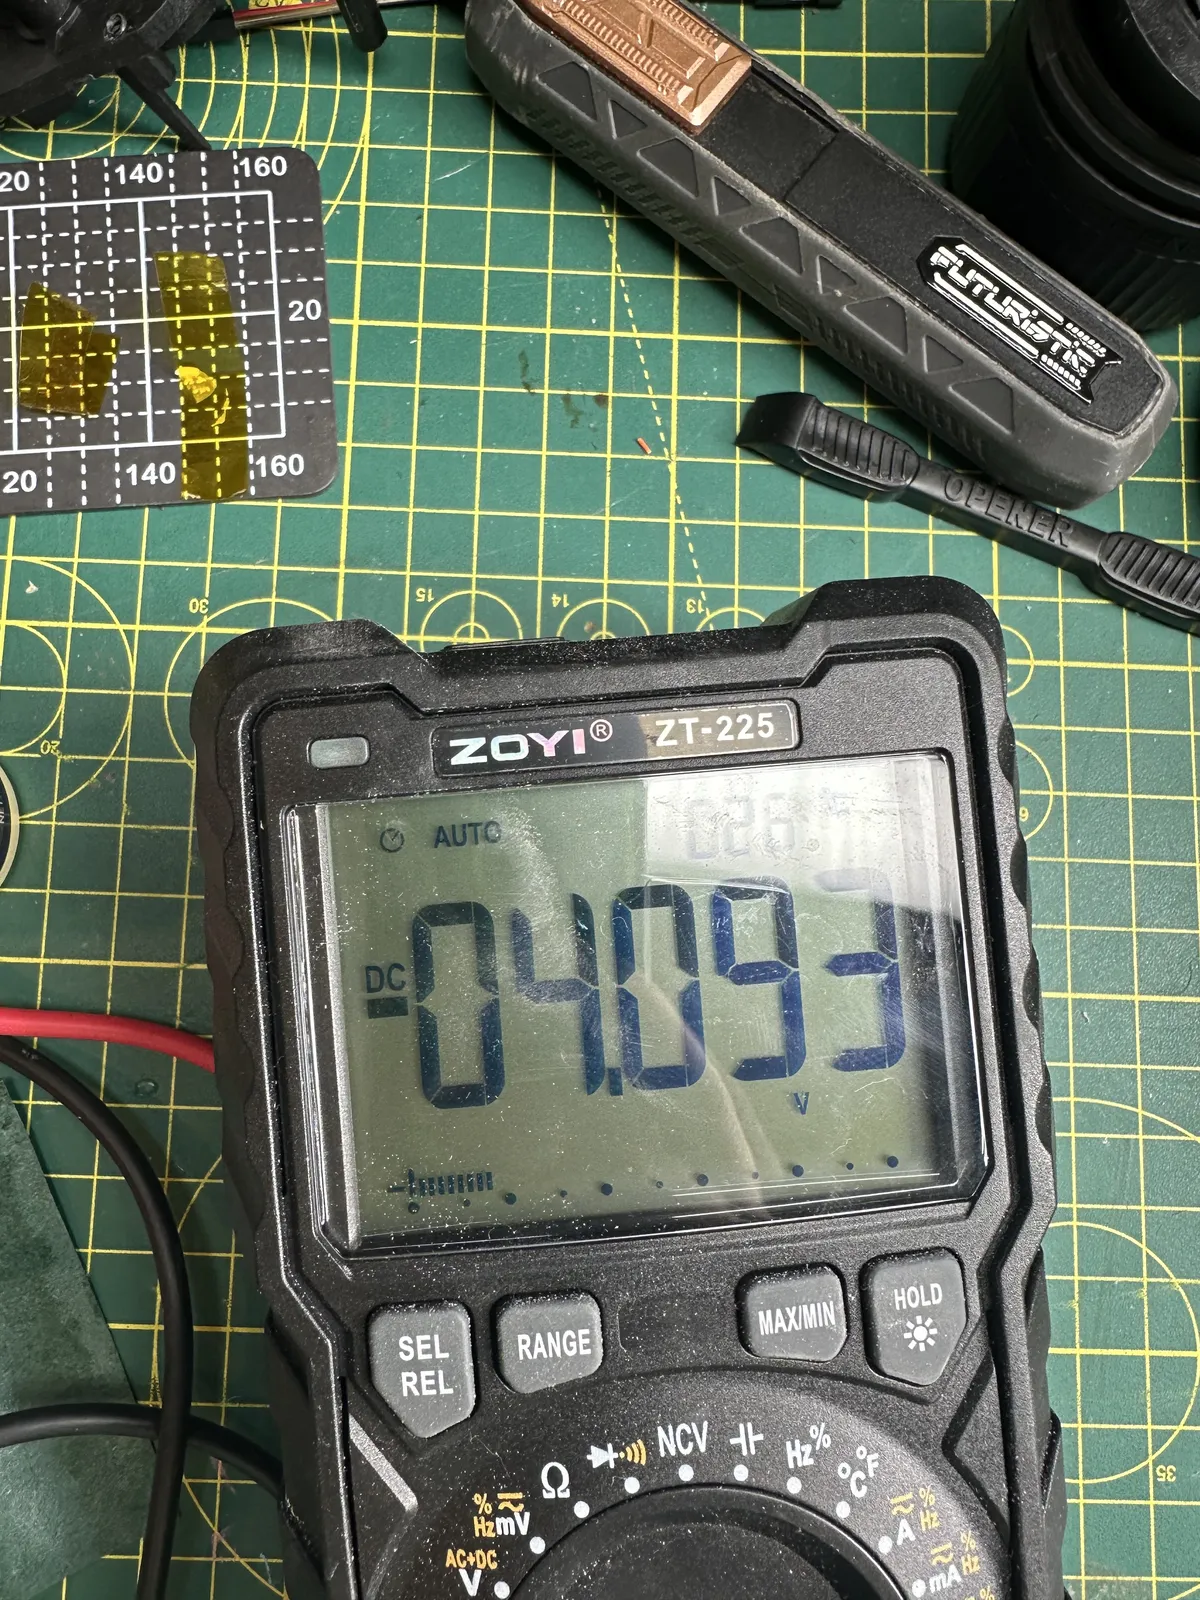
Okay, lets put a multimeter on that.
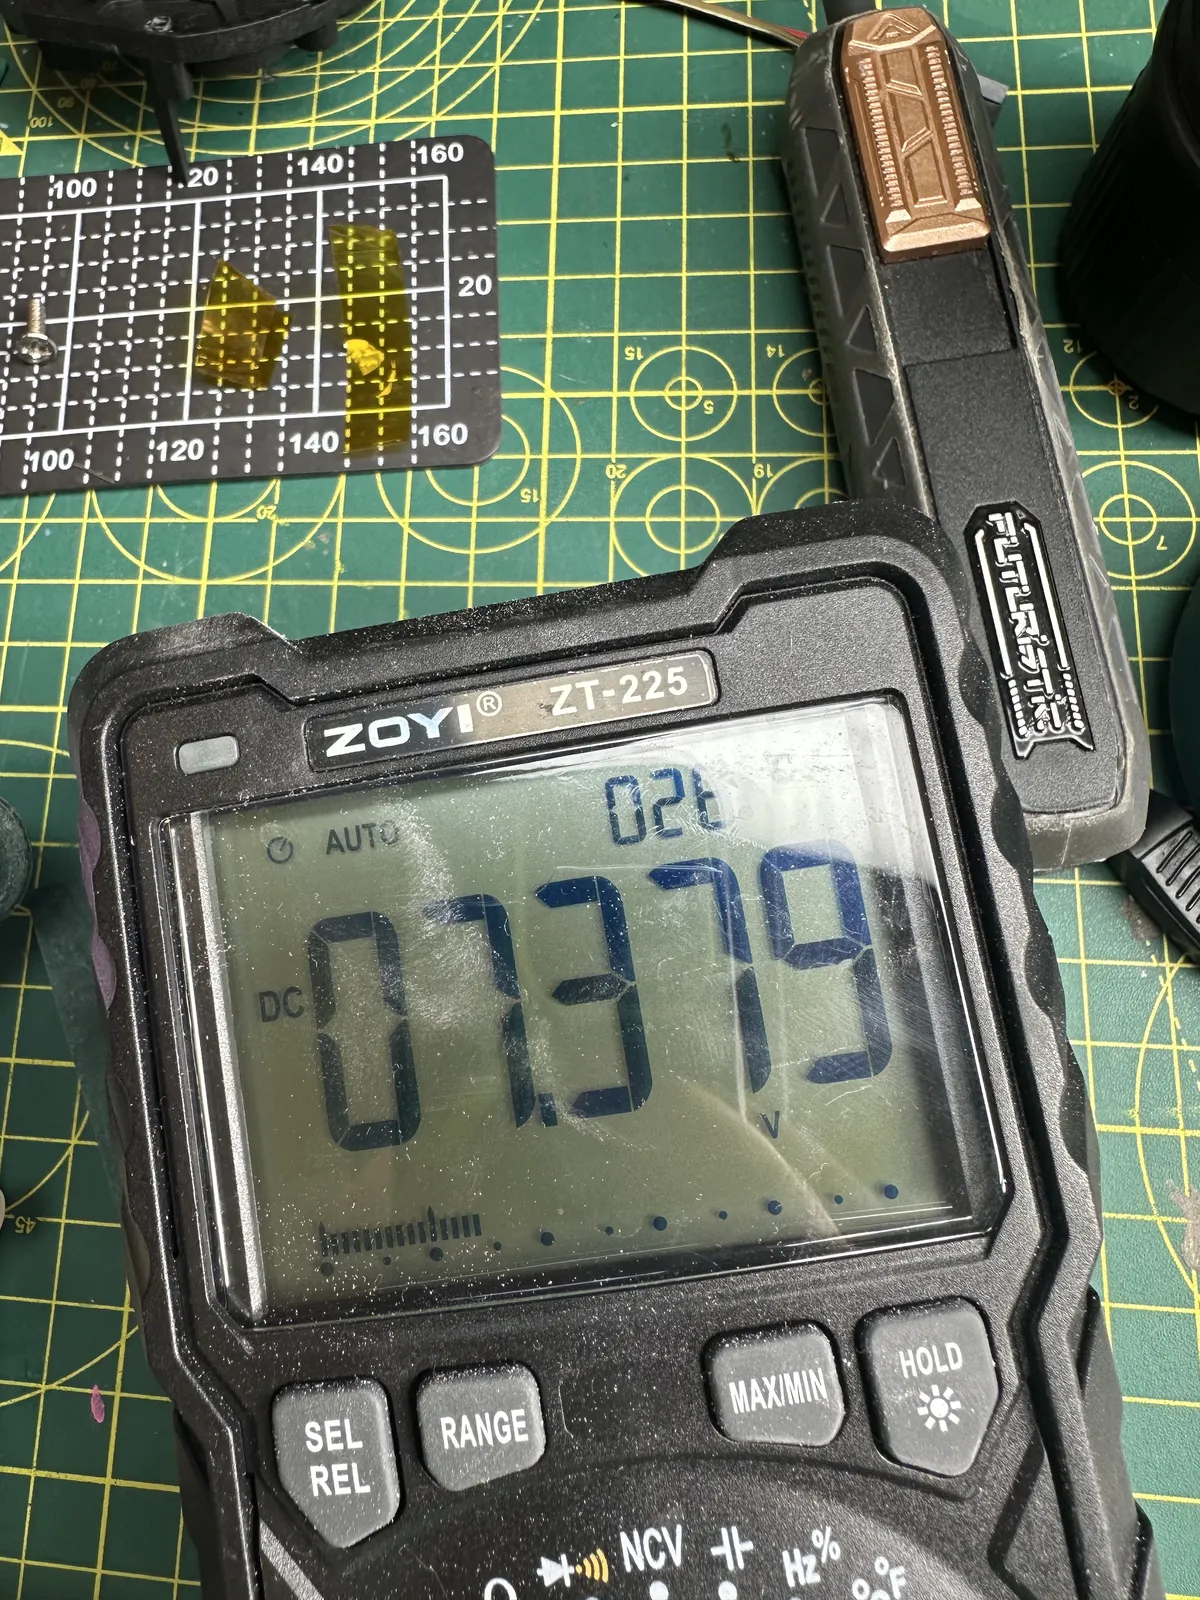
Yup, that is not a healthy 3 cell pack. For reference, 18650 lithium cells should not be below 3V minimum. As a 3 cell, arranged in series the measurement here should be an absolute minimum of 9V. So it's likely that one of the cells in the pack has failed, meaning it won't charge and causing the 'infinite charging time' that we experience.
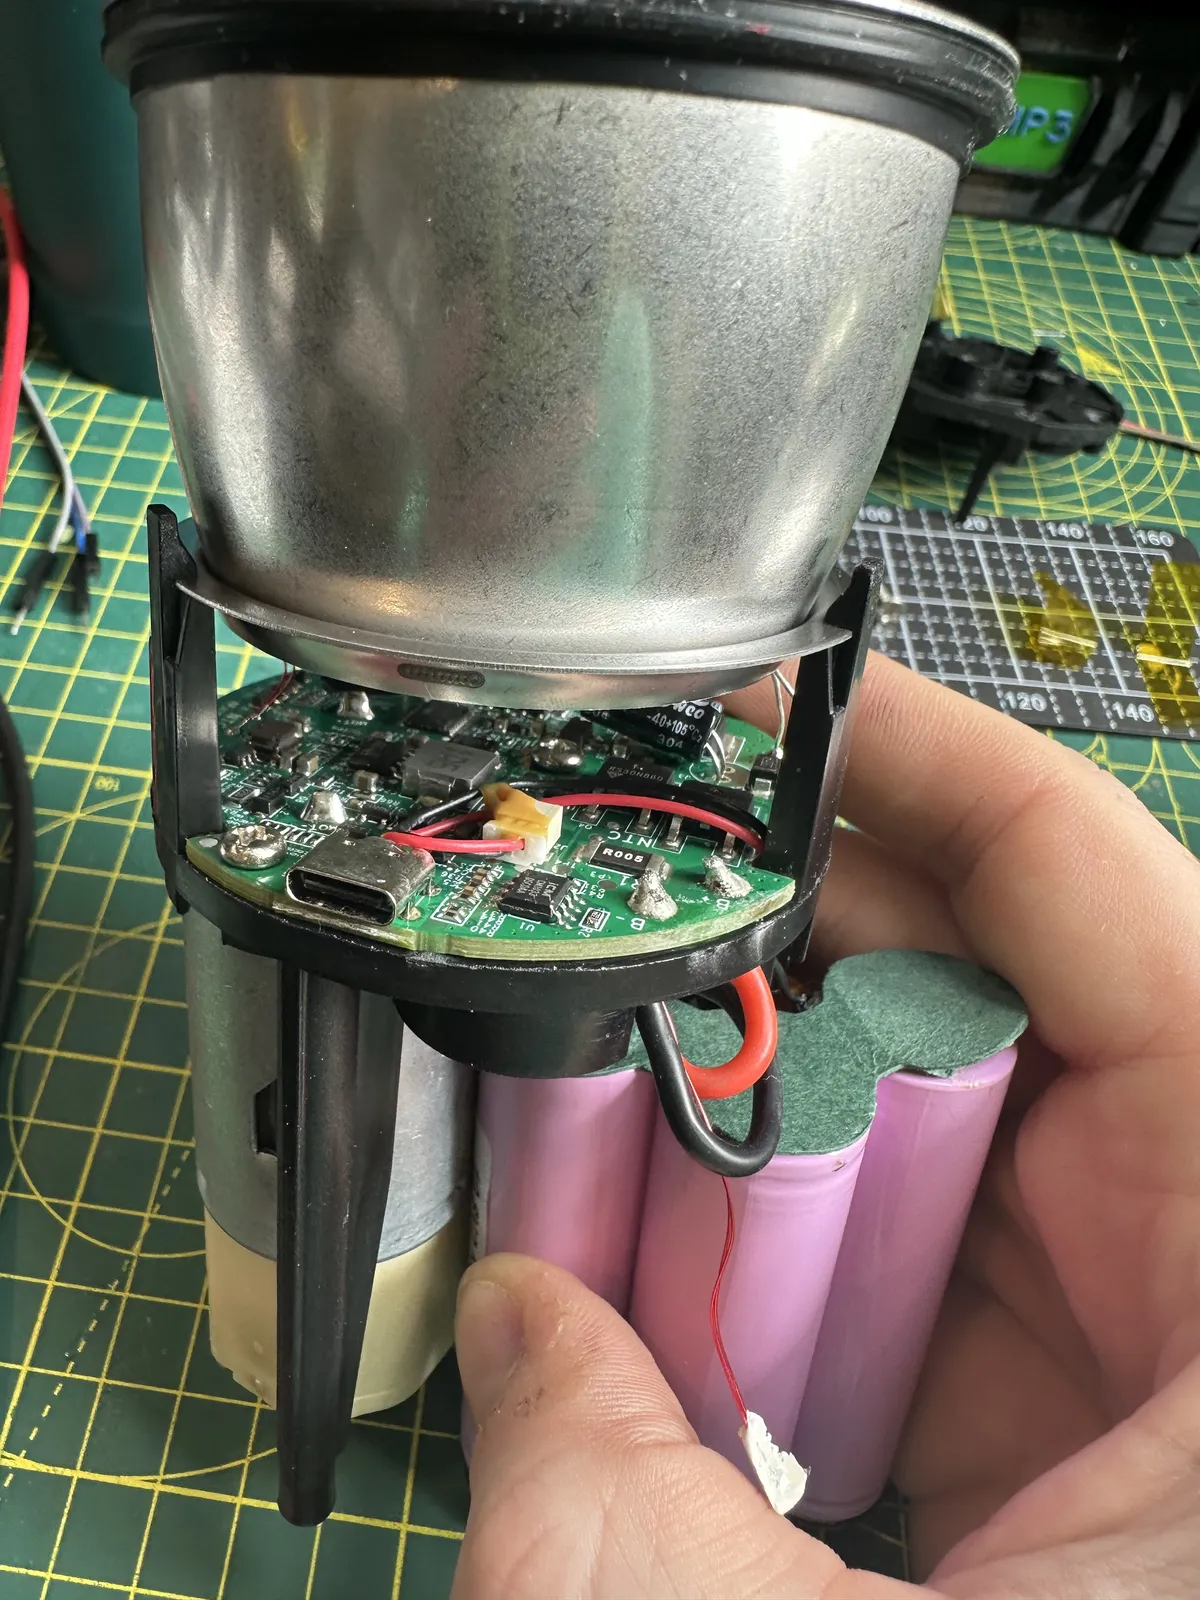
Lets see about extracting the pack and testing the cells.
Sidequest
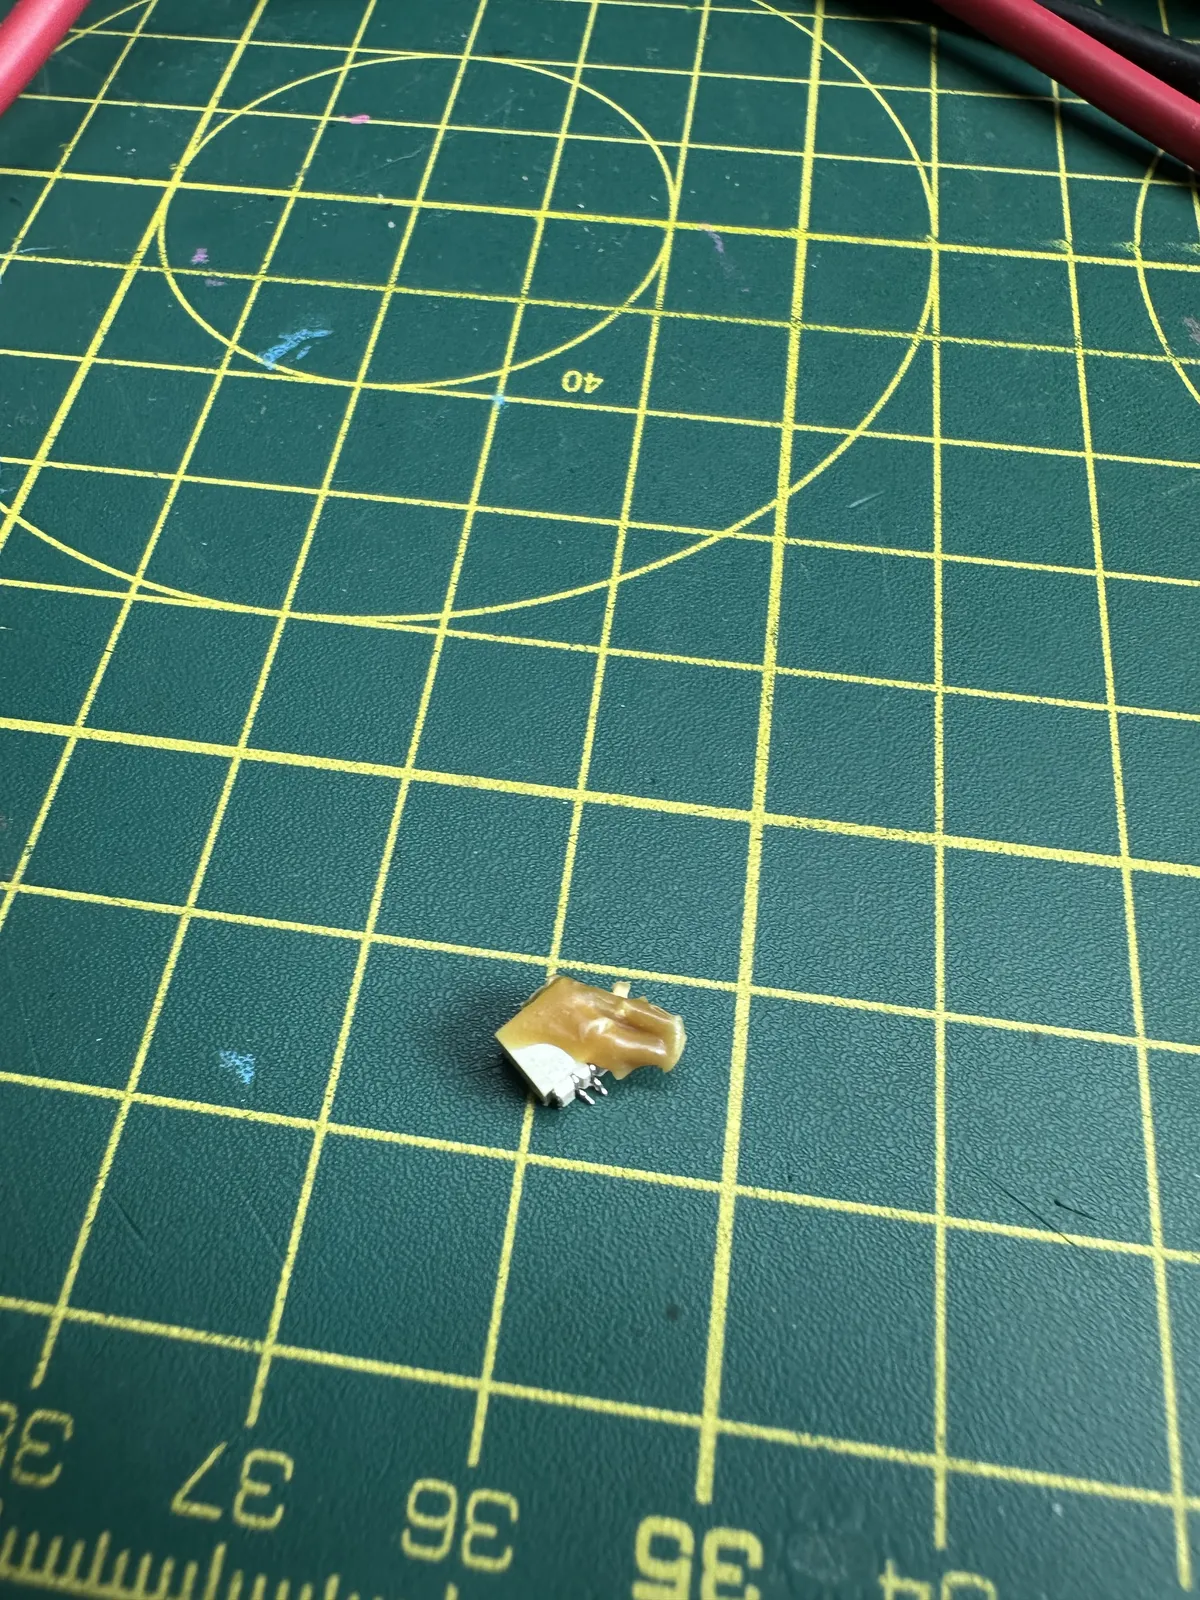
At this point, I made a mistake and ended up with a sidequest. While removing the balance cable from the socket, I snapped the socket off the board due to the glue that had been used.
If you're here to repeat my work - don't do this.
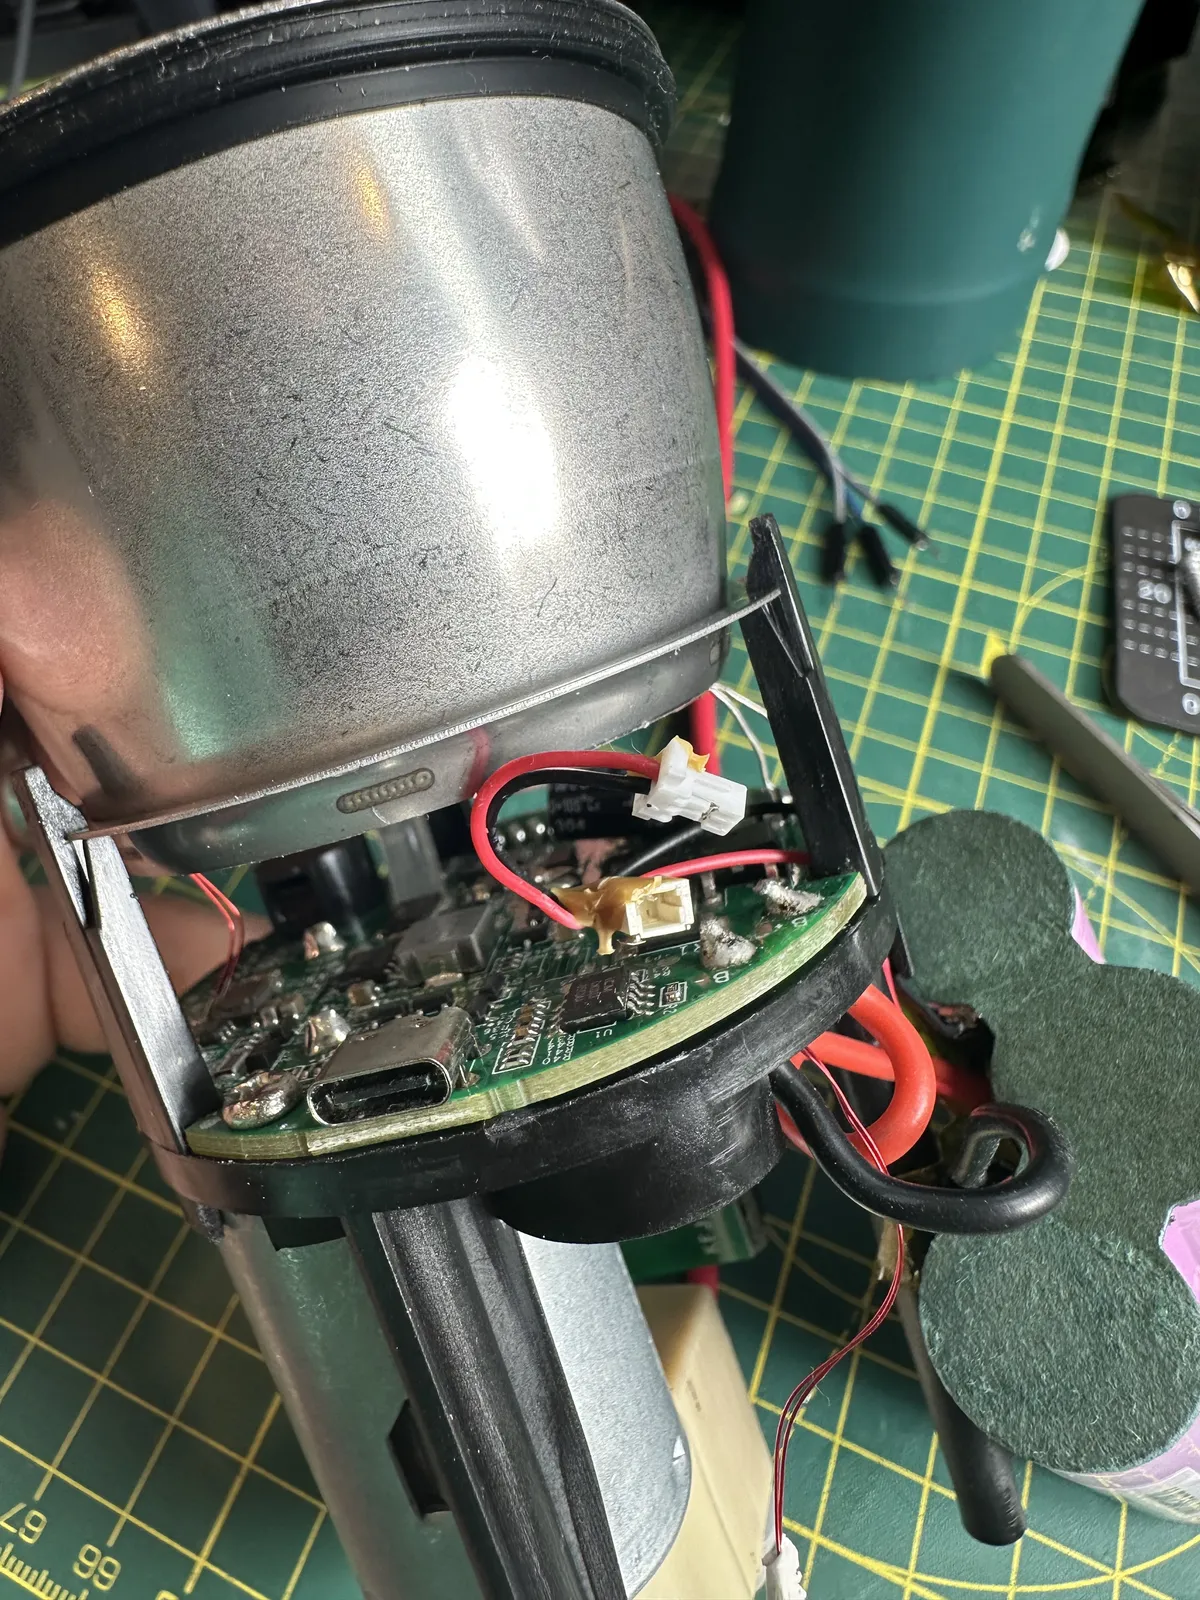
Now I've got a bit of a problem. To get access to solder this, I'm going to have to disassemble even more of the machine, including the heat pack wires to remove the water cup.
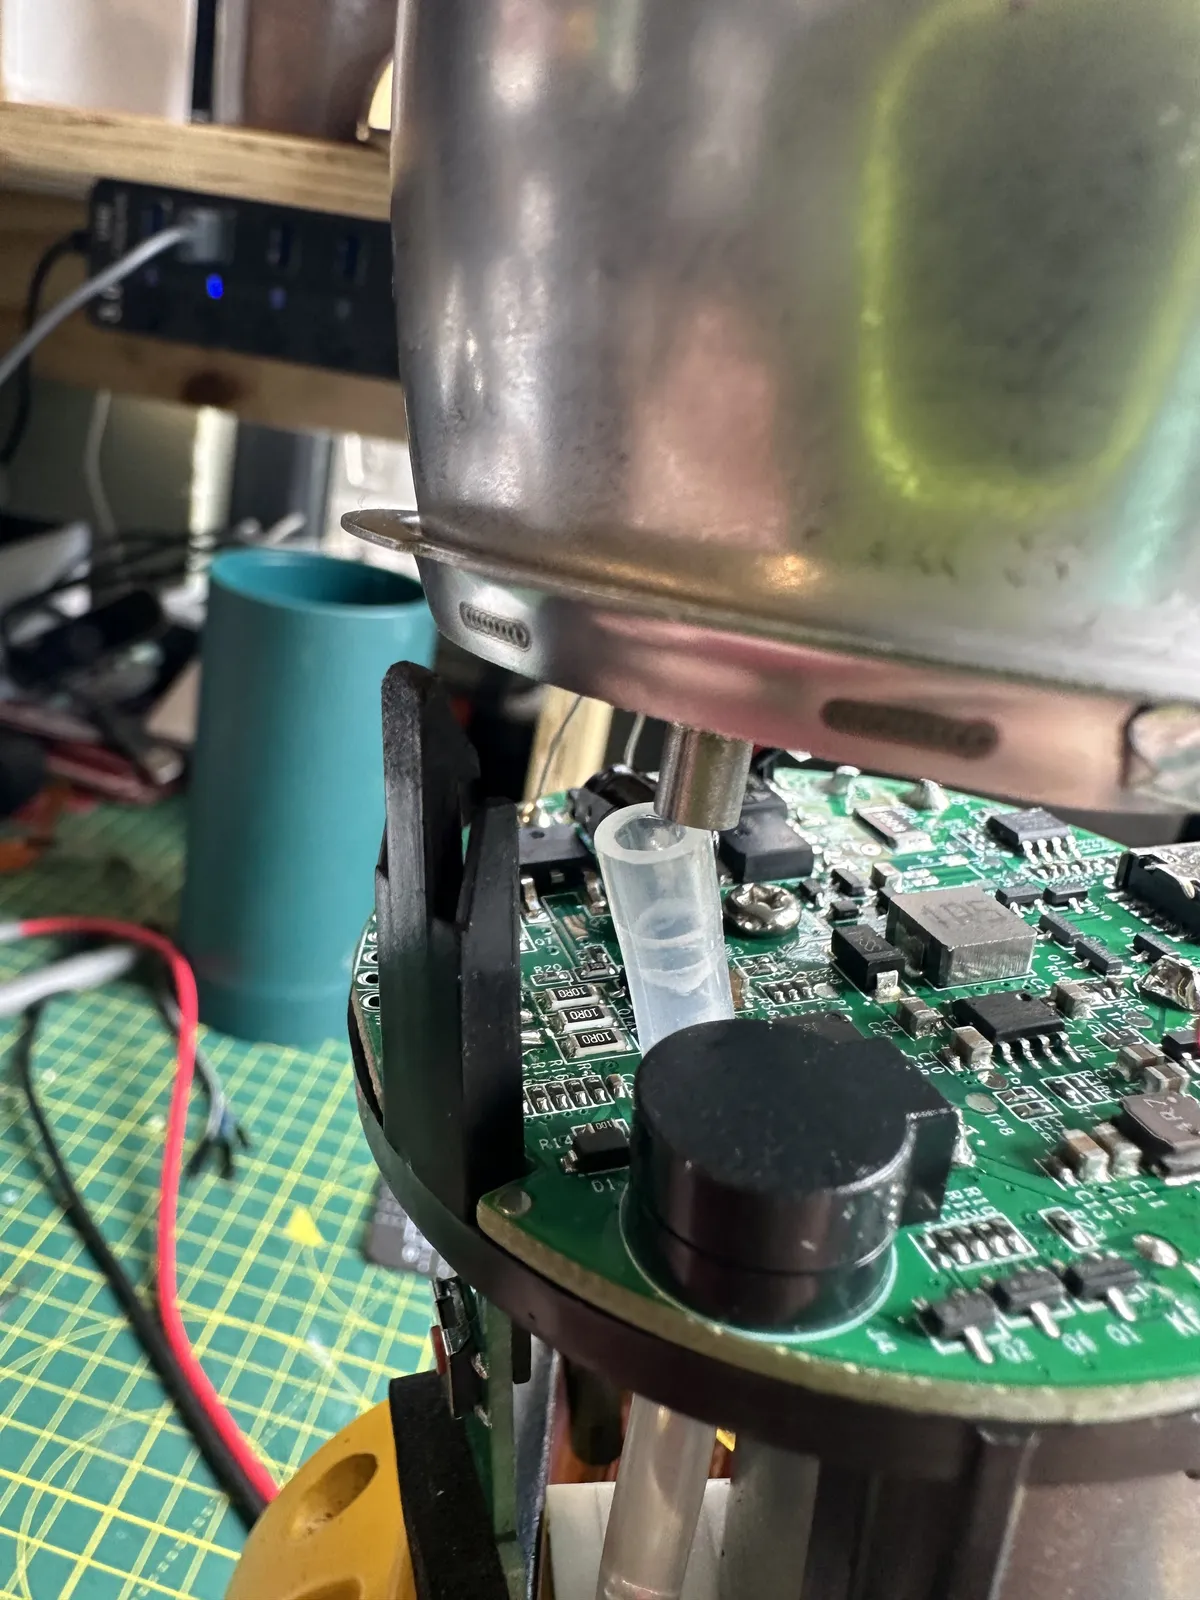
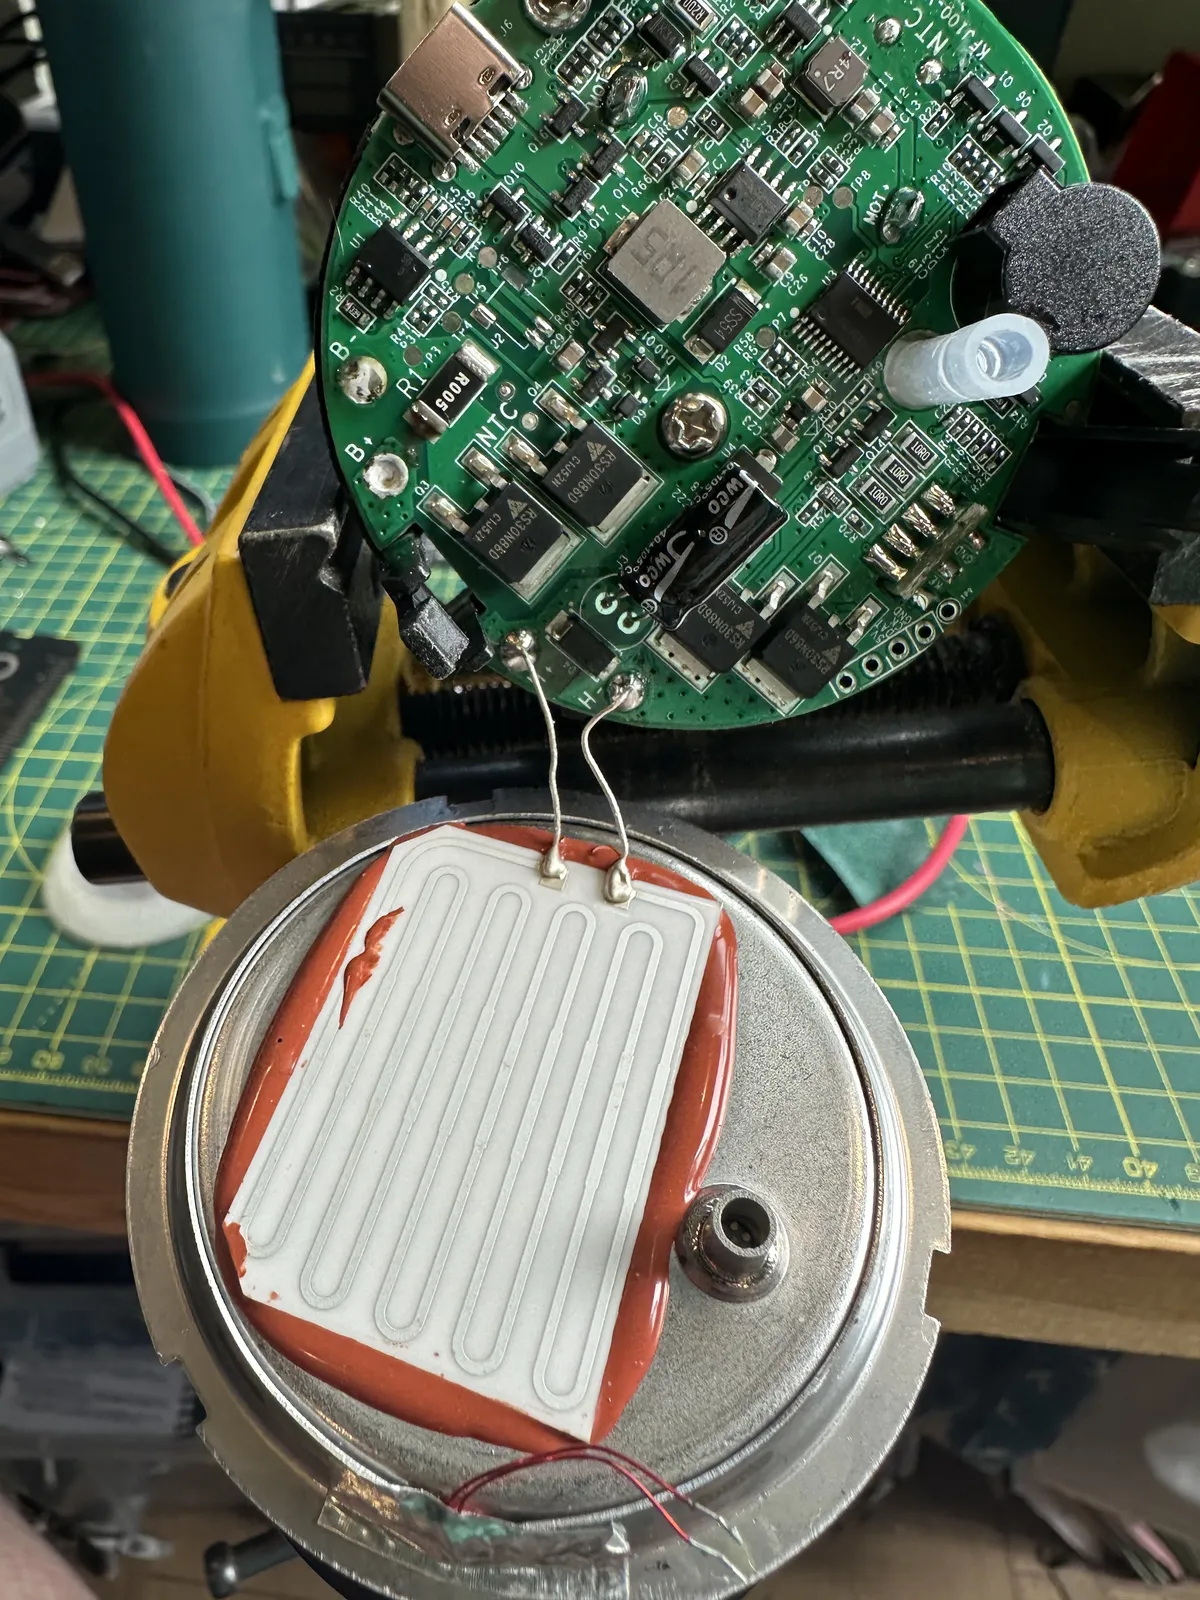
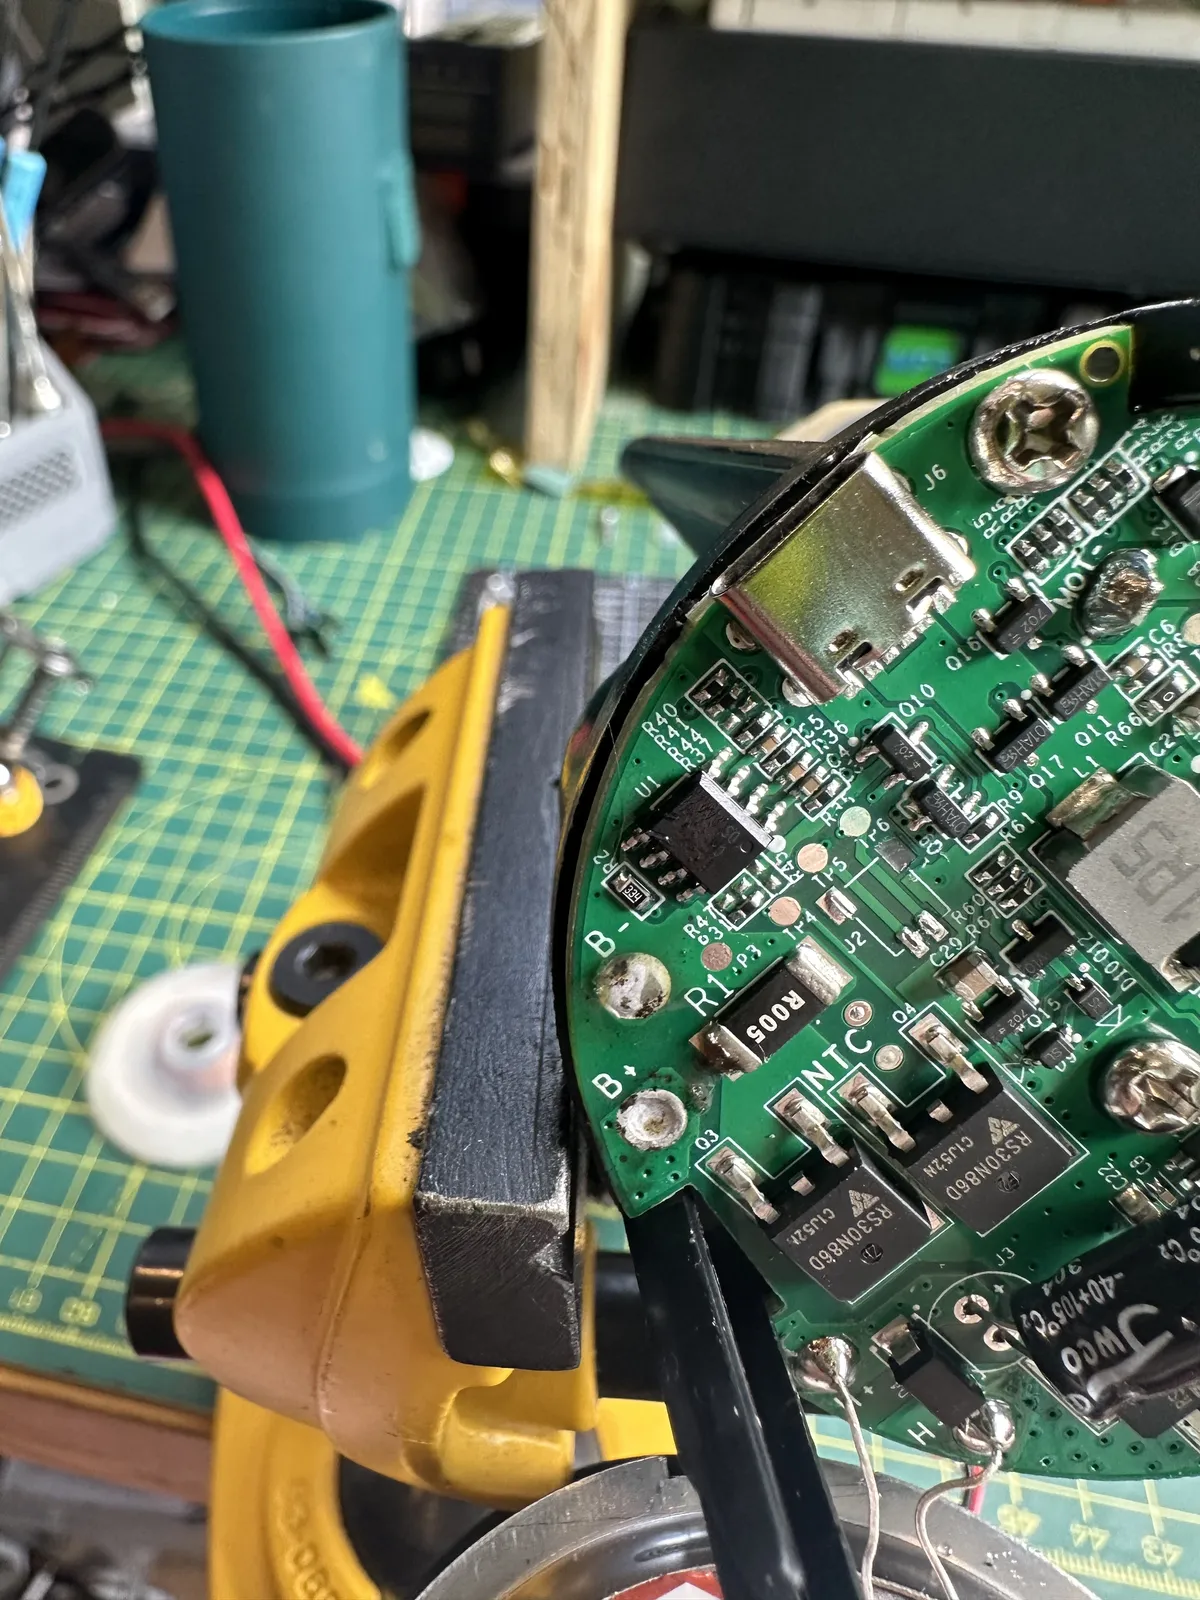
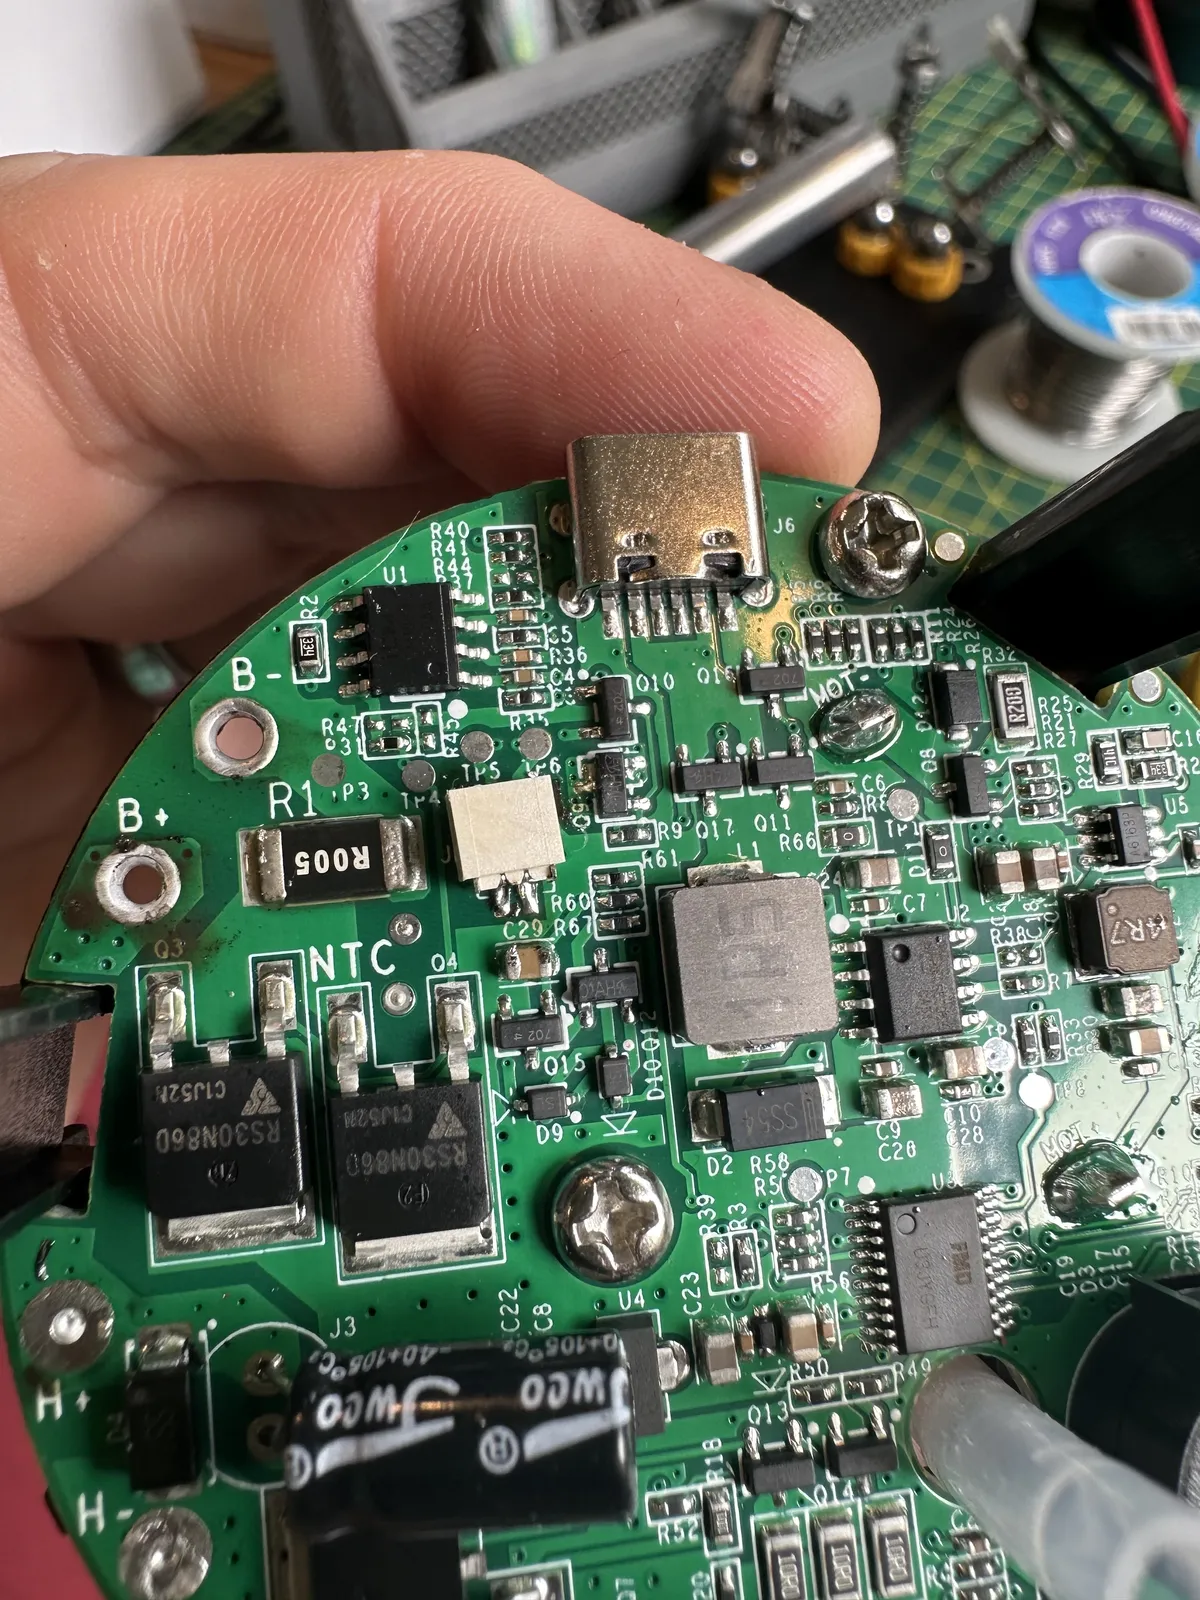
While removing the pack, be careful of the temperature sensor attached to the side. I just carefully prized it off with a spudger and left it soldered to the PCB.
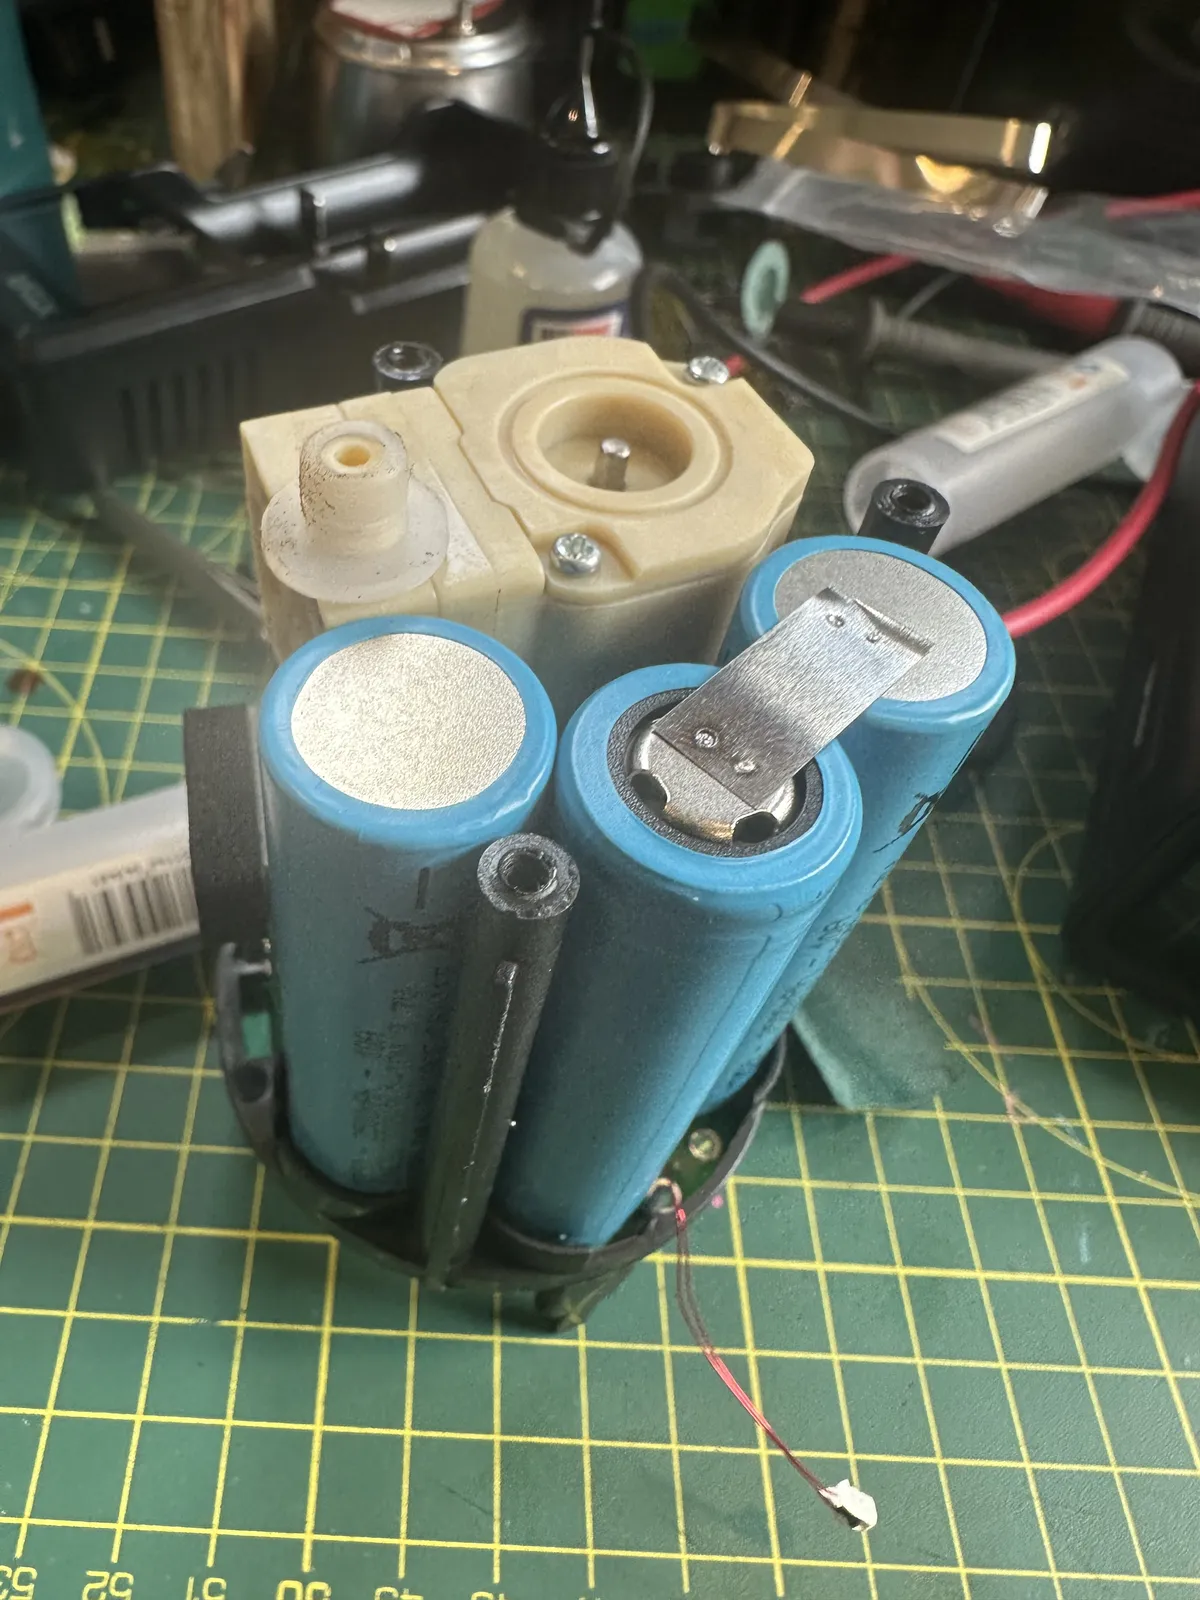
Now we've got the pack out, we can remove all the insulation and check each cell individually.
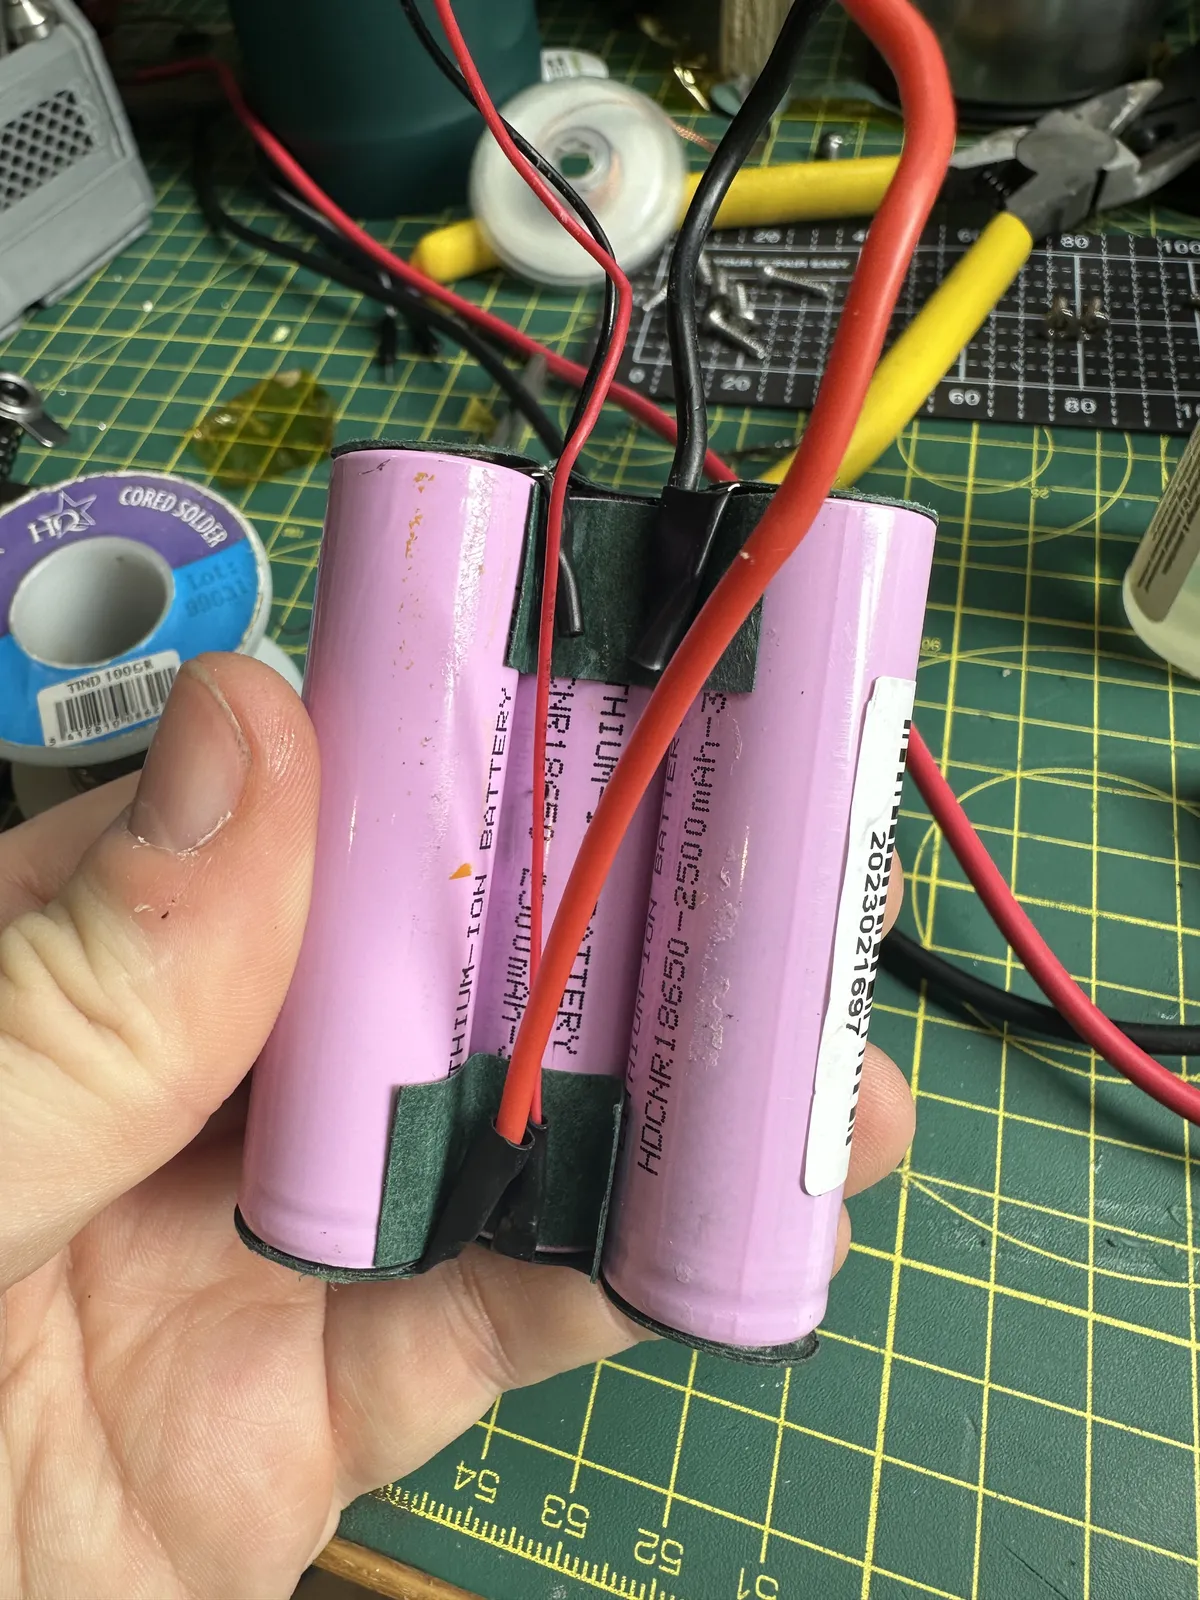
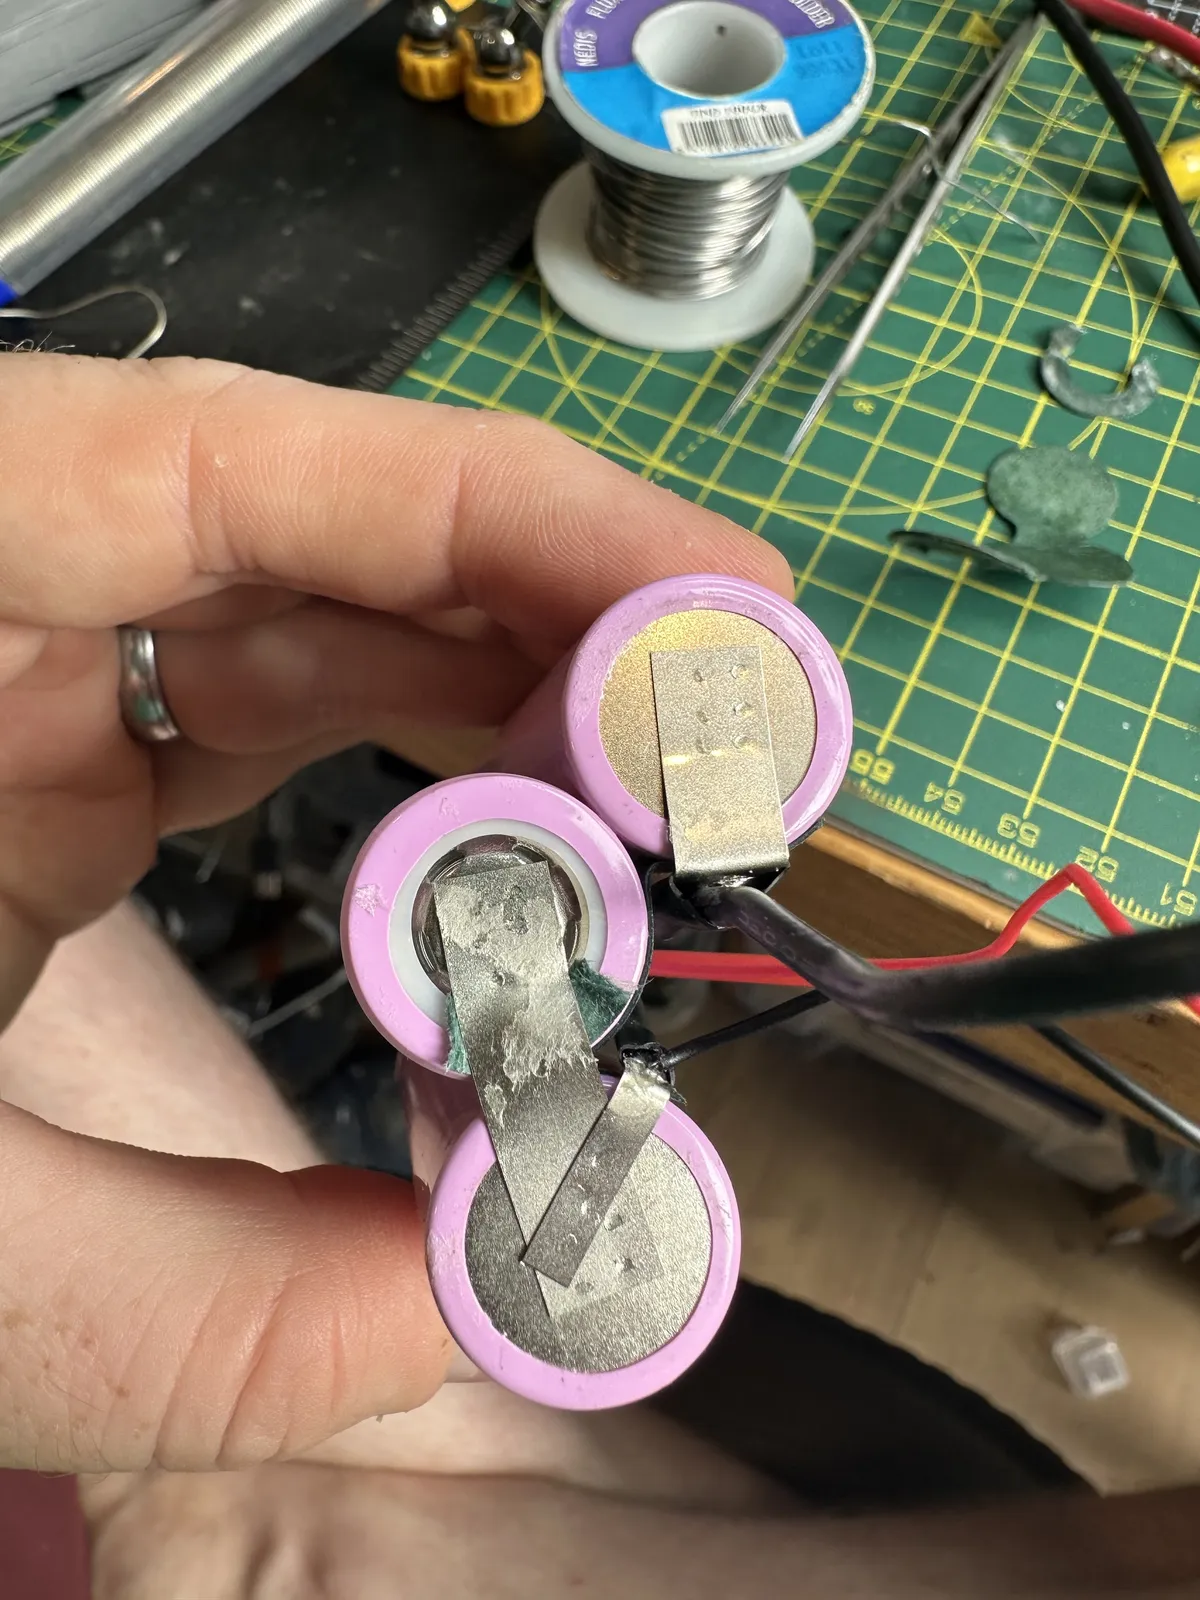
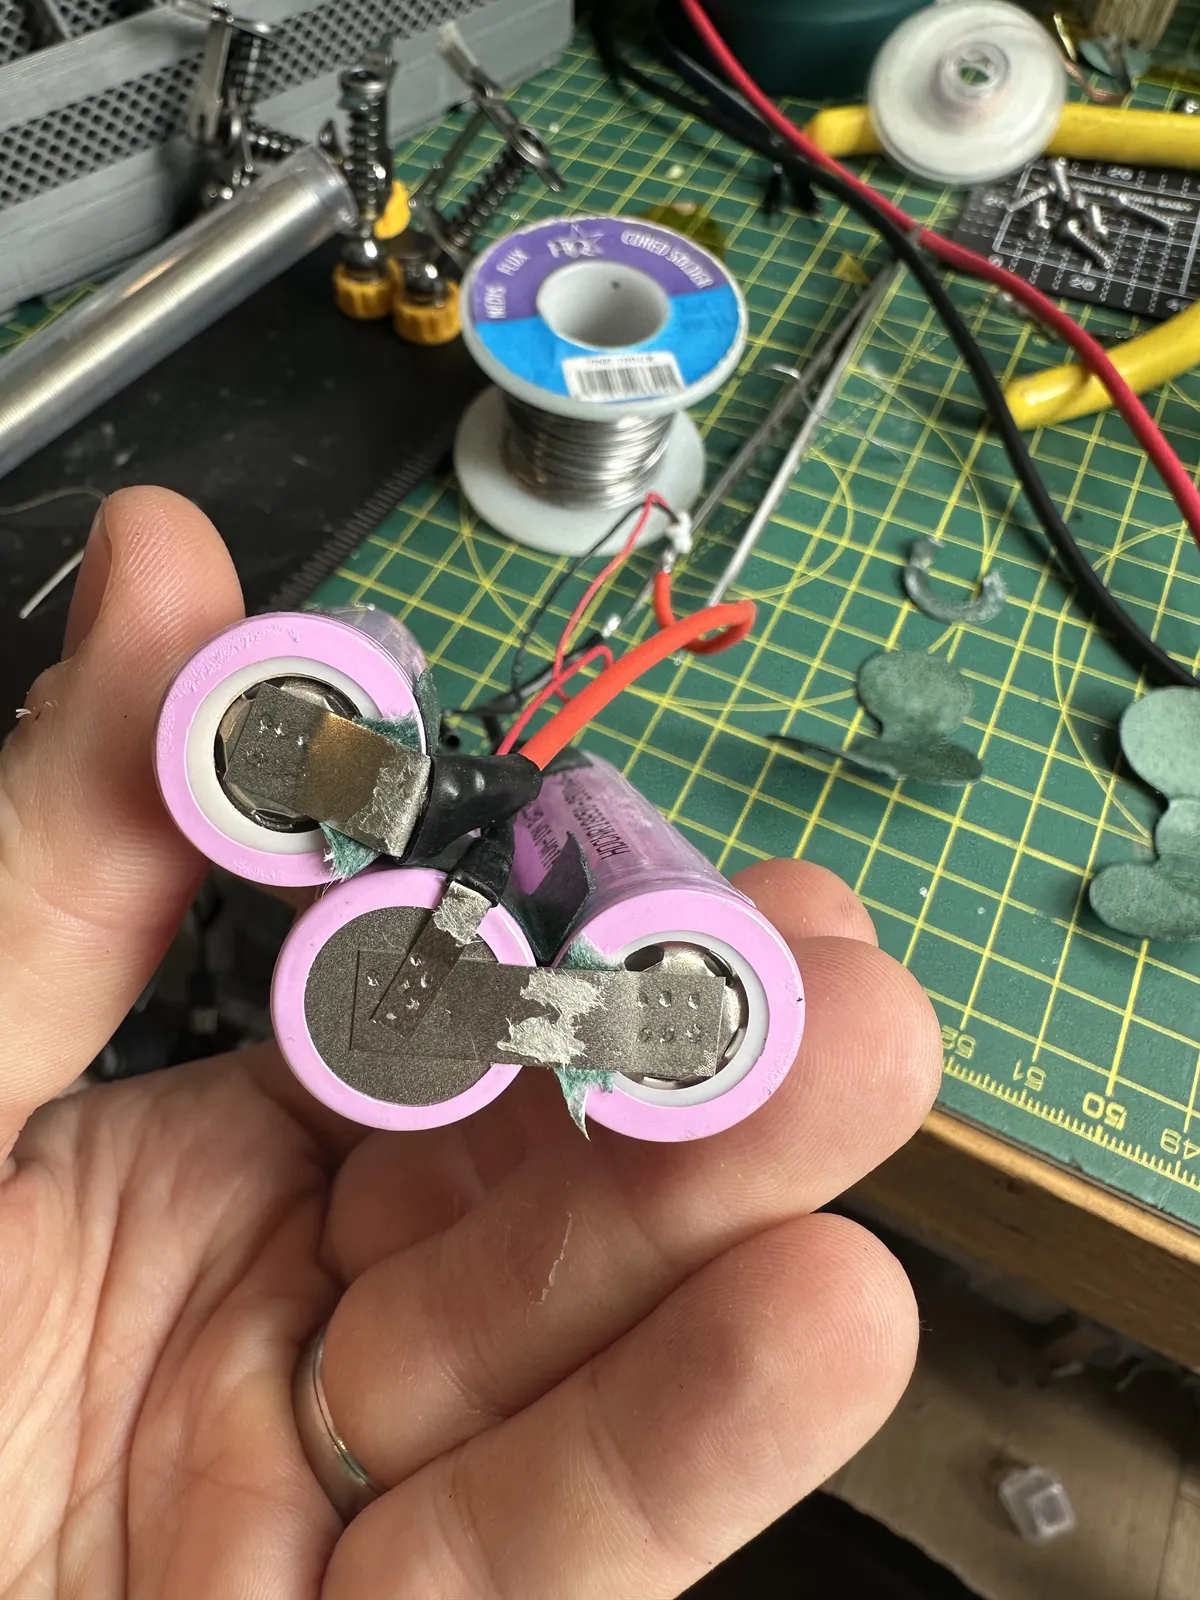
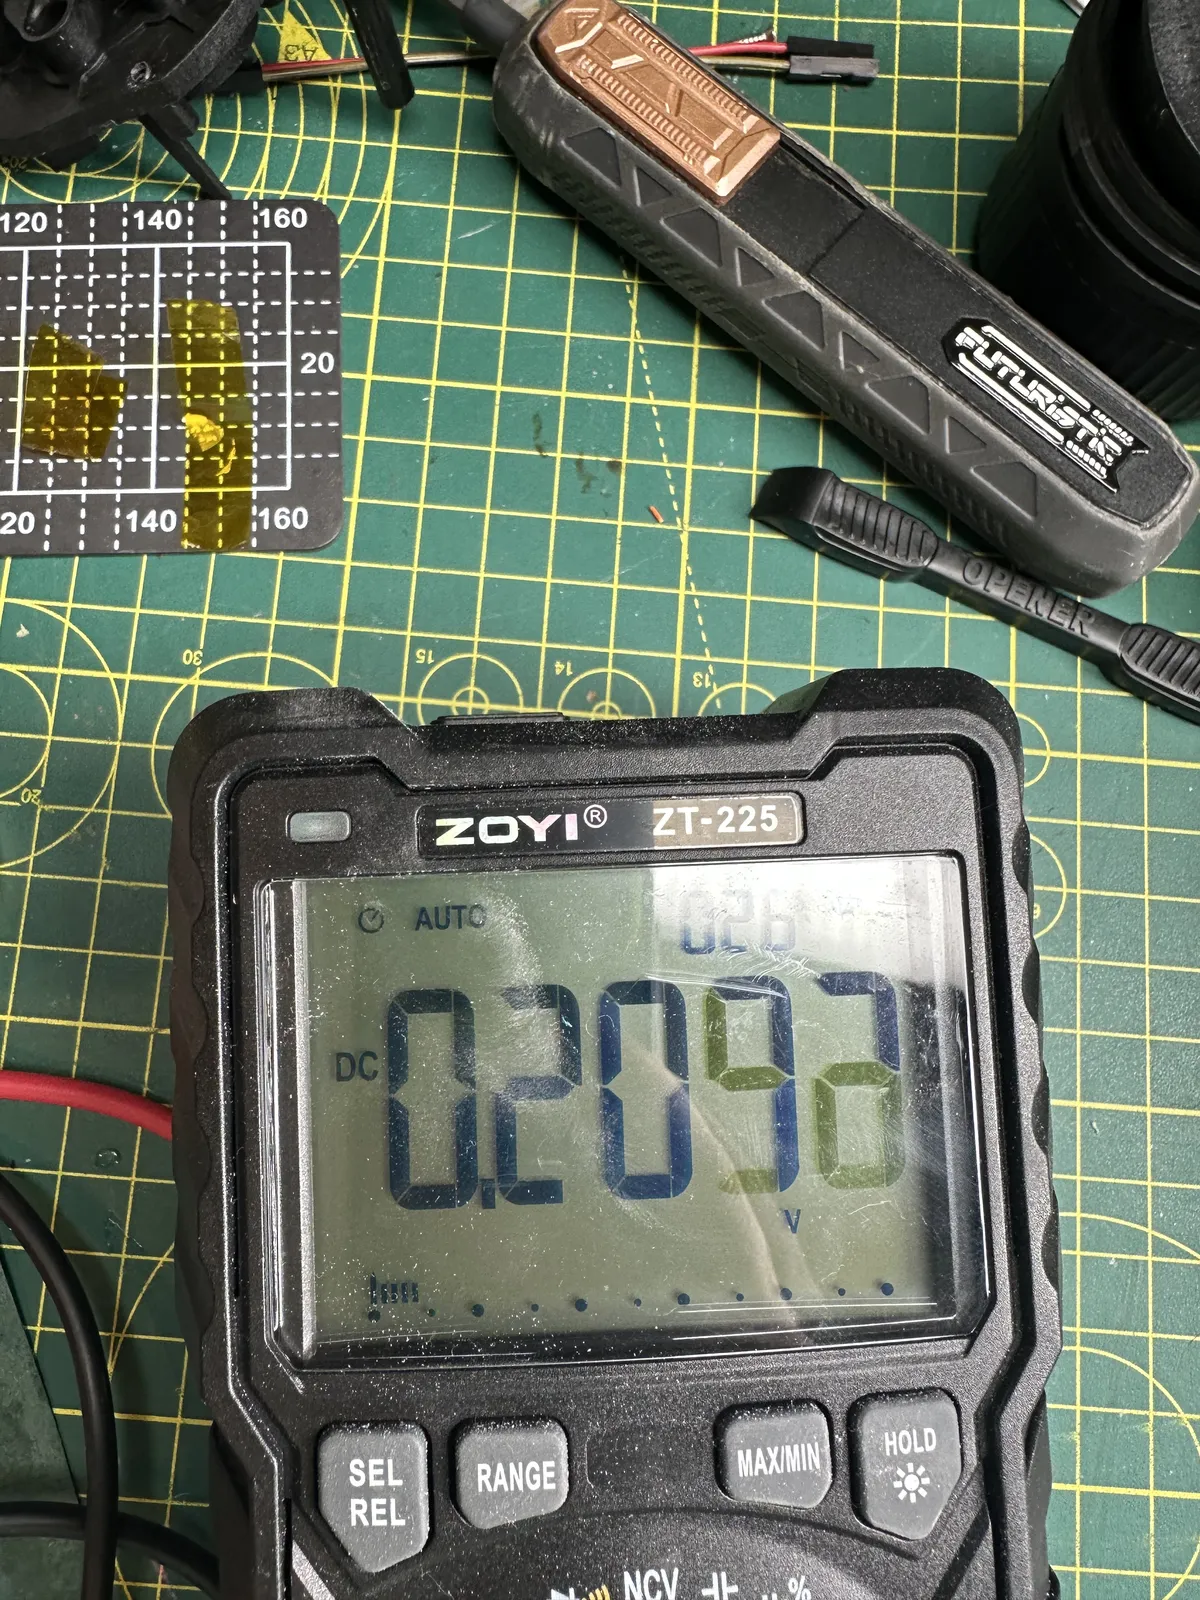
Okay, one of those cells is definitely bad. Snipping the straps (carefully) and then splitting the pack into the 3 cells, then unsoldering the wires allowed me to put them in a charger to confirm that I had 2 good cells and 1 that would not accept a charge at all.
From here, I had a choice. I didn't have any spare cells on hand with a matching mAh rating (2500), so I could either order 1 new cell or 3 complete matching new cells - potentially in a higher rating for more battery life than the Outin originally shipped with. Given that the old cells have already had some use and I'd rather have a (theoretically) matching pack, I went with the new cells approach and ordered 3 replacement molicell 3500mAh 18650 from nubattery.co.uk.
I also ordered a battery welder from Amazon, as I decided I'd do this properly, rather than trying to risk soldering to the cells. The welder seems to work well enough. I have no experience here, but it joined the zinc strip it came with to the top of the cells in a way that required a moderate amount of force to remove, and didn't set fire to anything else on the way.
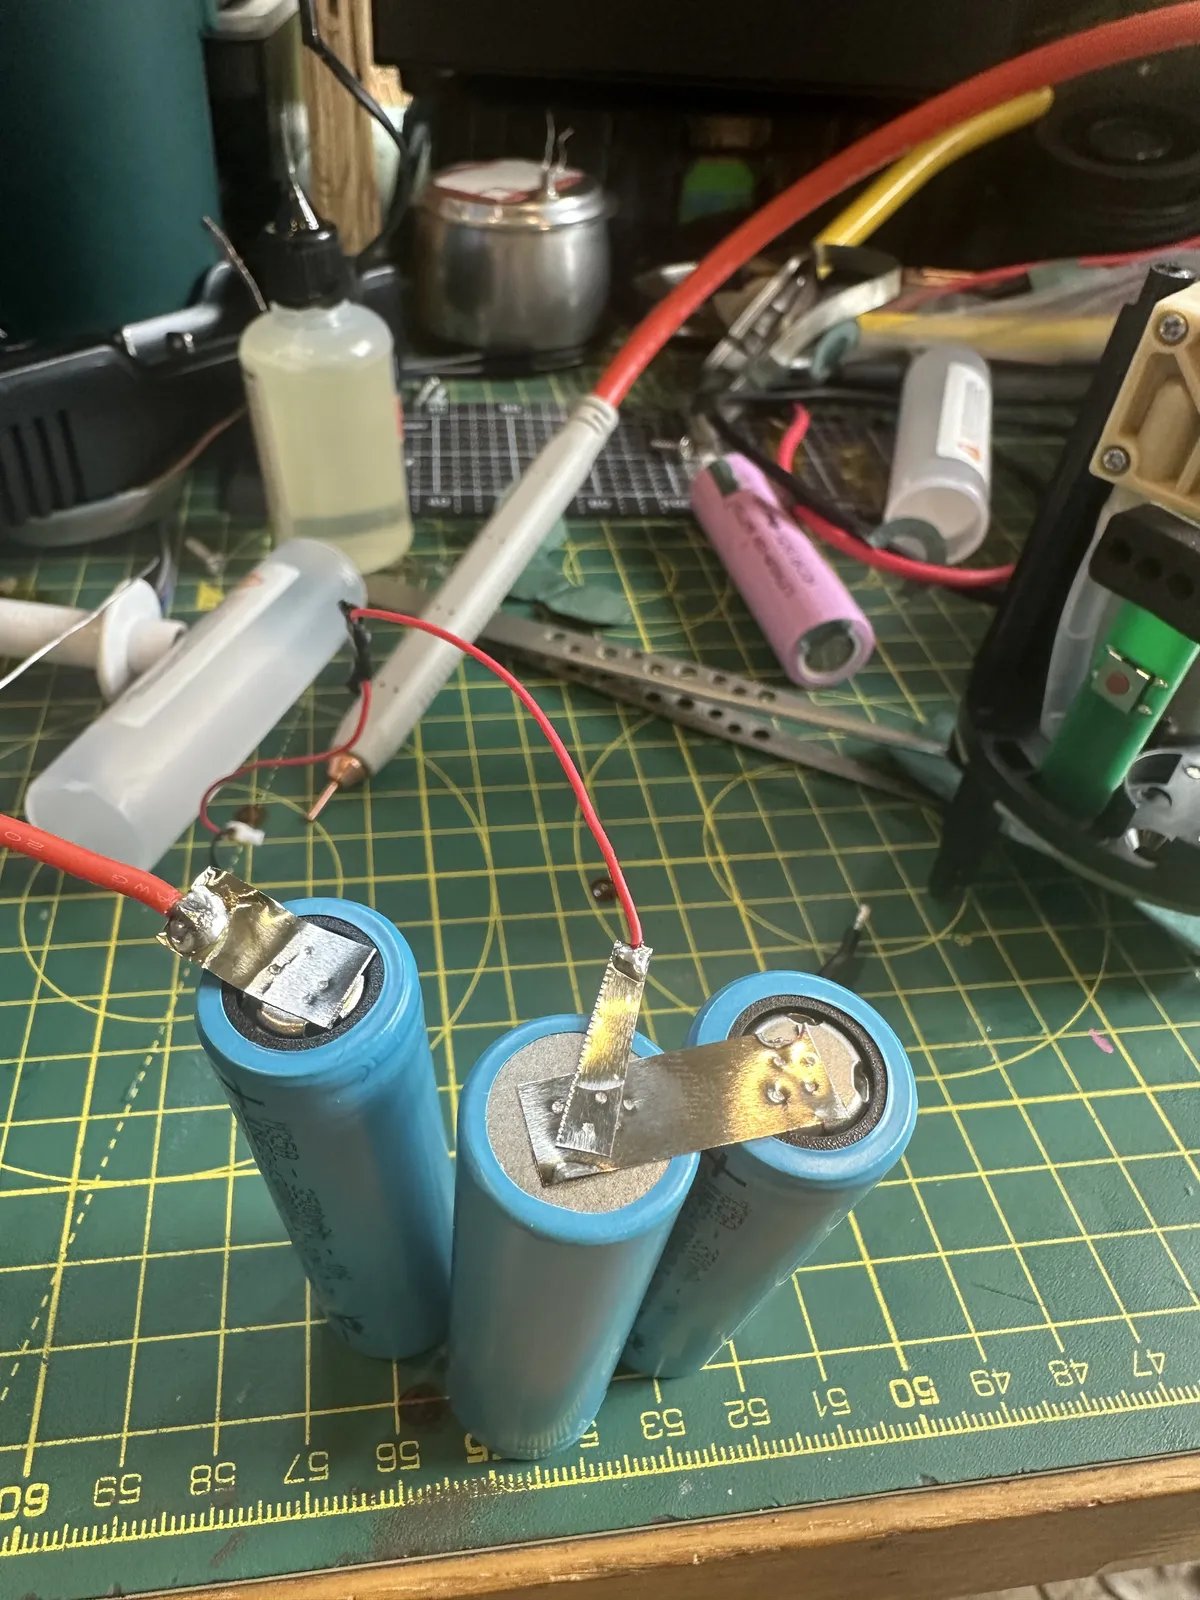
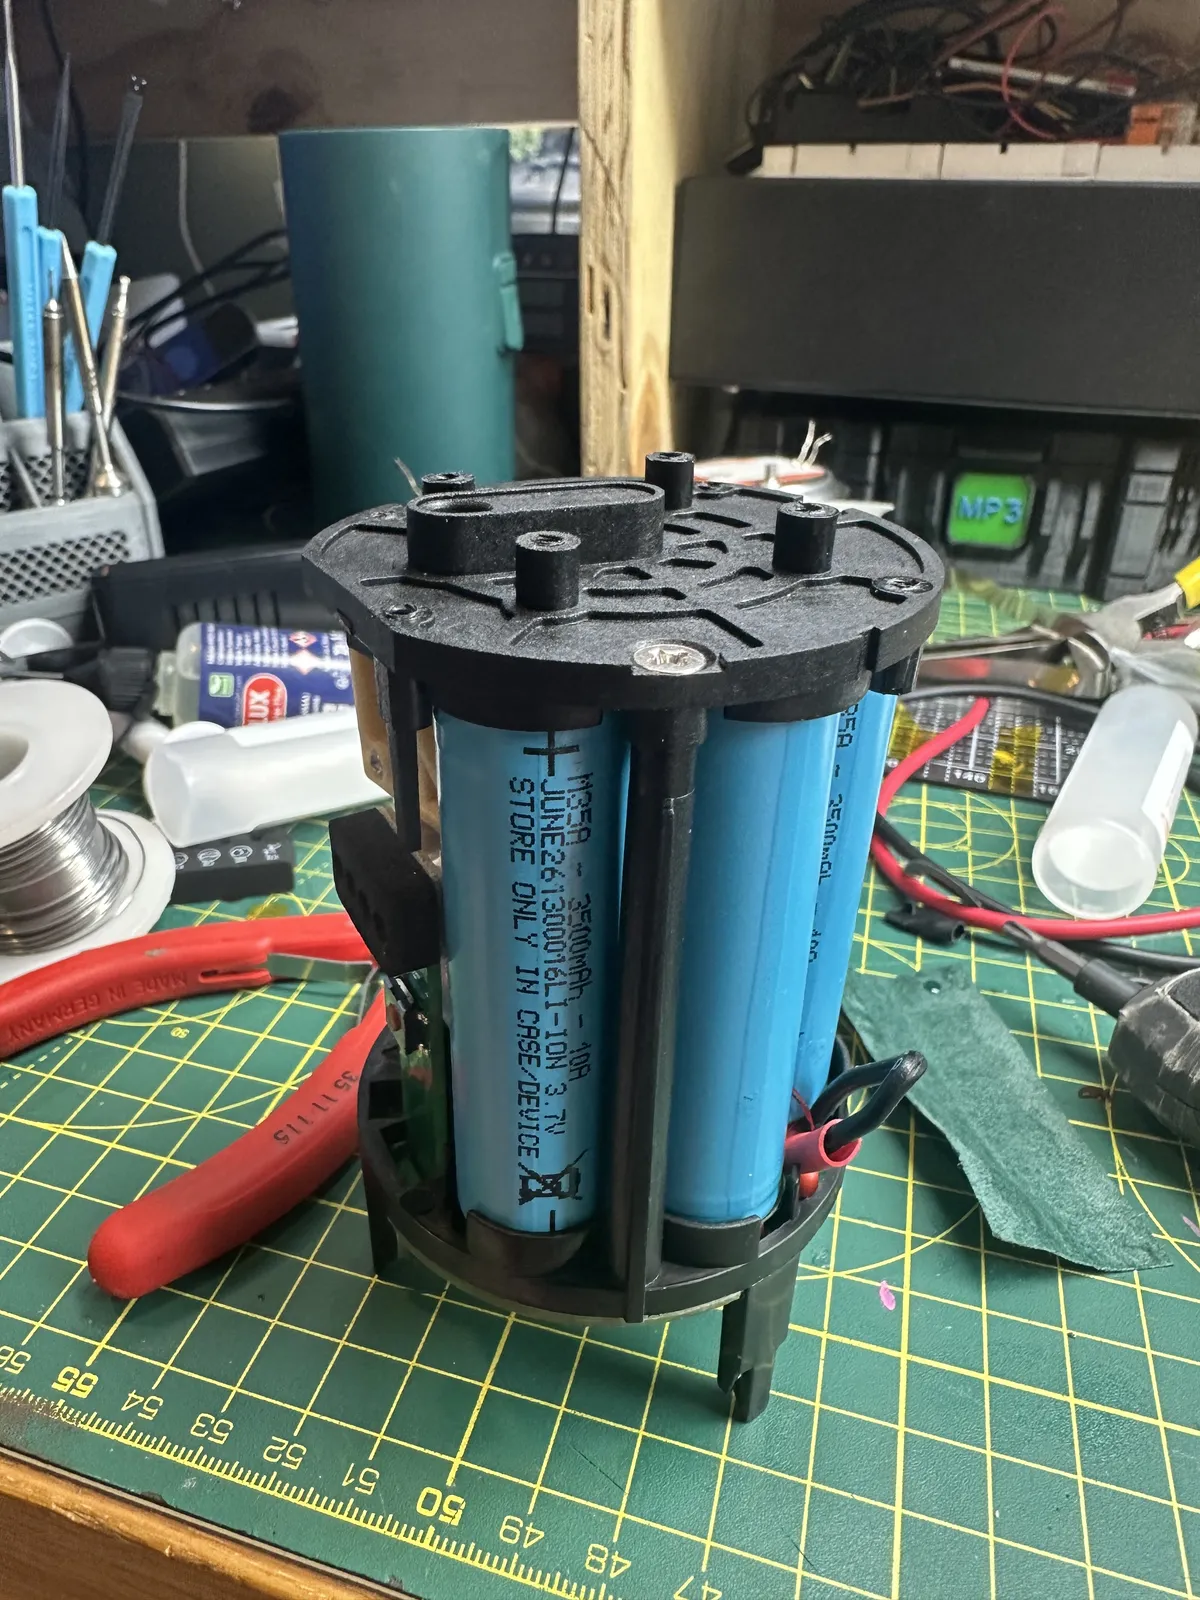
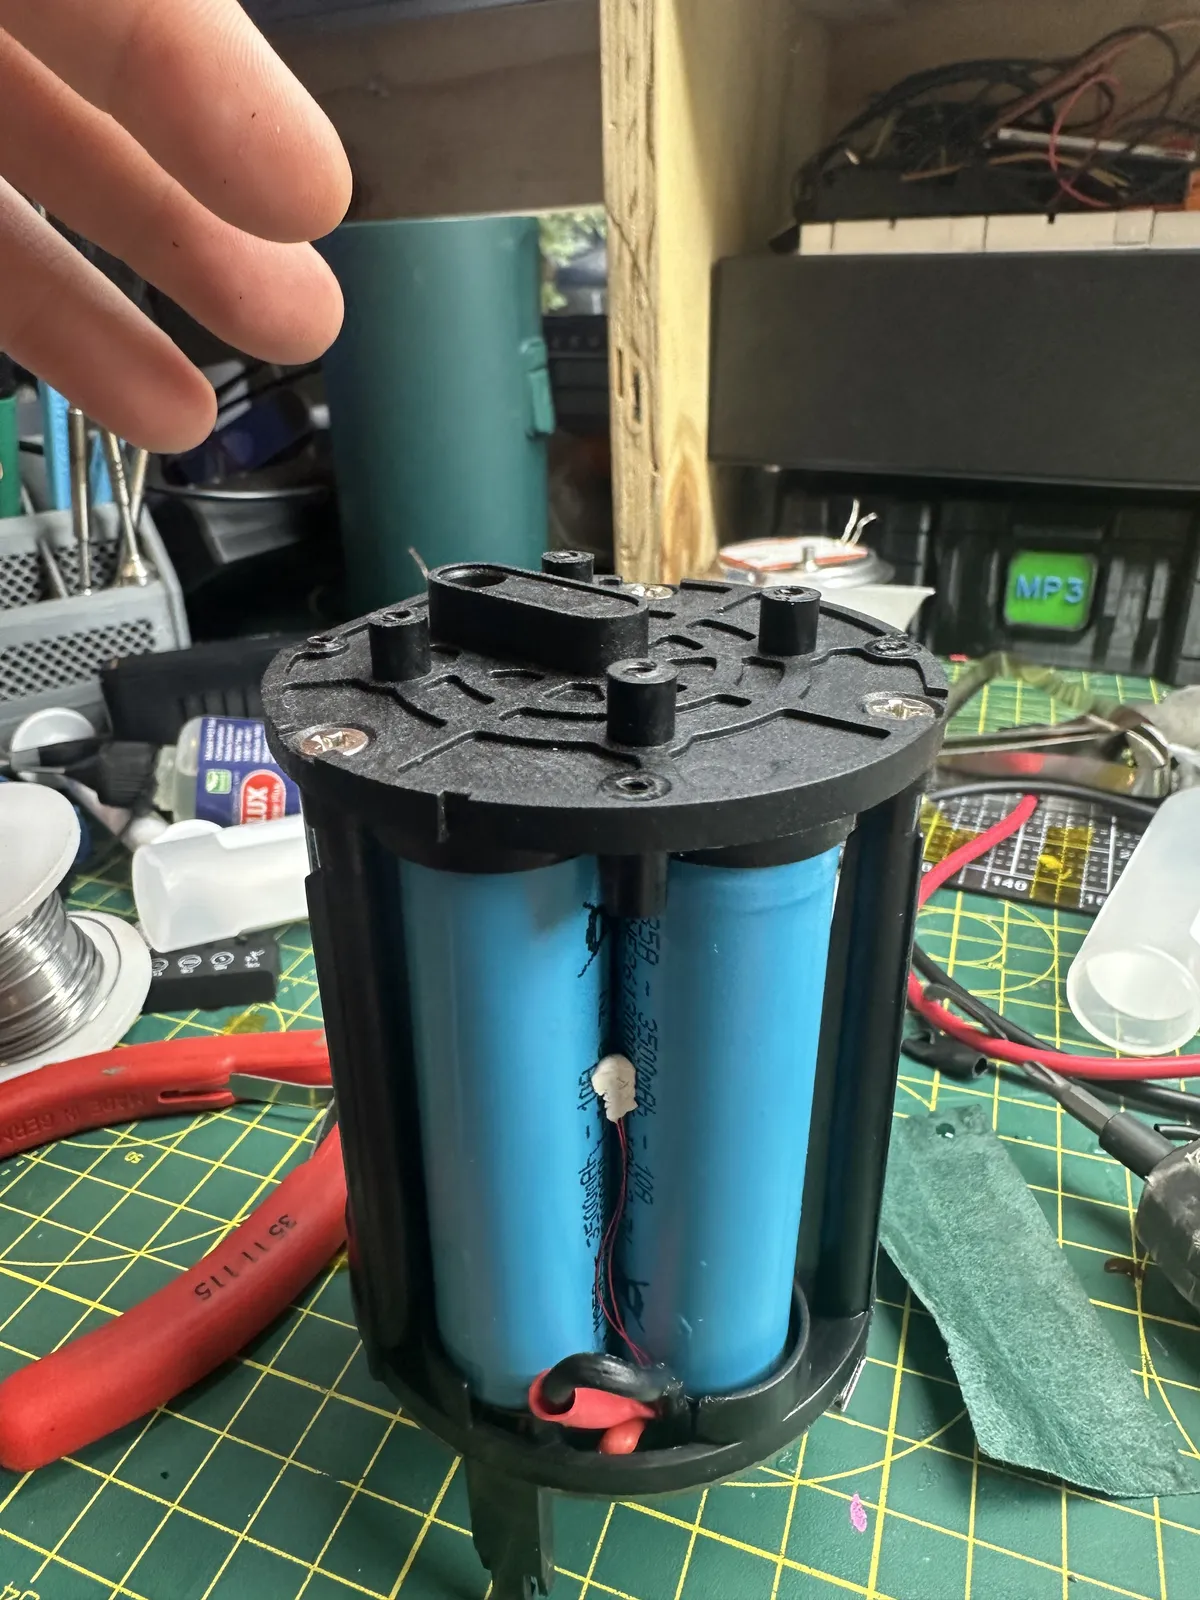
My lesson here was that you need to pay careful attention to the orientation of the tabs where the wire joins. The frame has cutouts to make space for the wires to exit and you need to match them, otherwise either the pack won't fit or the frame won't screw together.
Once the pack is sitting nicely, commence resoldering.
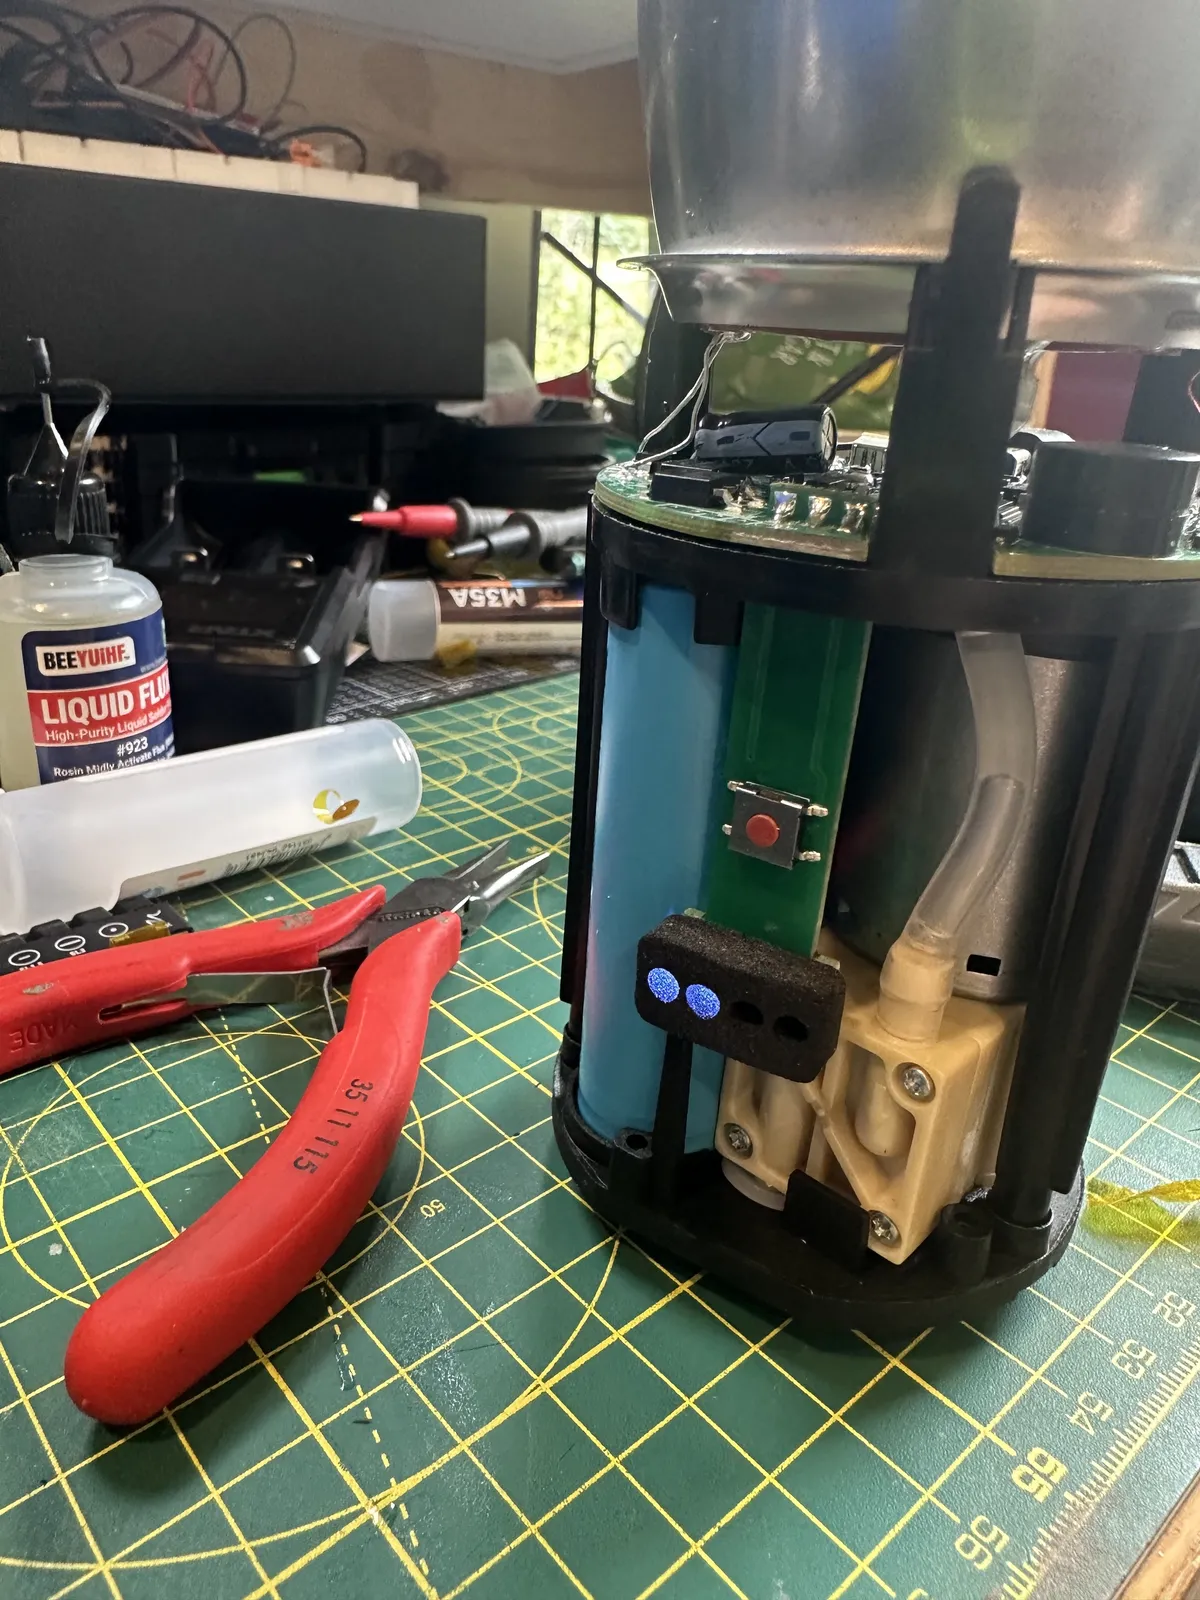
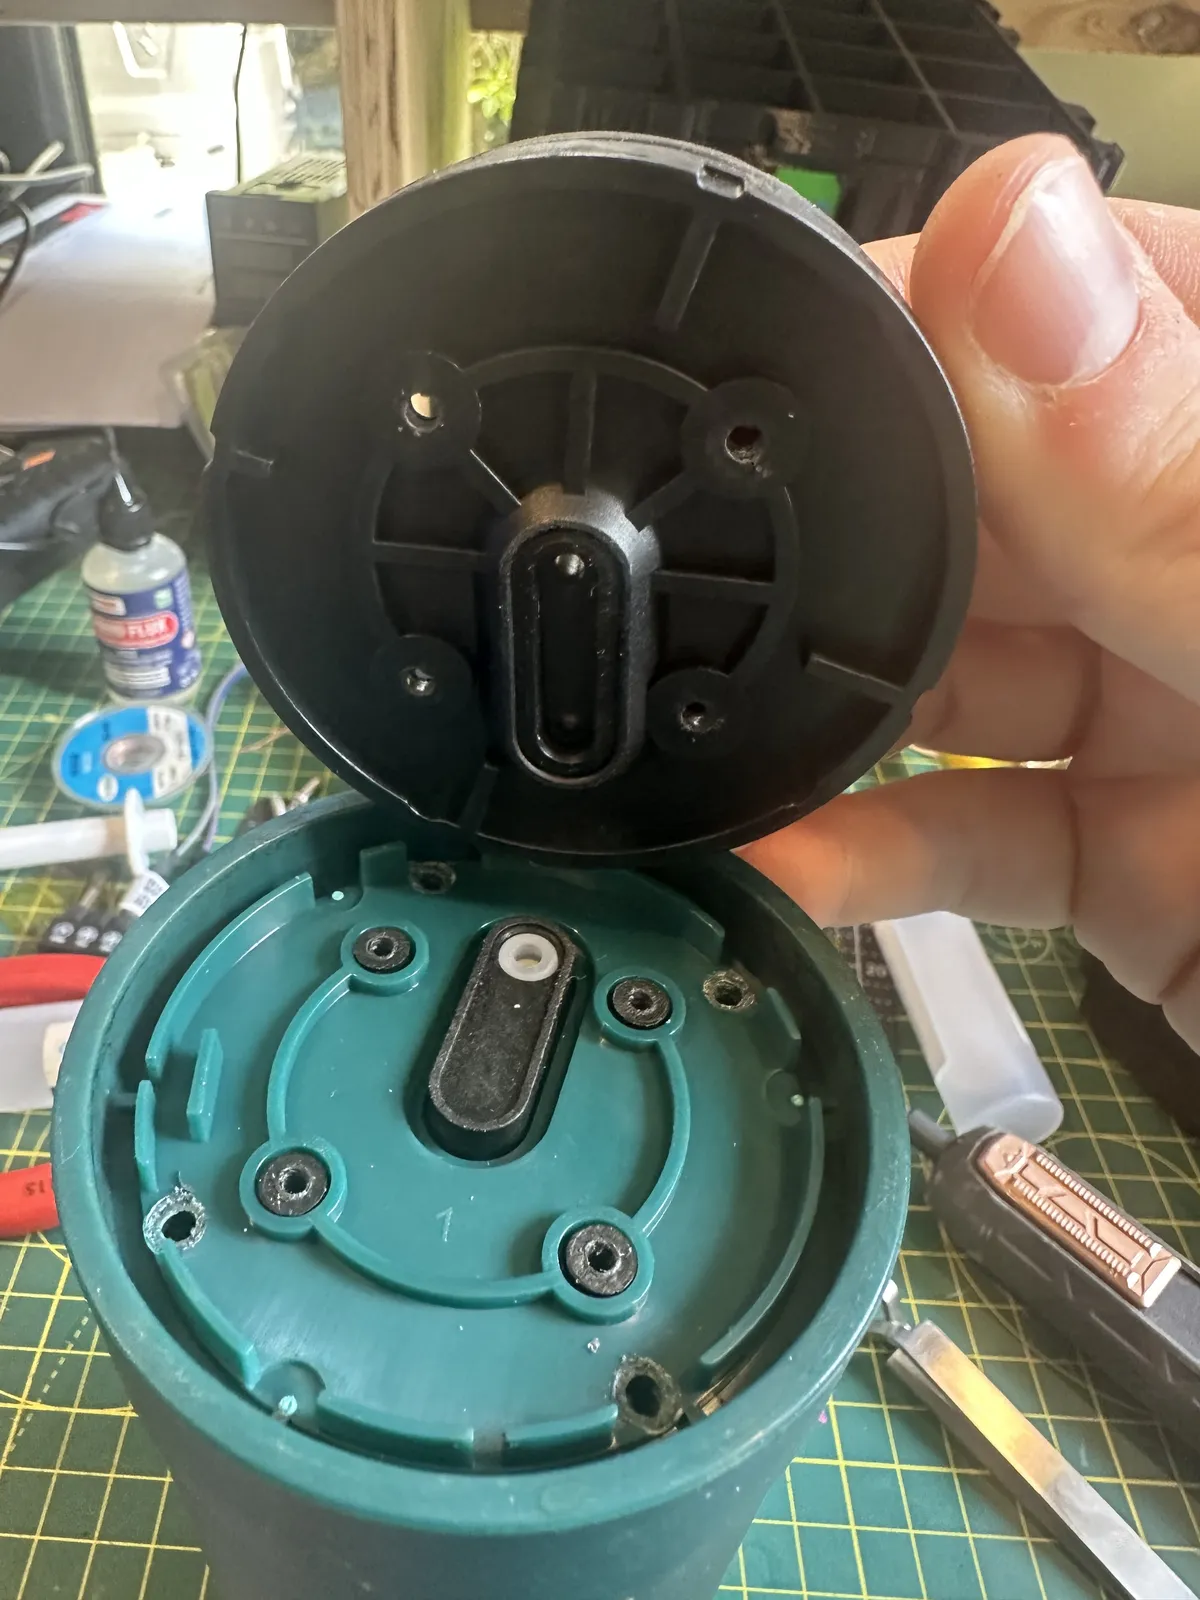
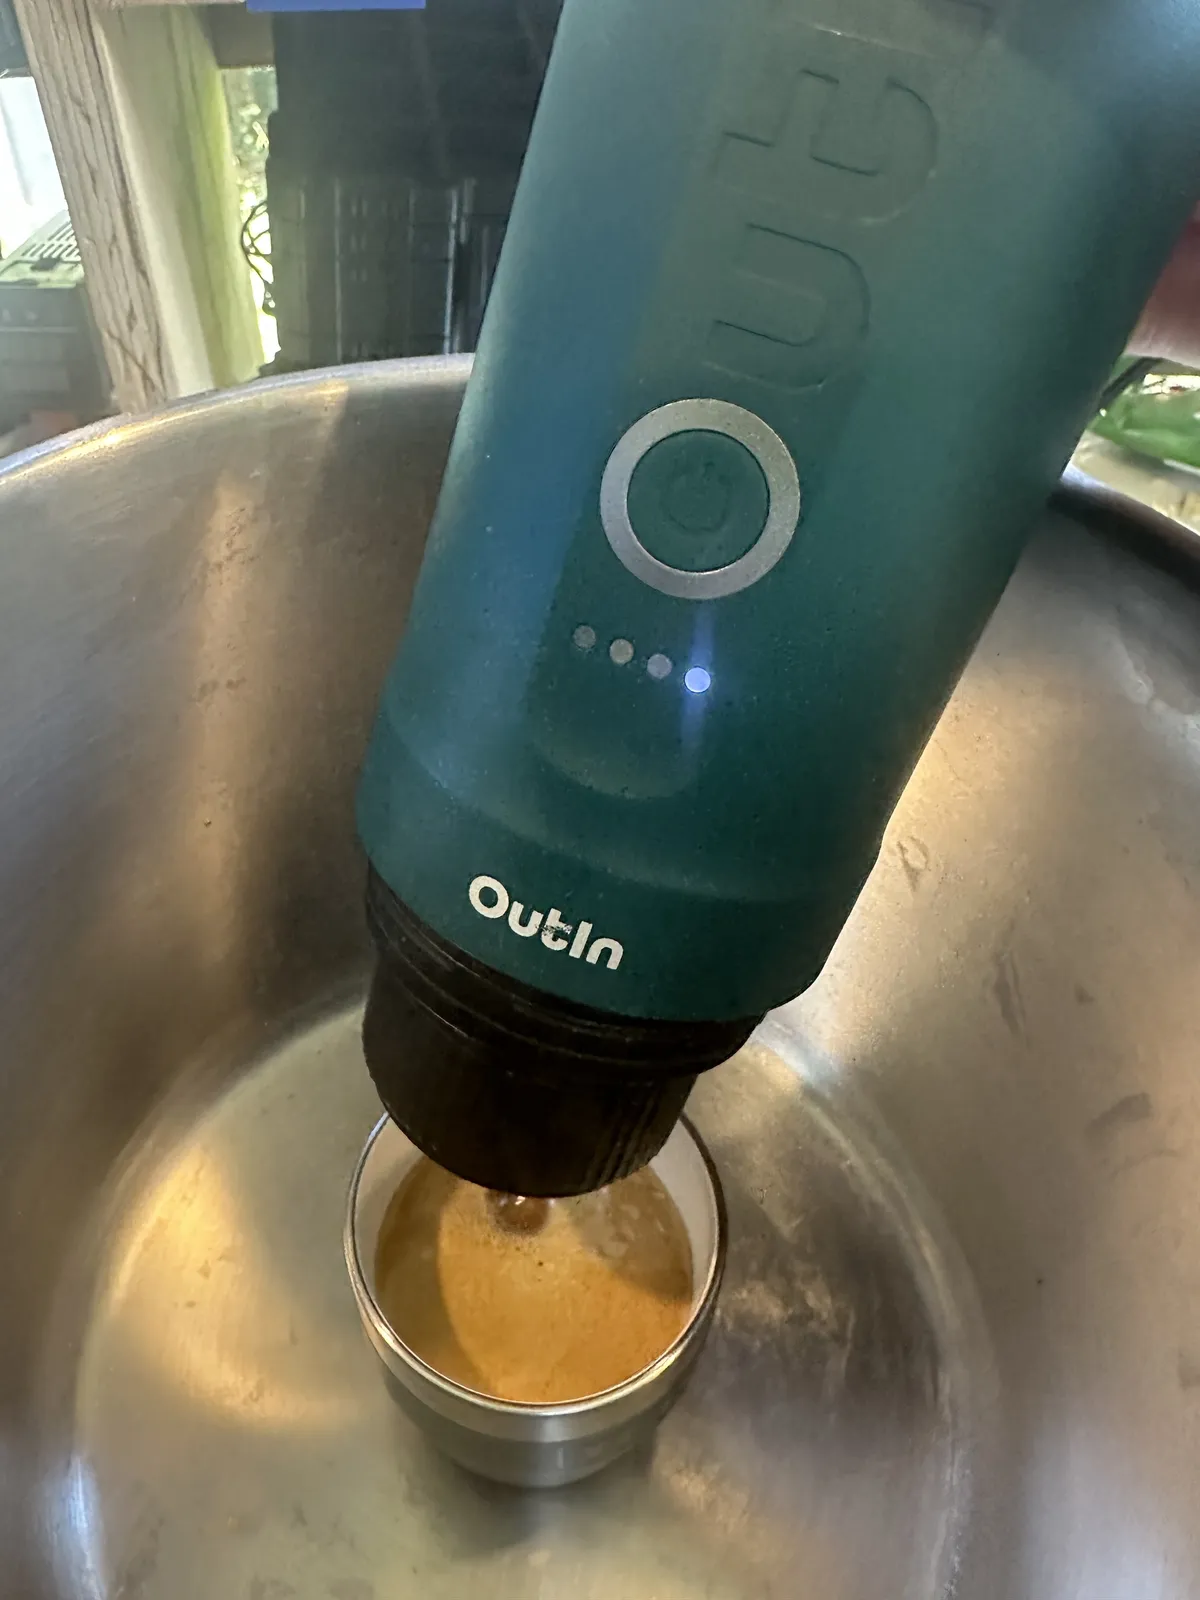
And there we have it, a fully functioning Outin again. And now with even more battery life.
The overall teardown and rebuilt process was straightforward. I was fairly scared of rebuilding the pack as it's the first time I've done something like this. Hence testing it in a giant metal soup pan, just in case.
But now I have a bit more of an idea of what's involved the concept of building custom packs for future projects doesn't scare me nearly as much as it used to.
If you've found this because your Outin is failing to charge, I hope it's of use.