Making a Chefs Knife
“I’ve been thinking about running a knife making workshop”.
Those were the words in the email that got my attention. Someone was offering to run a workshop and had a PID controlled heated knife oven to do the heat cycle and tempering. Seemed like a good idea to me.
This write up is mostly a ’this is what I did’, the end product is usable, but not ideal. It’s a first attempt and a learning process.
The Plan
I’ve been wanting a santoku style chefs knife for some time, but never quite been able to justify buying one. This seemed like a good opportunity to have a go at making one, so the plan was a roughly 6" santoku shaped knife.

The Build
Steve had kindly brought some steel blanks along to the workshop. Given my ambition was … ambitious, the only blank that would work was a 50mmx3mm O1 tool steel. O1 isn’t ideal for this purpose, it’ll hold an edge reasonable well, but it rusts and the blank was quite thick for the intended purpose. Santoku knives are usually pretty thin, and this was much more suitable to making a camping utility knife. Got to work with what’s available and the heat treat for stainless steel is beyond the capabilities of the oven that Steve had made.
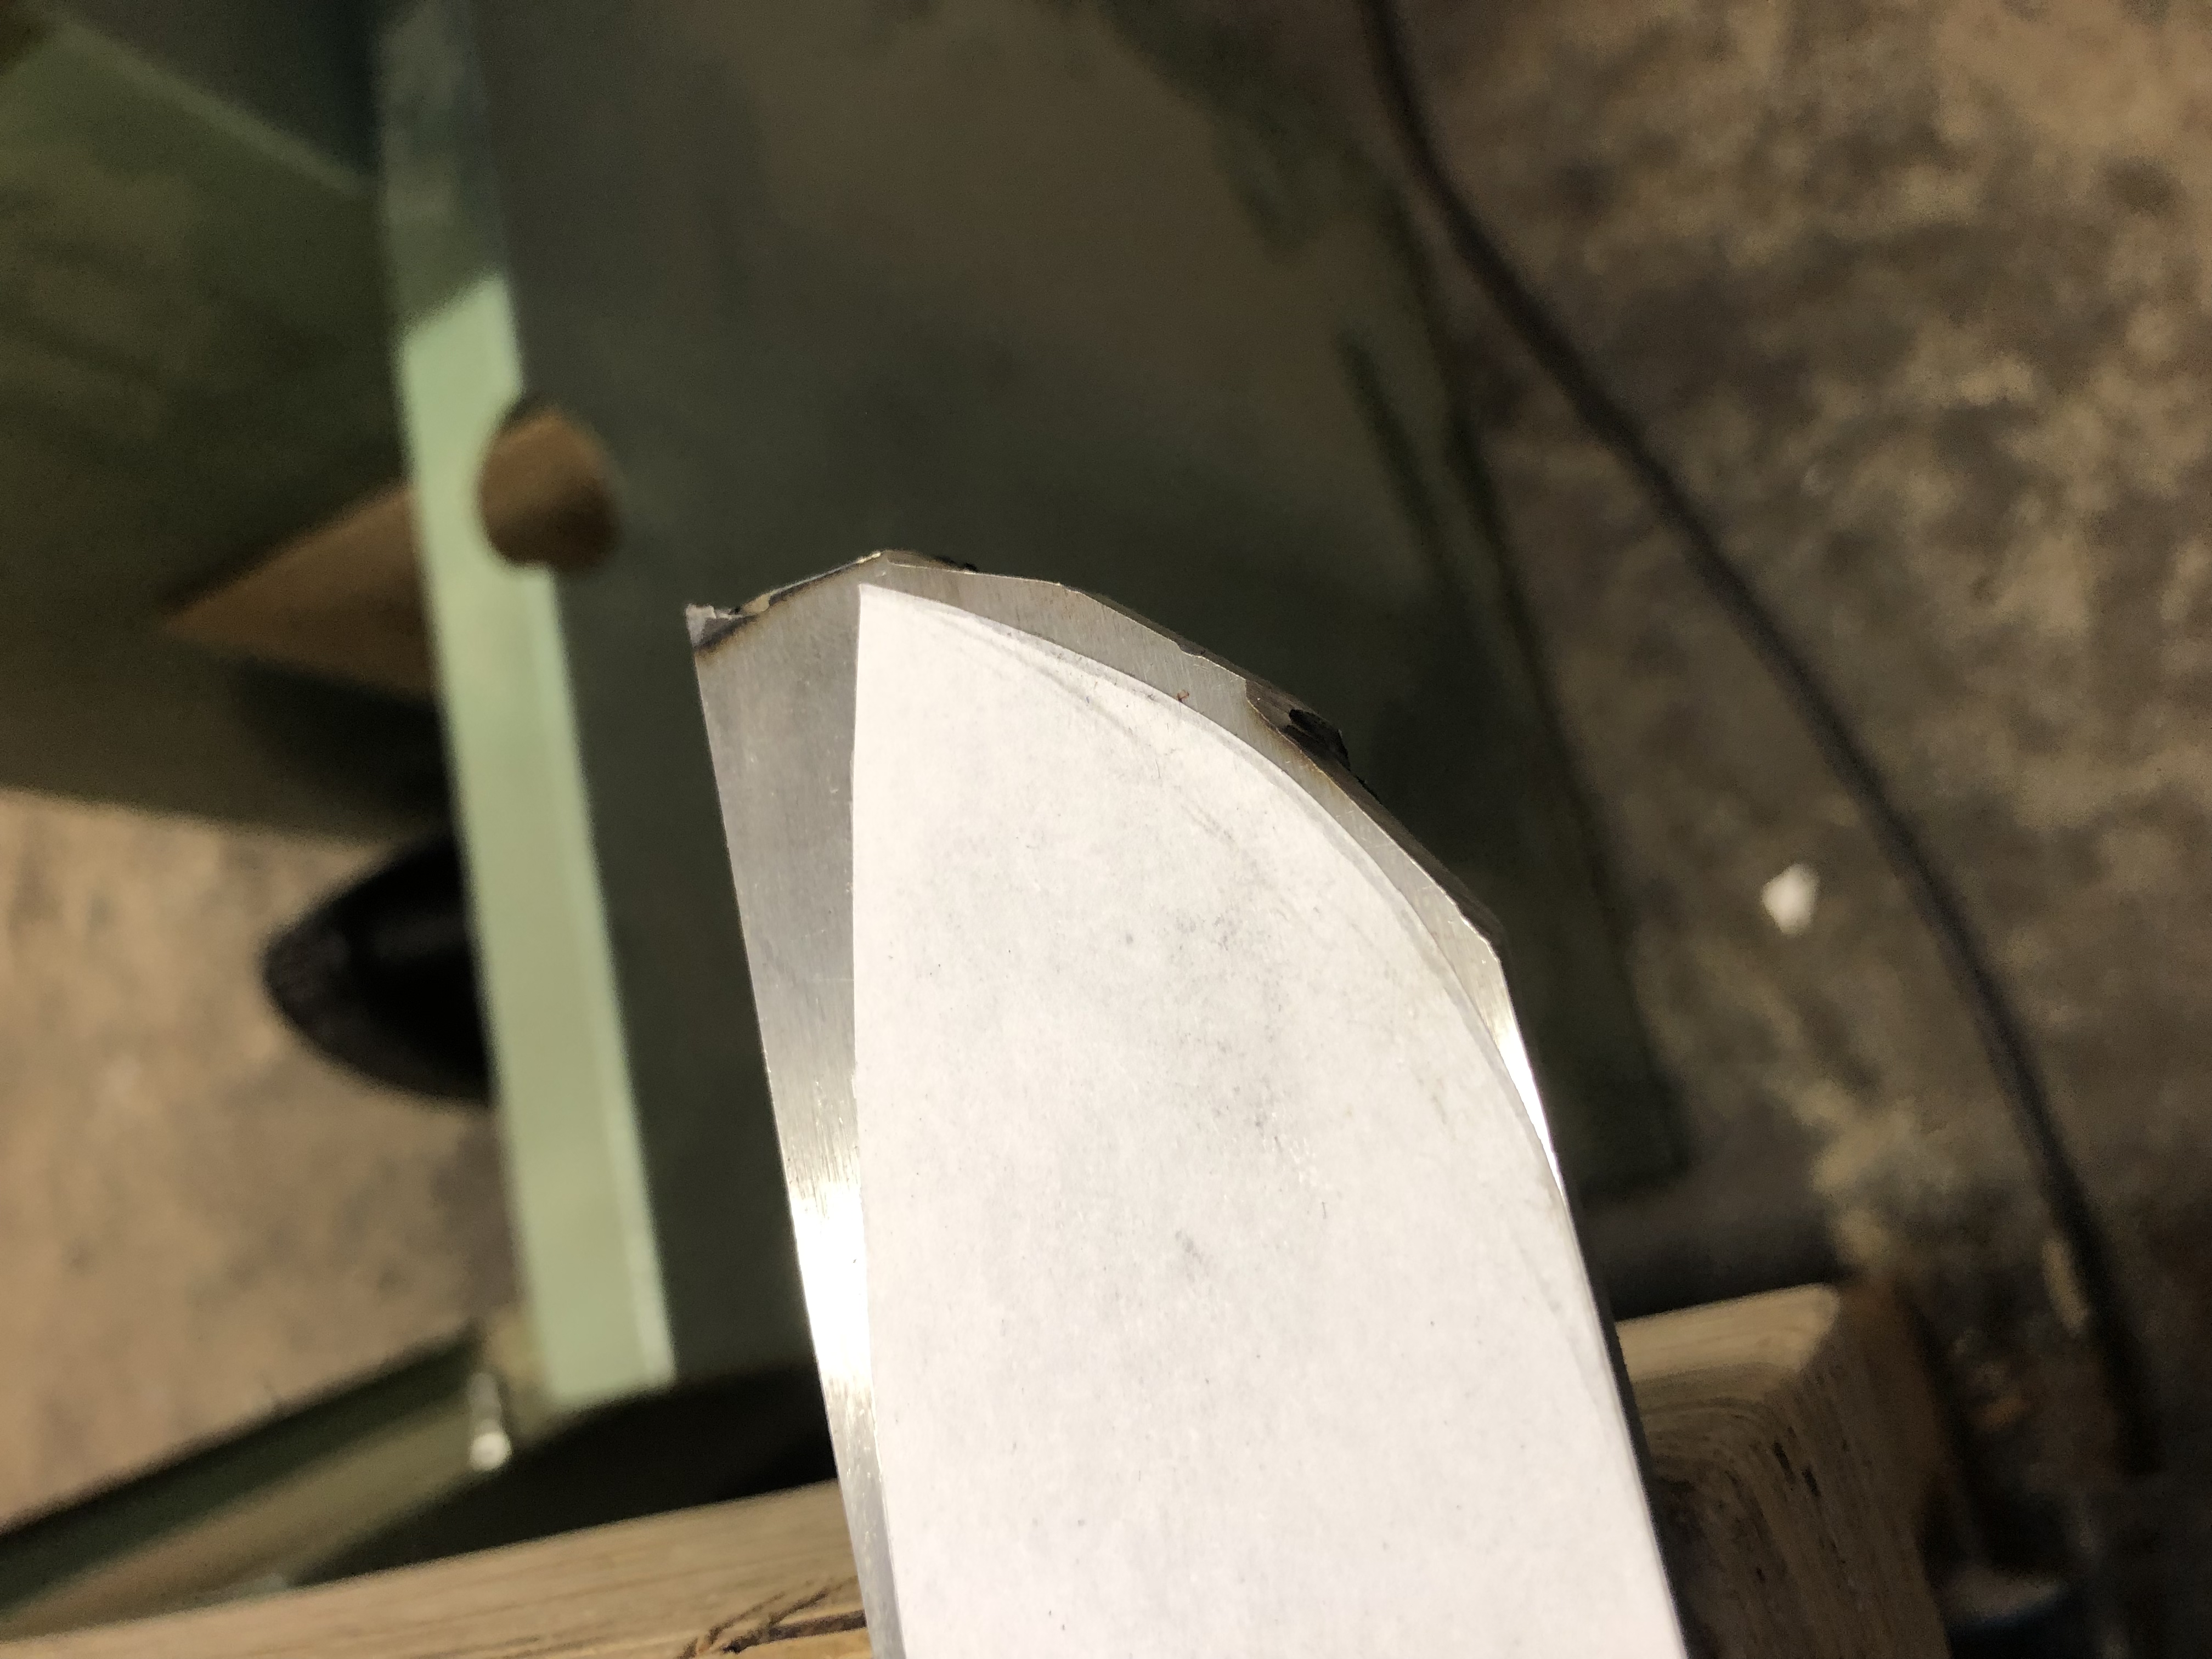
Shaping
Stick the template to the blank, mark it out with a Sharpie.

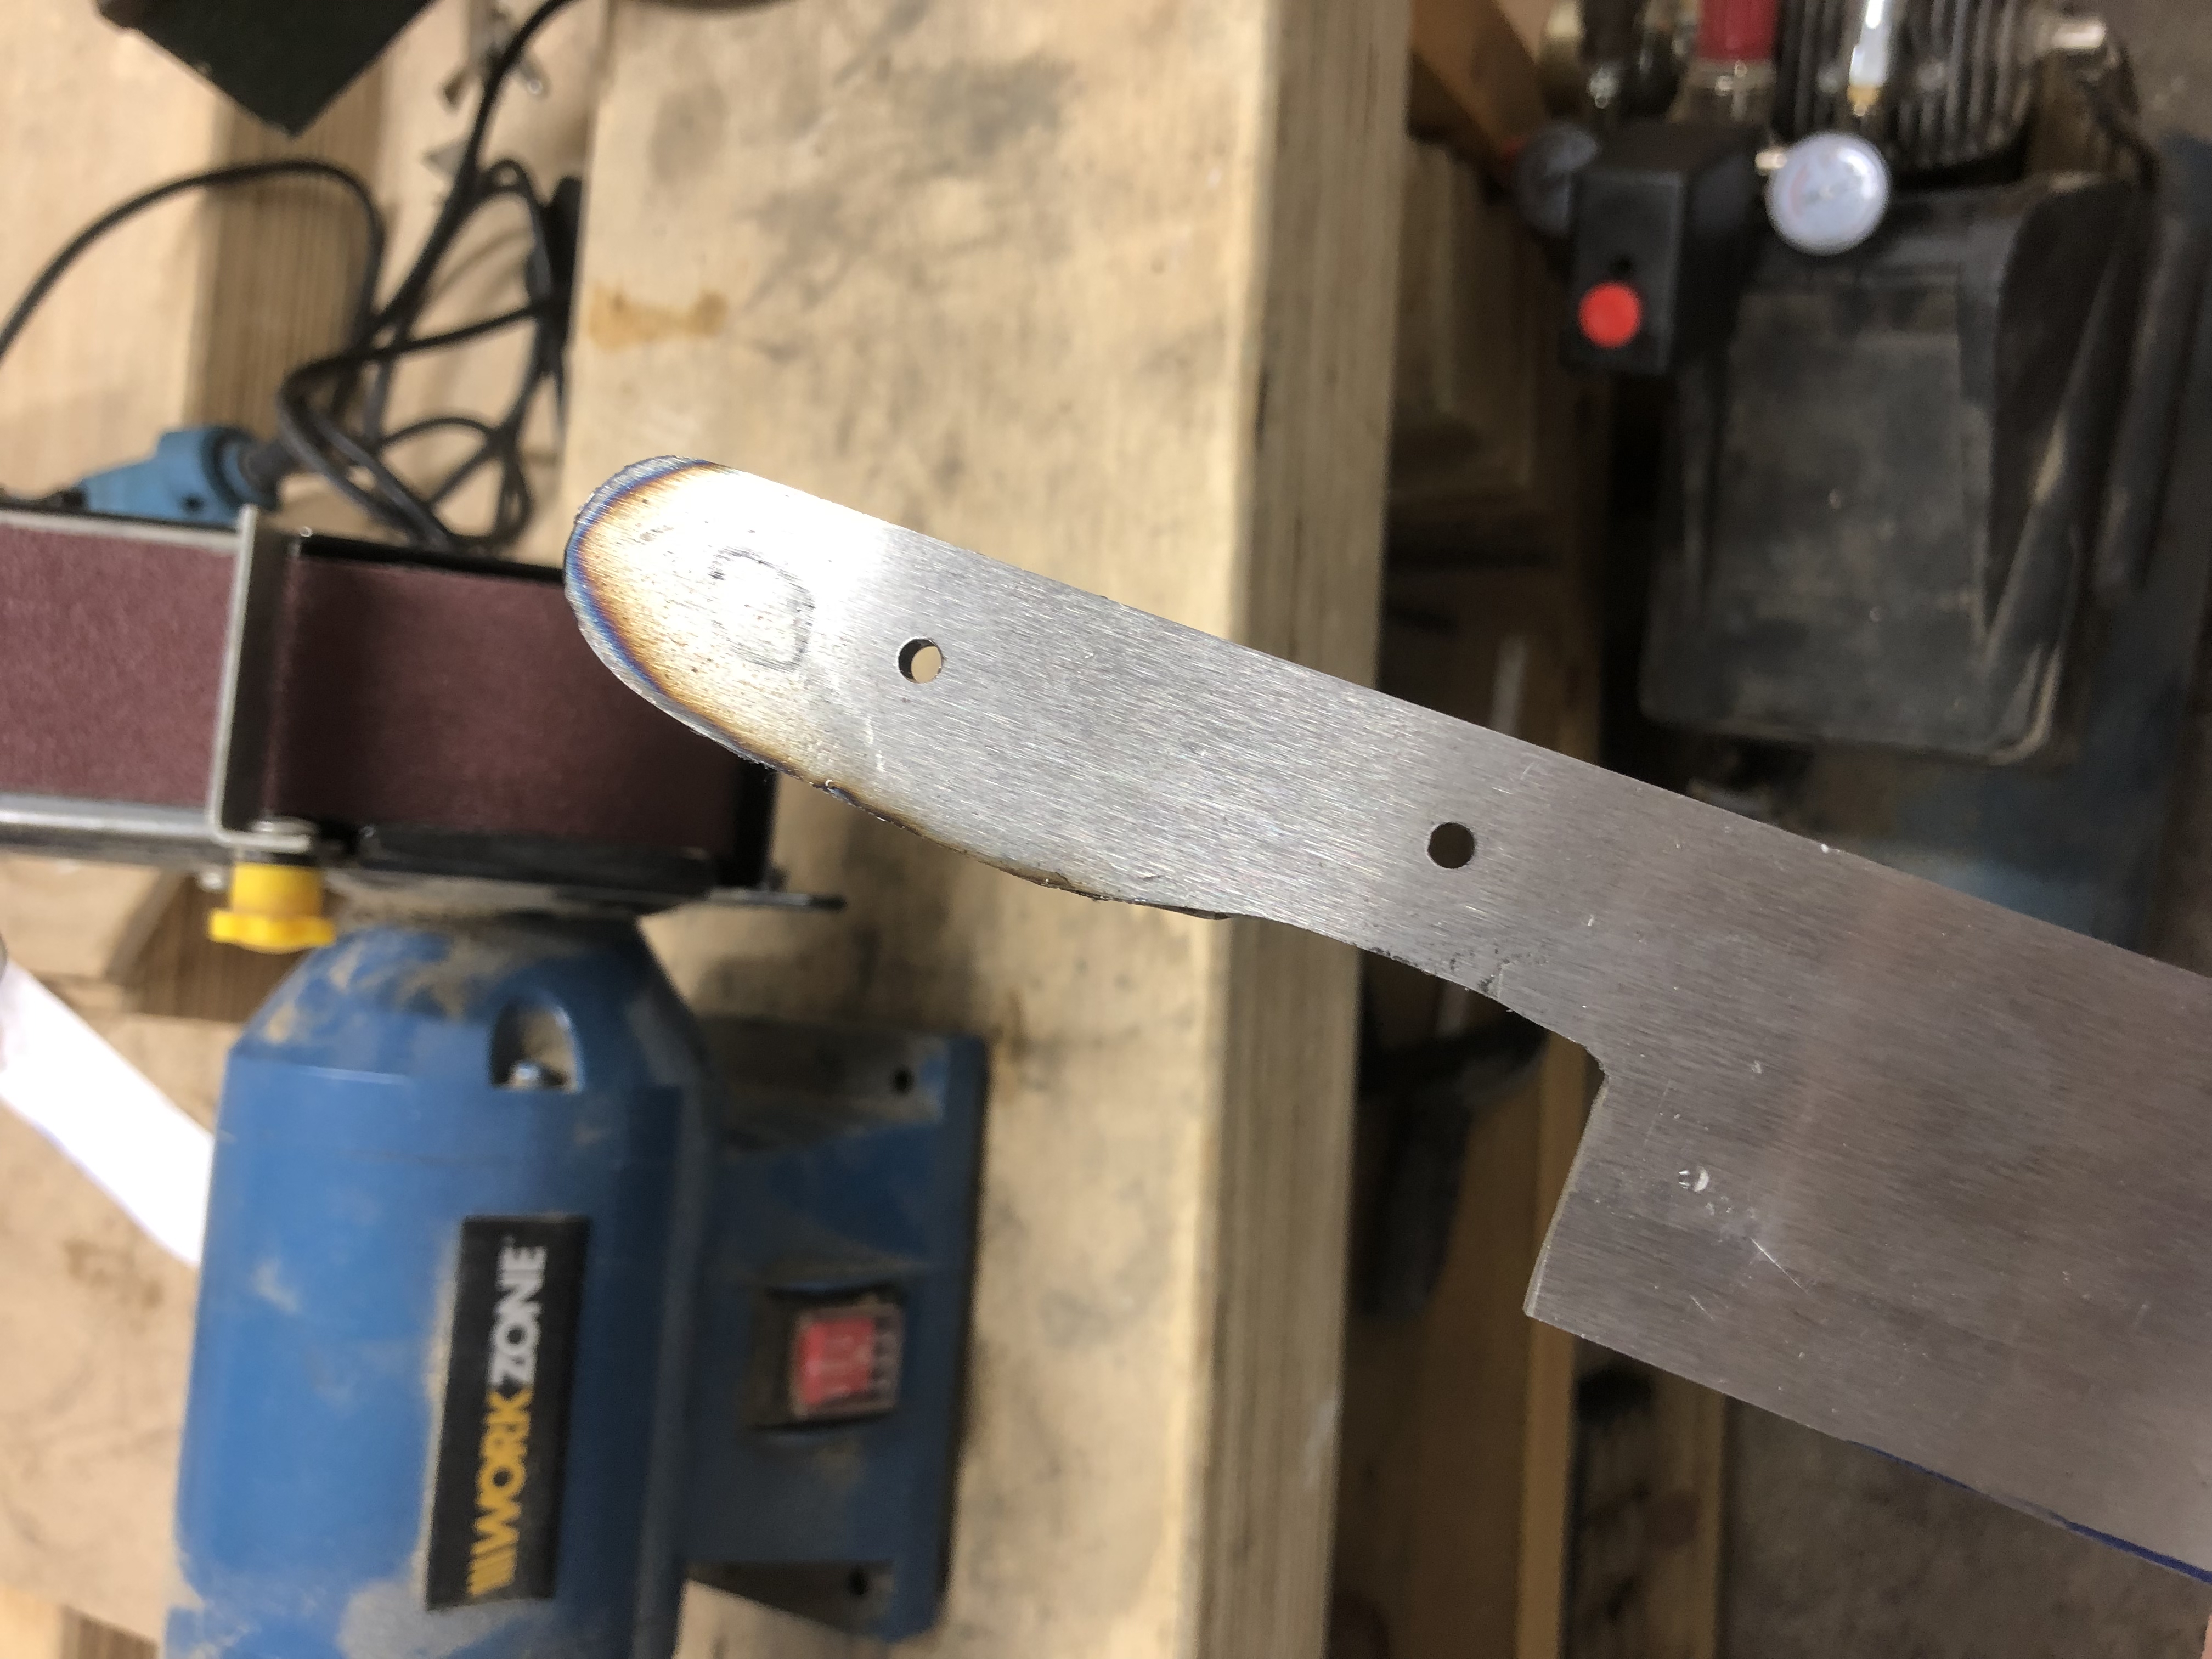
Then, with a combination of an angle grinder and hand files, cut the rest of the shape out. This was the first time I’d even held an angle grinder, so the cuts were pretty conservative and I spent a lot of time with hand files. A theme in my recent projects.
You need to get as much of the shape in before heat treating, as once it’s hardened it becomes a lot harder to work the blade (unsurprisingly).
The other important step is to drill the blank for the pins that will hold the sides of the handle on. There are many ways of doing this, I settled on Corby pins, which are basically two pins, held together by a screw in the middle. Somewhat annoyingly, I don’t have a photo of them being attached to this knife. An unexpected problem (to me at least) is that a lot of knife making is naturally based in the US, so the pin measurements are given in imperial (inches and fractions) rather than metric. This eventually necessitated me buying a set of imperial drill bits, which are a bit more expensive over here.
The first holes were drilled out, I eventually ended up widening them after heat treat, but getting most of the width there before the oven made that a lot easier than trying to drill the hardened steel fully afterwards.
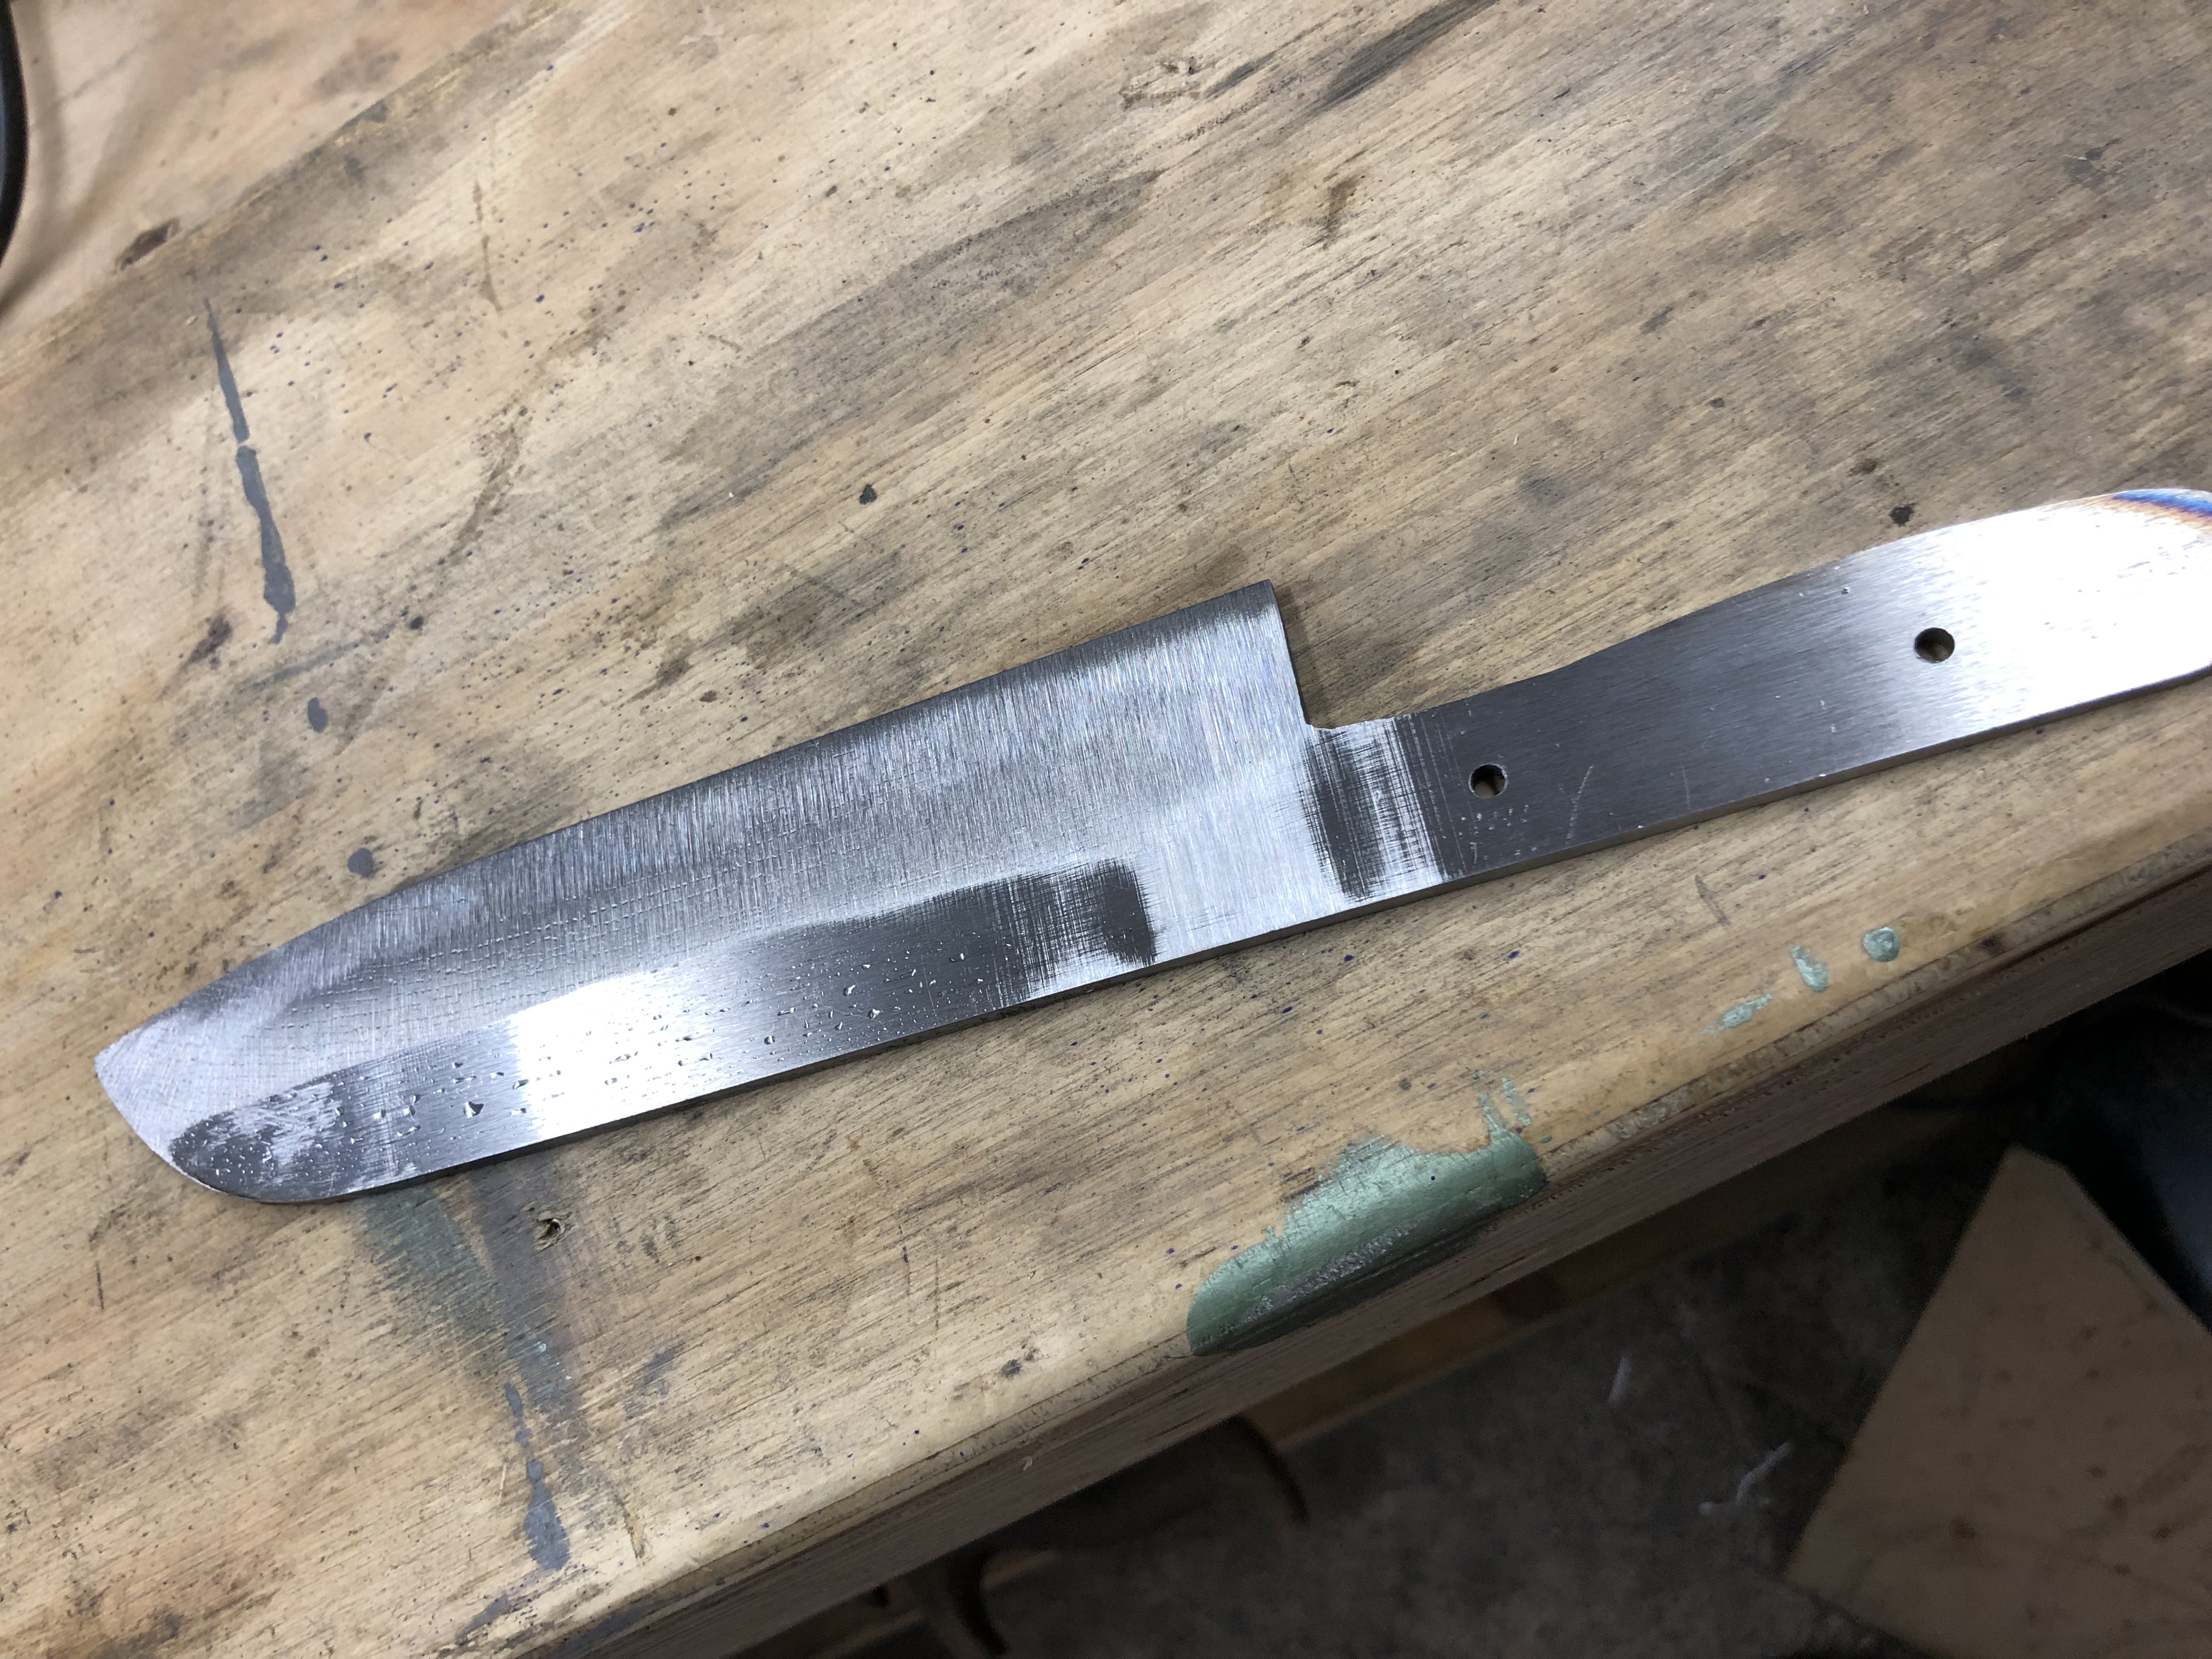
With the blade shaped and the holes drilled, moving on to bevel shaping. This is where the thickness of this blankl stock started to become a problem. 3mm is just too wide for this type of blade, so the bevels ended up not being ideal, with a secondary bevel having to be ground in to actually take an edge. I didn’t know that at this point though!
Heat Treat
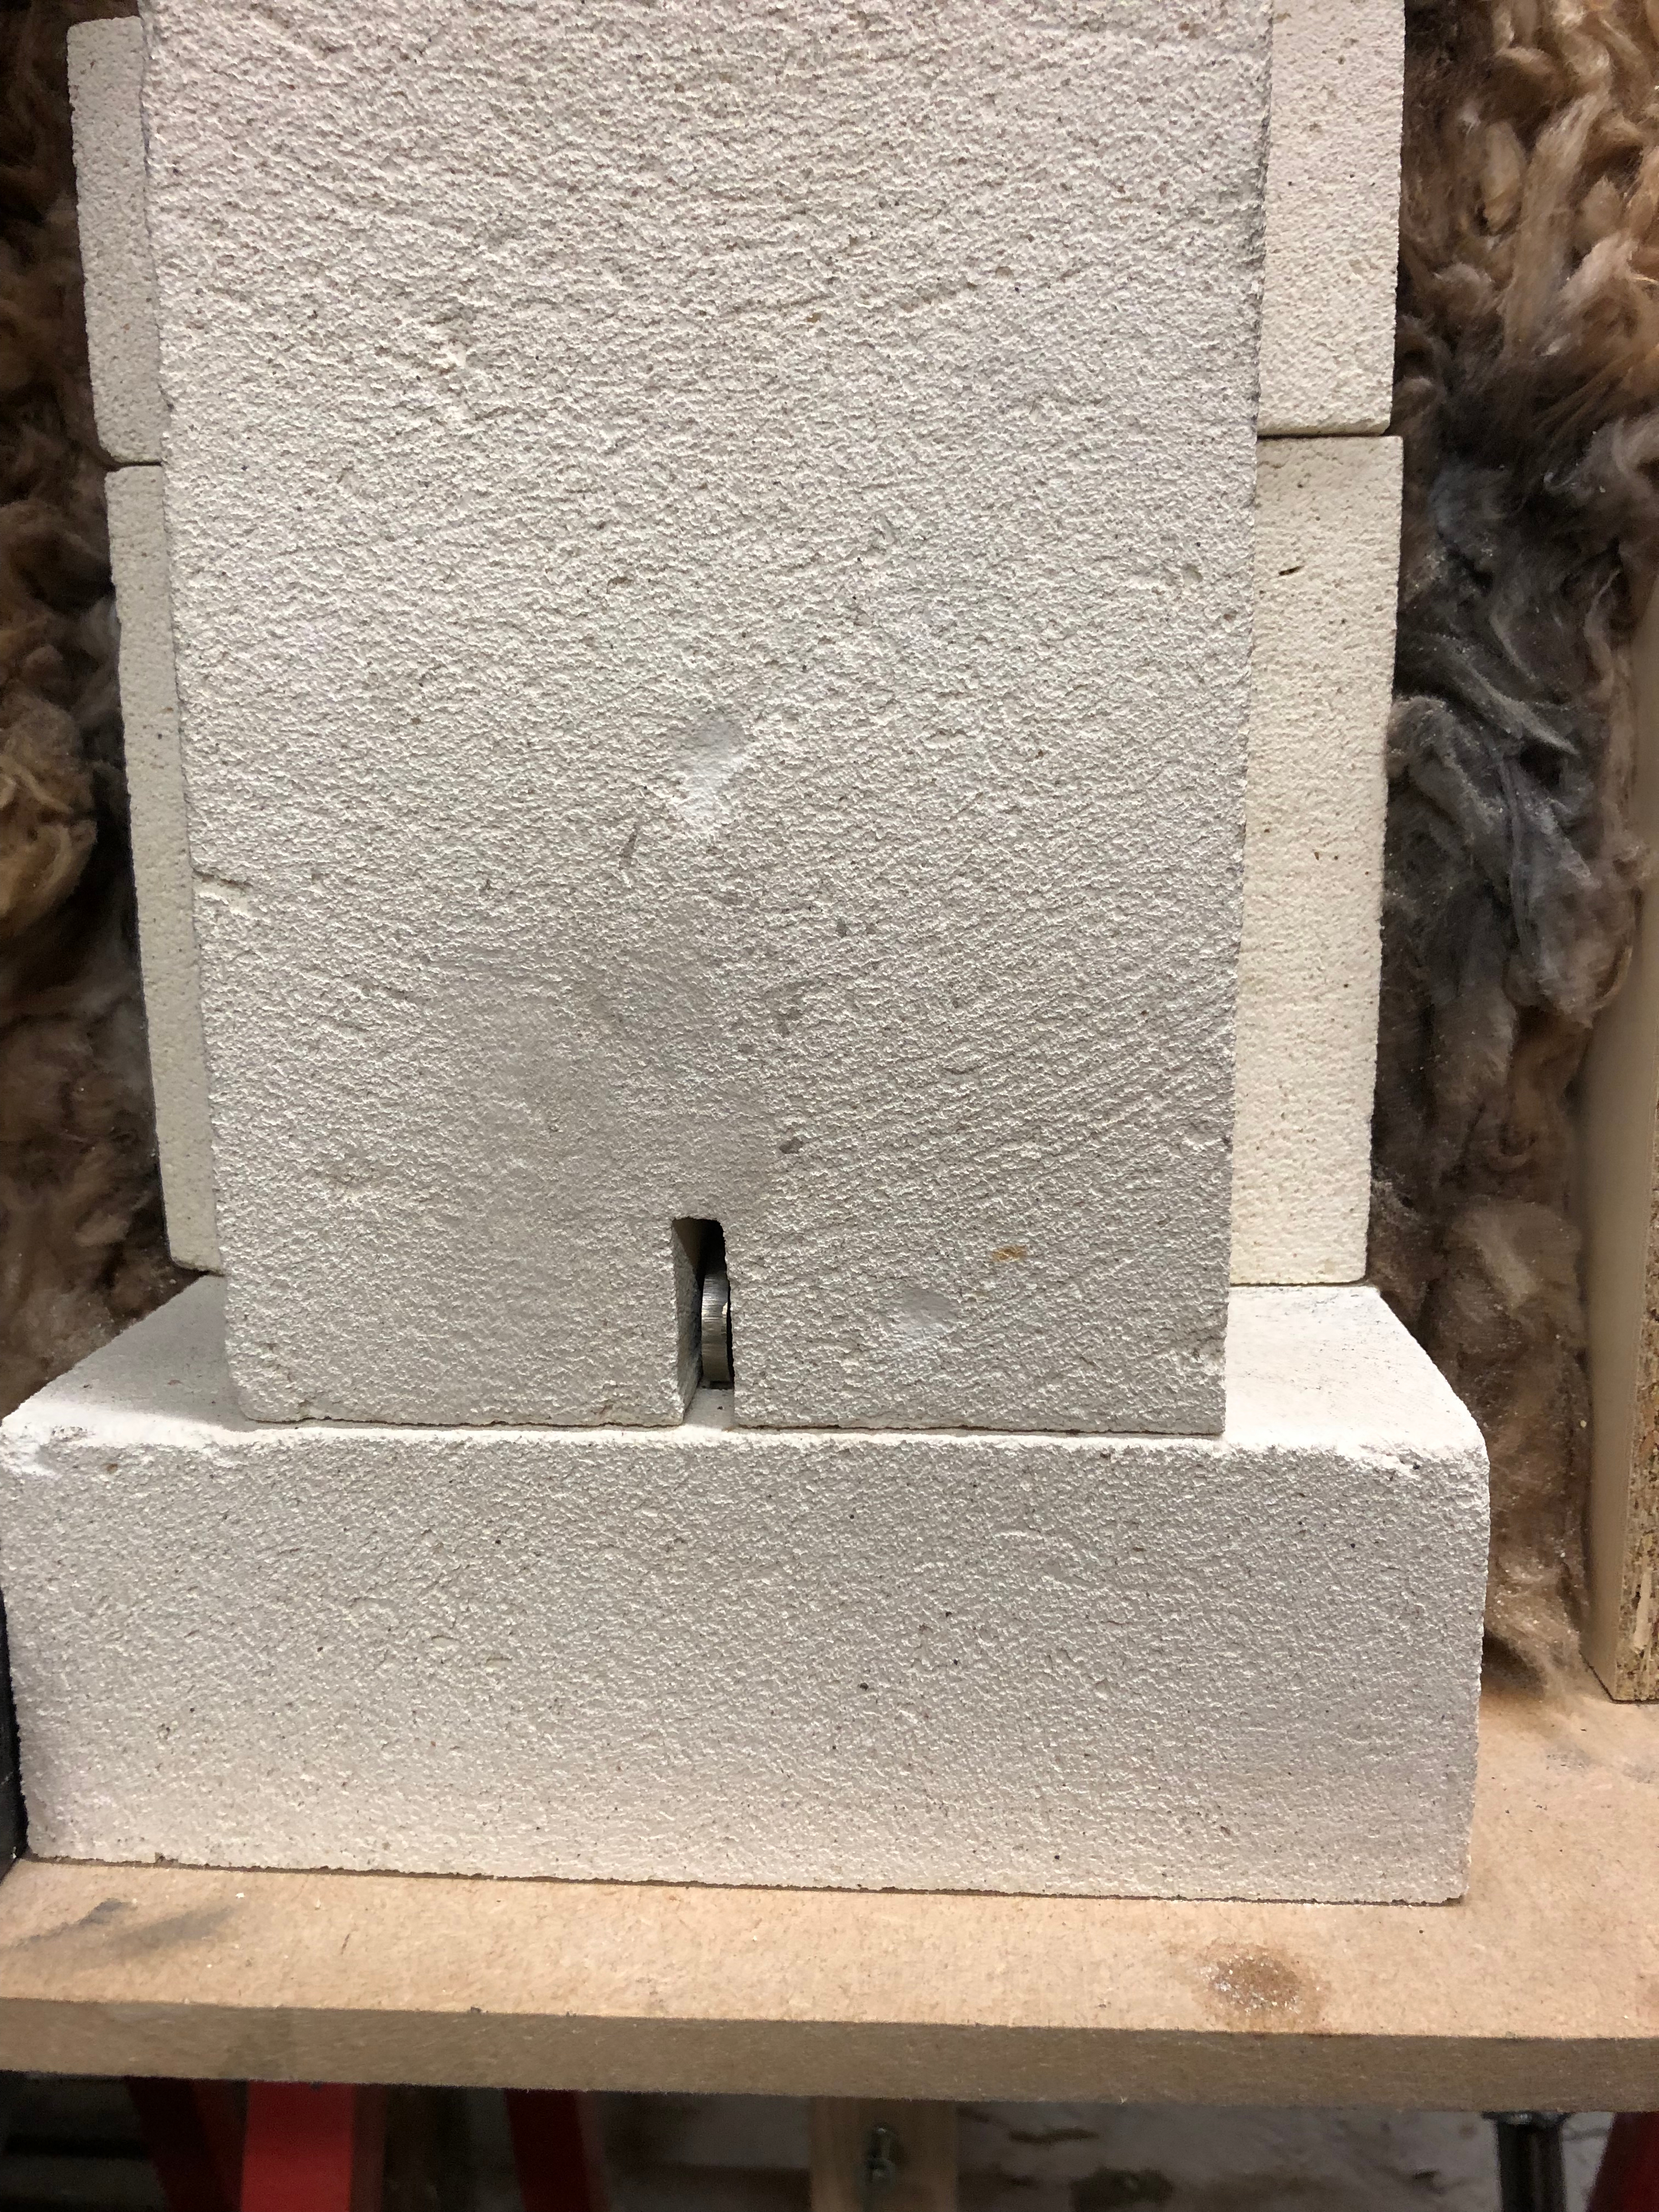
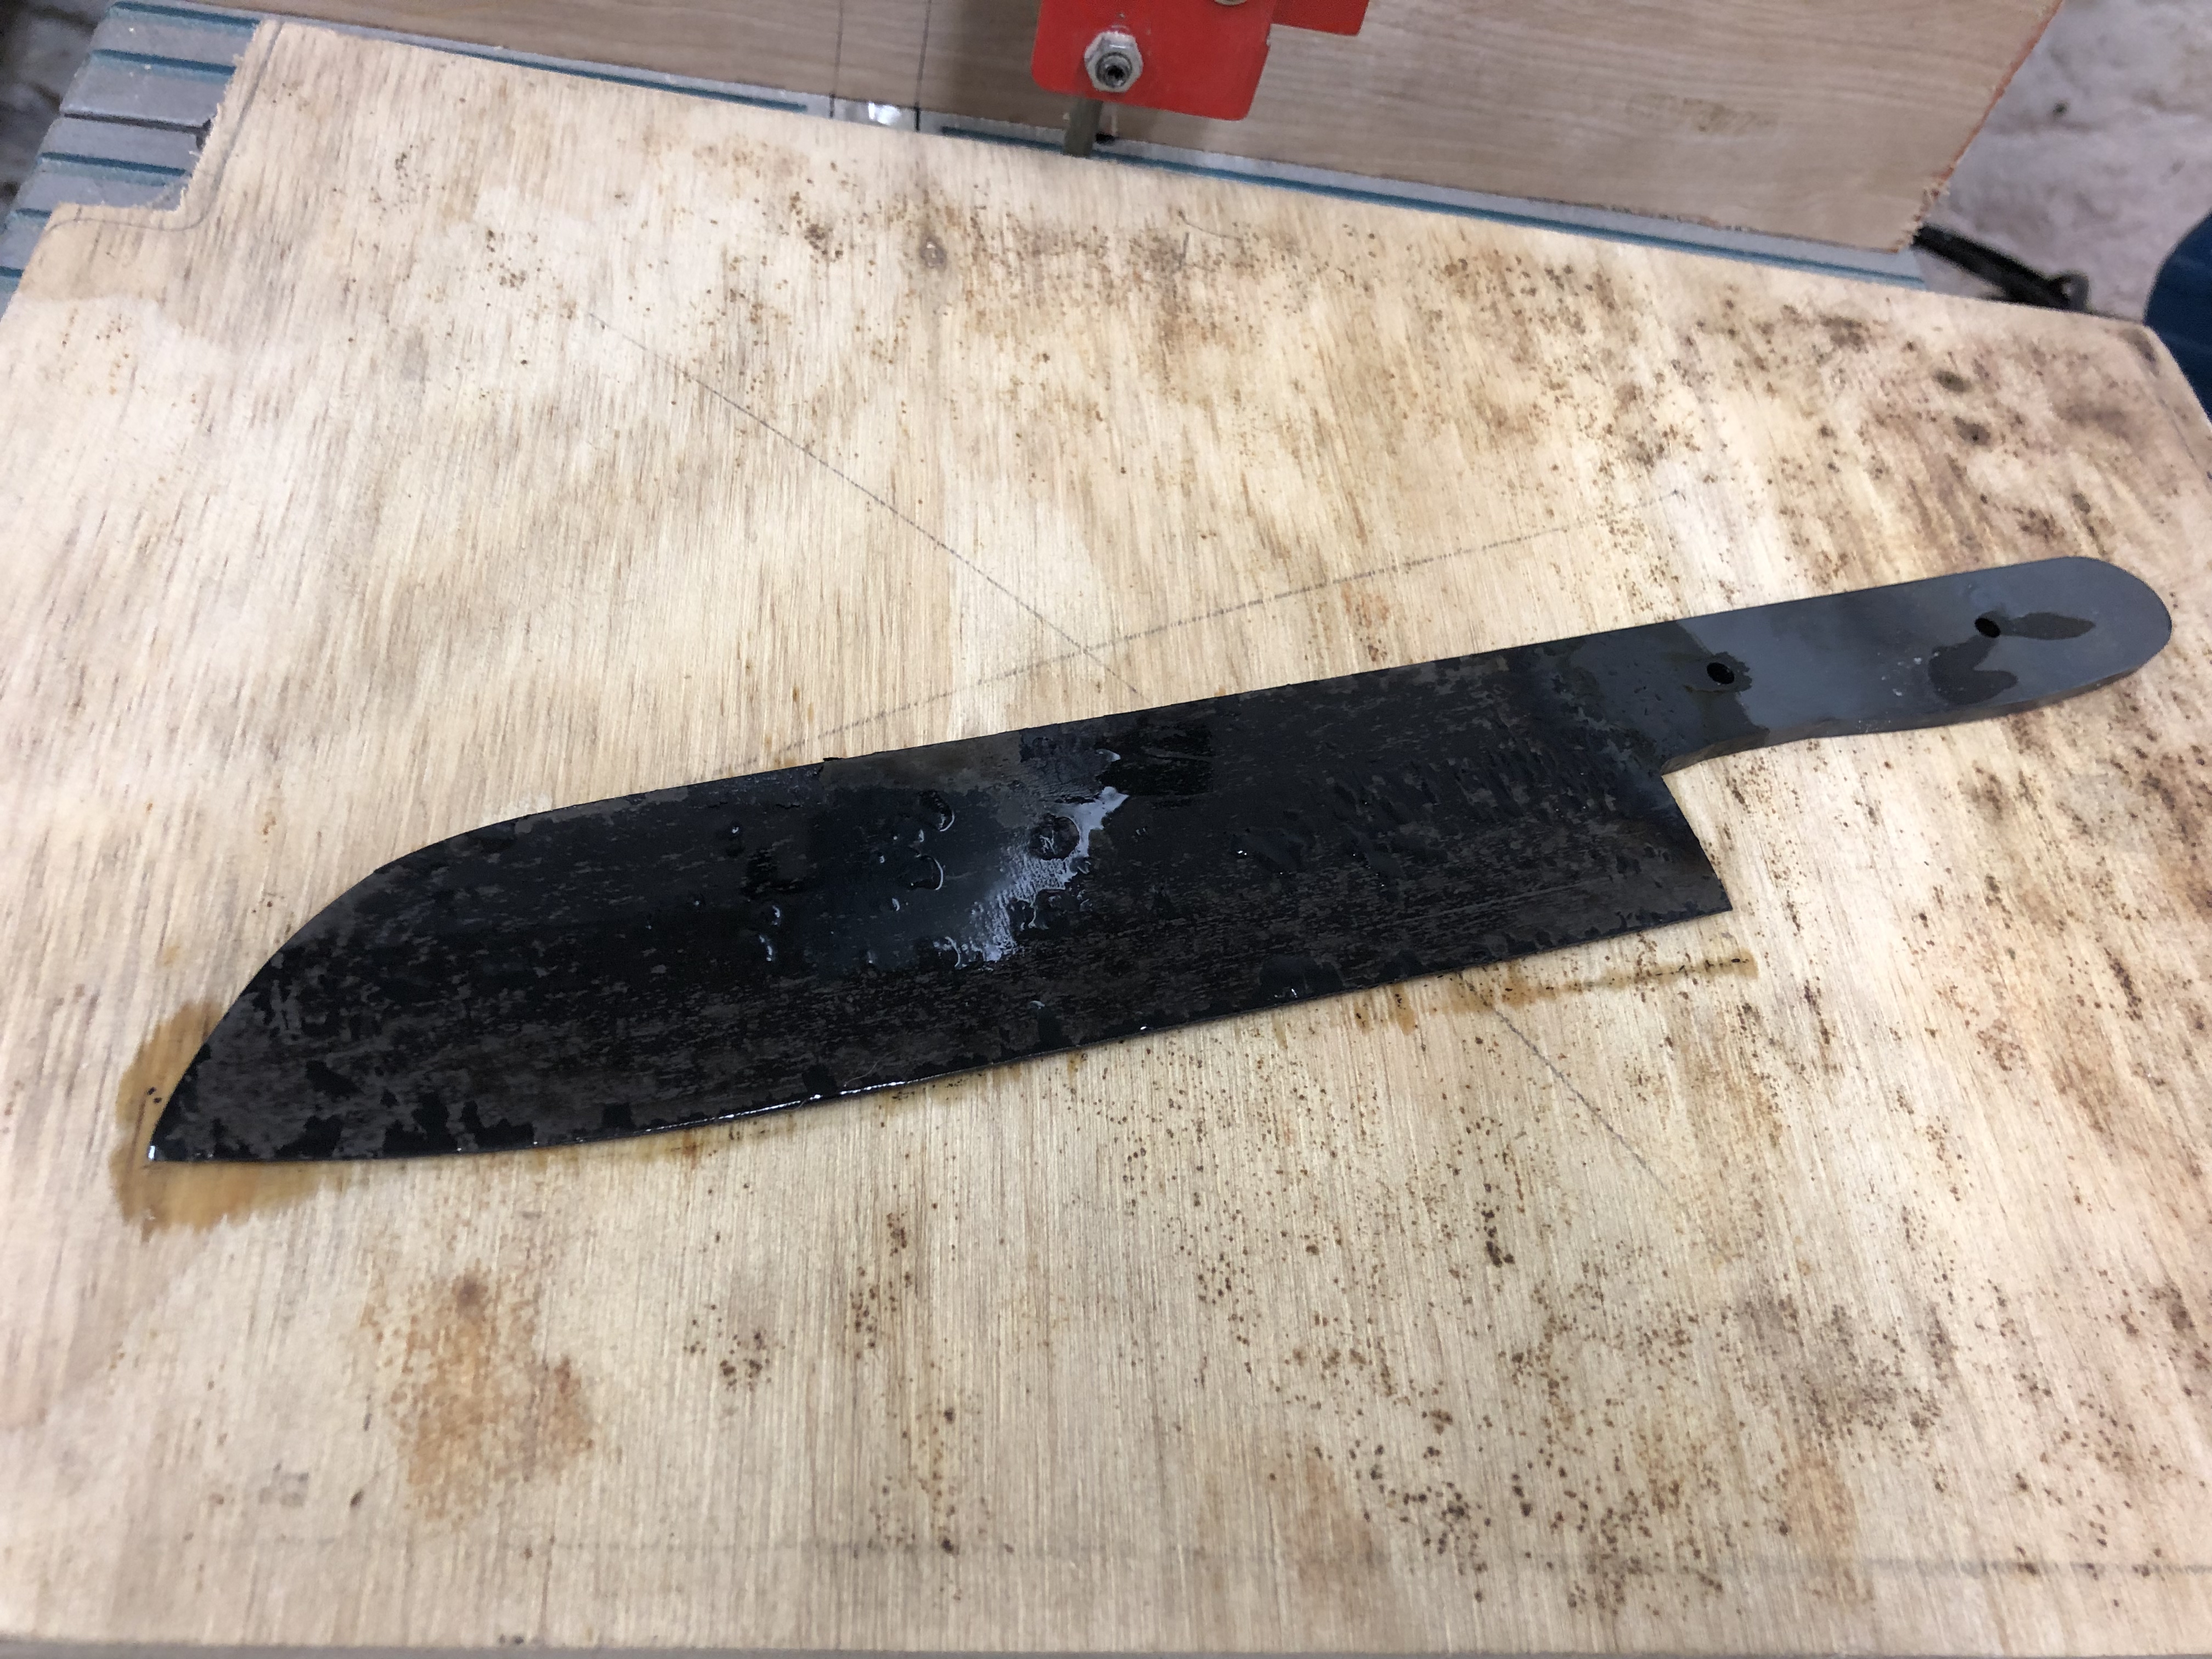
With shaping done, holes drilled and a plan for what happens next, the shaped steel went into the oven to become a knife!
Unfortunately, I failed to write down the heat treat cycle we (Steve) used to, but I believe it was the ‘standard’ for O1, so it’s fairly easy to look up. I should do that now, but Google is over there….
The knife comes out covered in oxidisation and scale and needs yet more sanding to clean it up and remove the last of the major scratches.
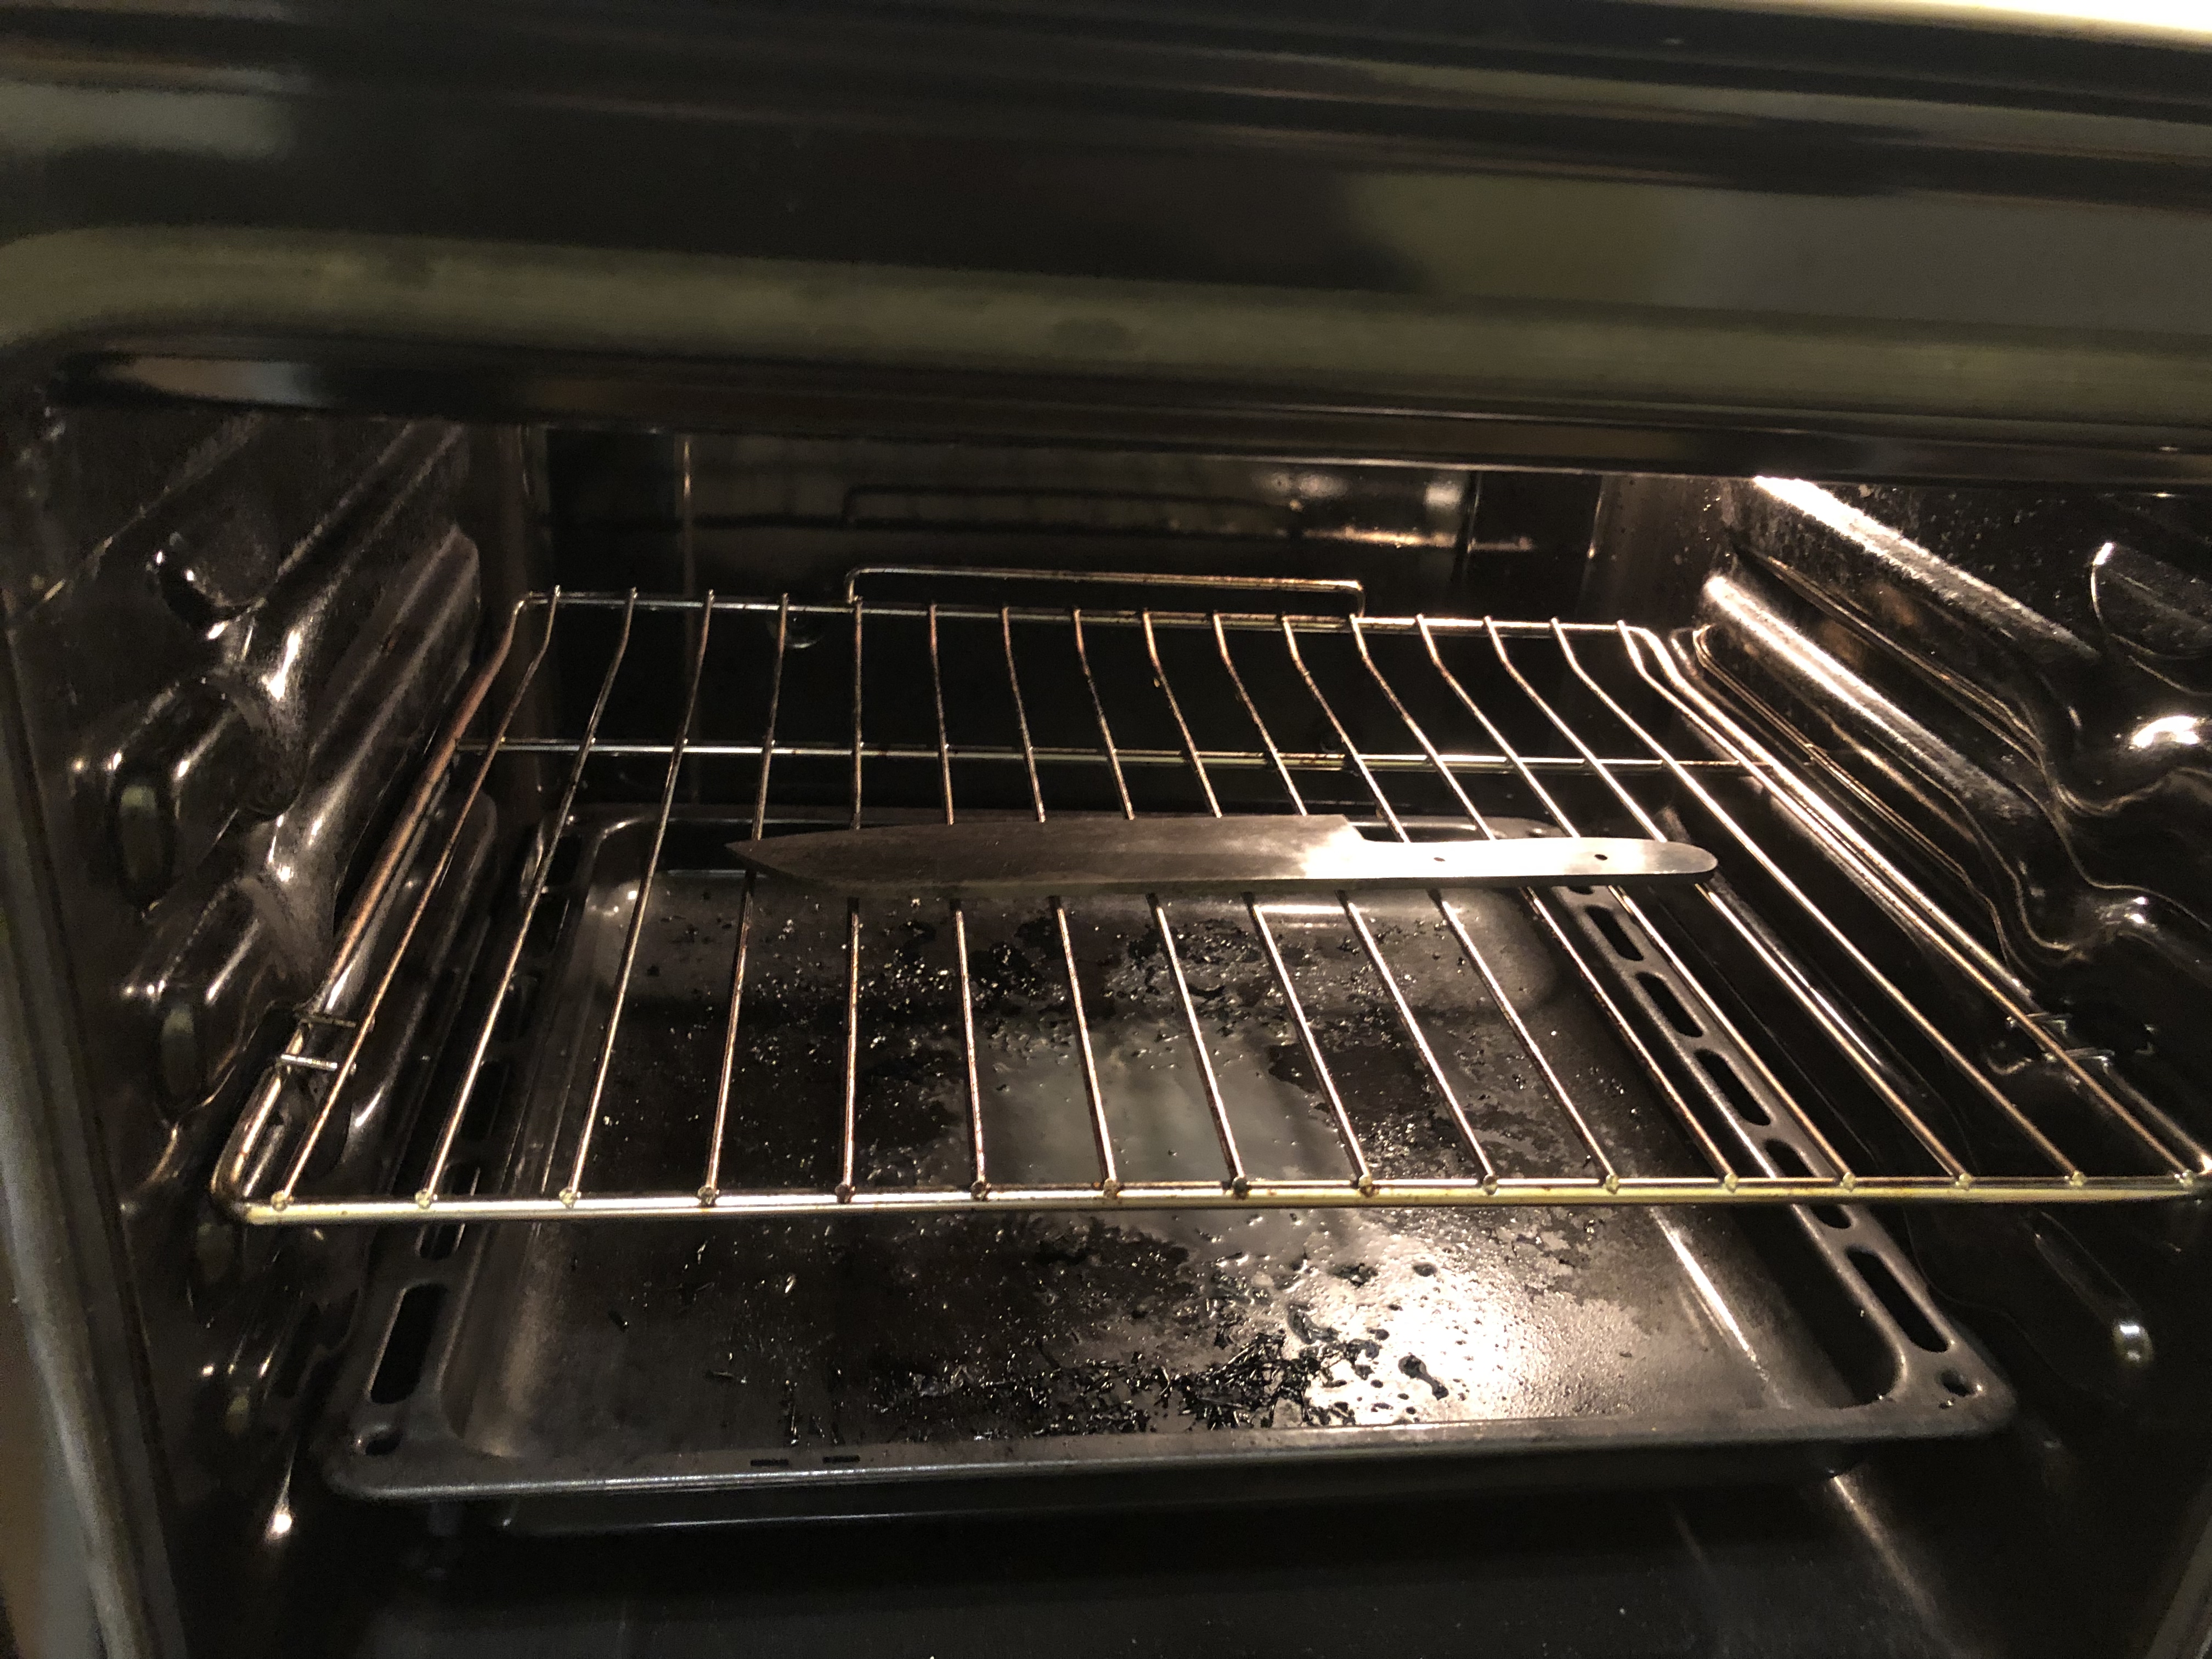
And then, home to put the now much-too-hard knife into my home oven for an hour or so at 200C to temper the hardness back down so it doesn’t instantly shatter the first time it hits a chopping board. Yes, I need to clean the oven.
Attaching The Handle
The handle material was a lovely ikea chopping board, also provided by Steve. It’s a cheap piece of bonded bamboo, but that works great for this purposes. Bamboo is already heavily used in kitchen equipment (mostly chopping boards) for it’s reasonable durability and resistance to staining. Sounds ideal for a kitchen knife.
I don’t have many pictures of this process, though I do have some video that I might try and edit up.
Rough cut the handle, temporarily stick the sides (scales) to the blade and mark out where to drill the holes, shape the front edge of the scales (as you can’t get to this once the scales are fully attached). Drill the holes out for the Corby pins, using the special corby-pin-drill-bit thing that I don’t understand how it works, but is basically pre-measured magic.
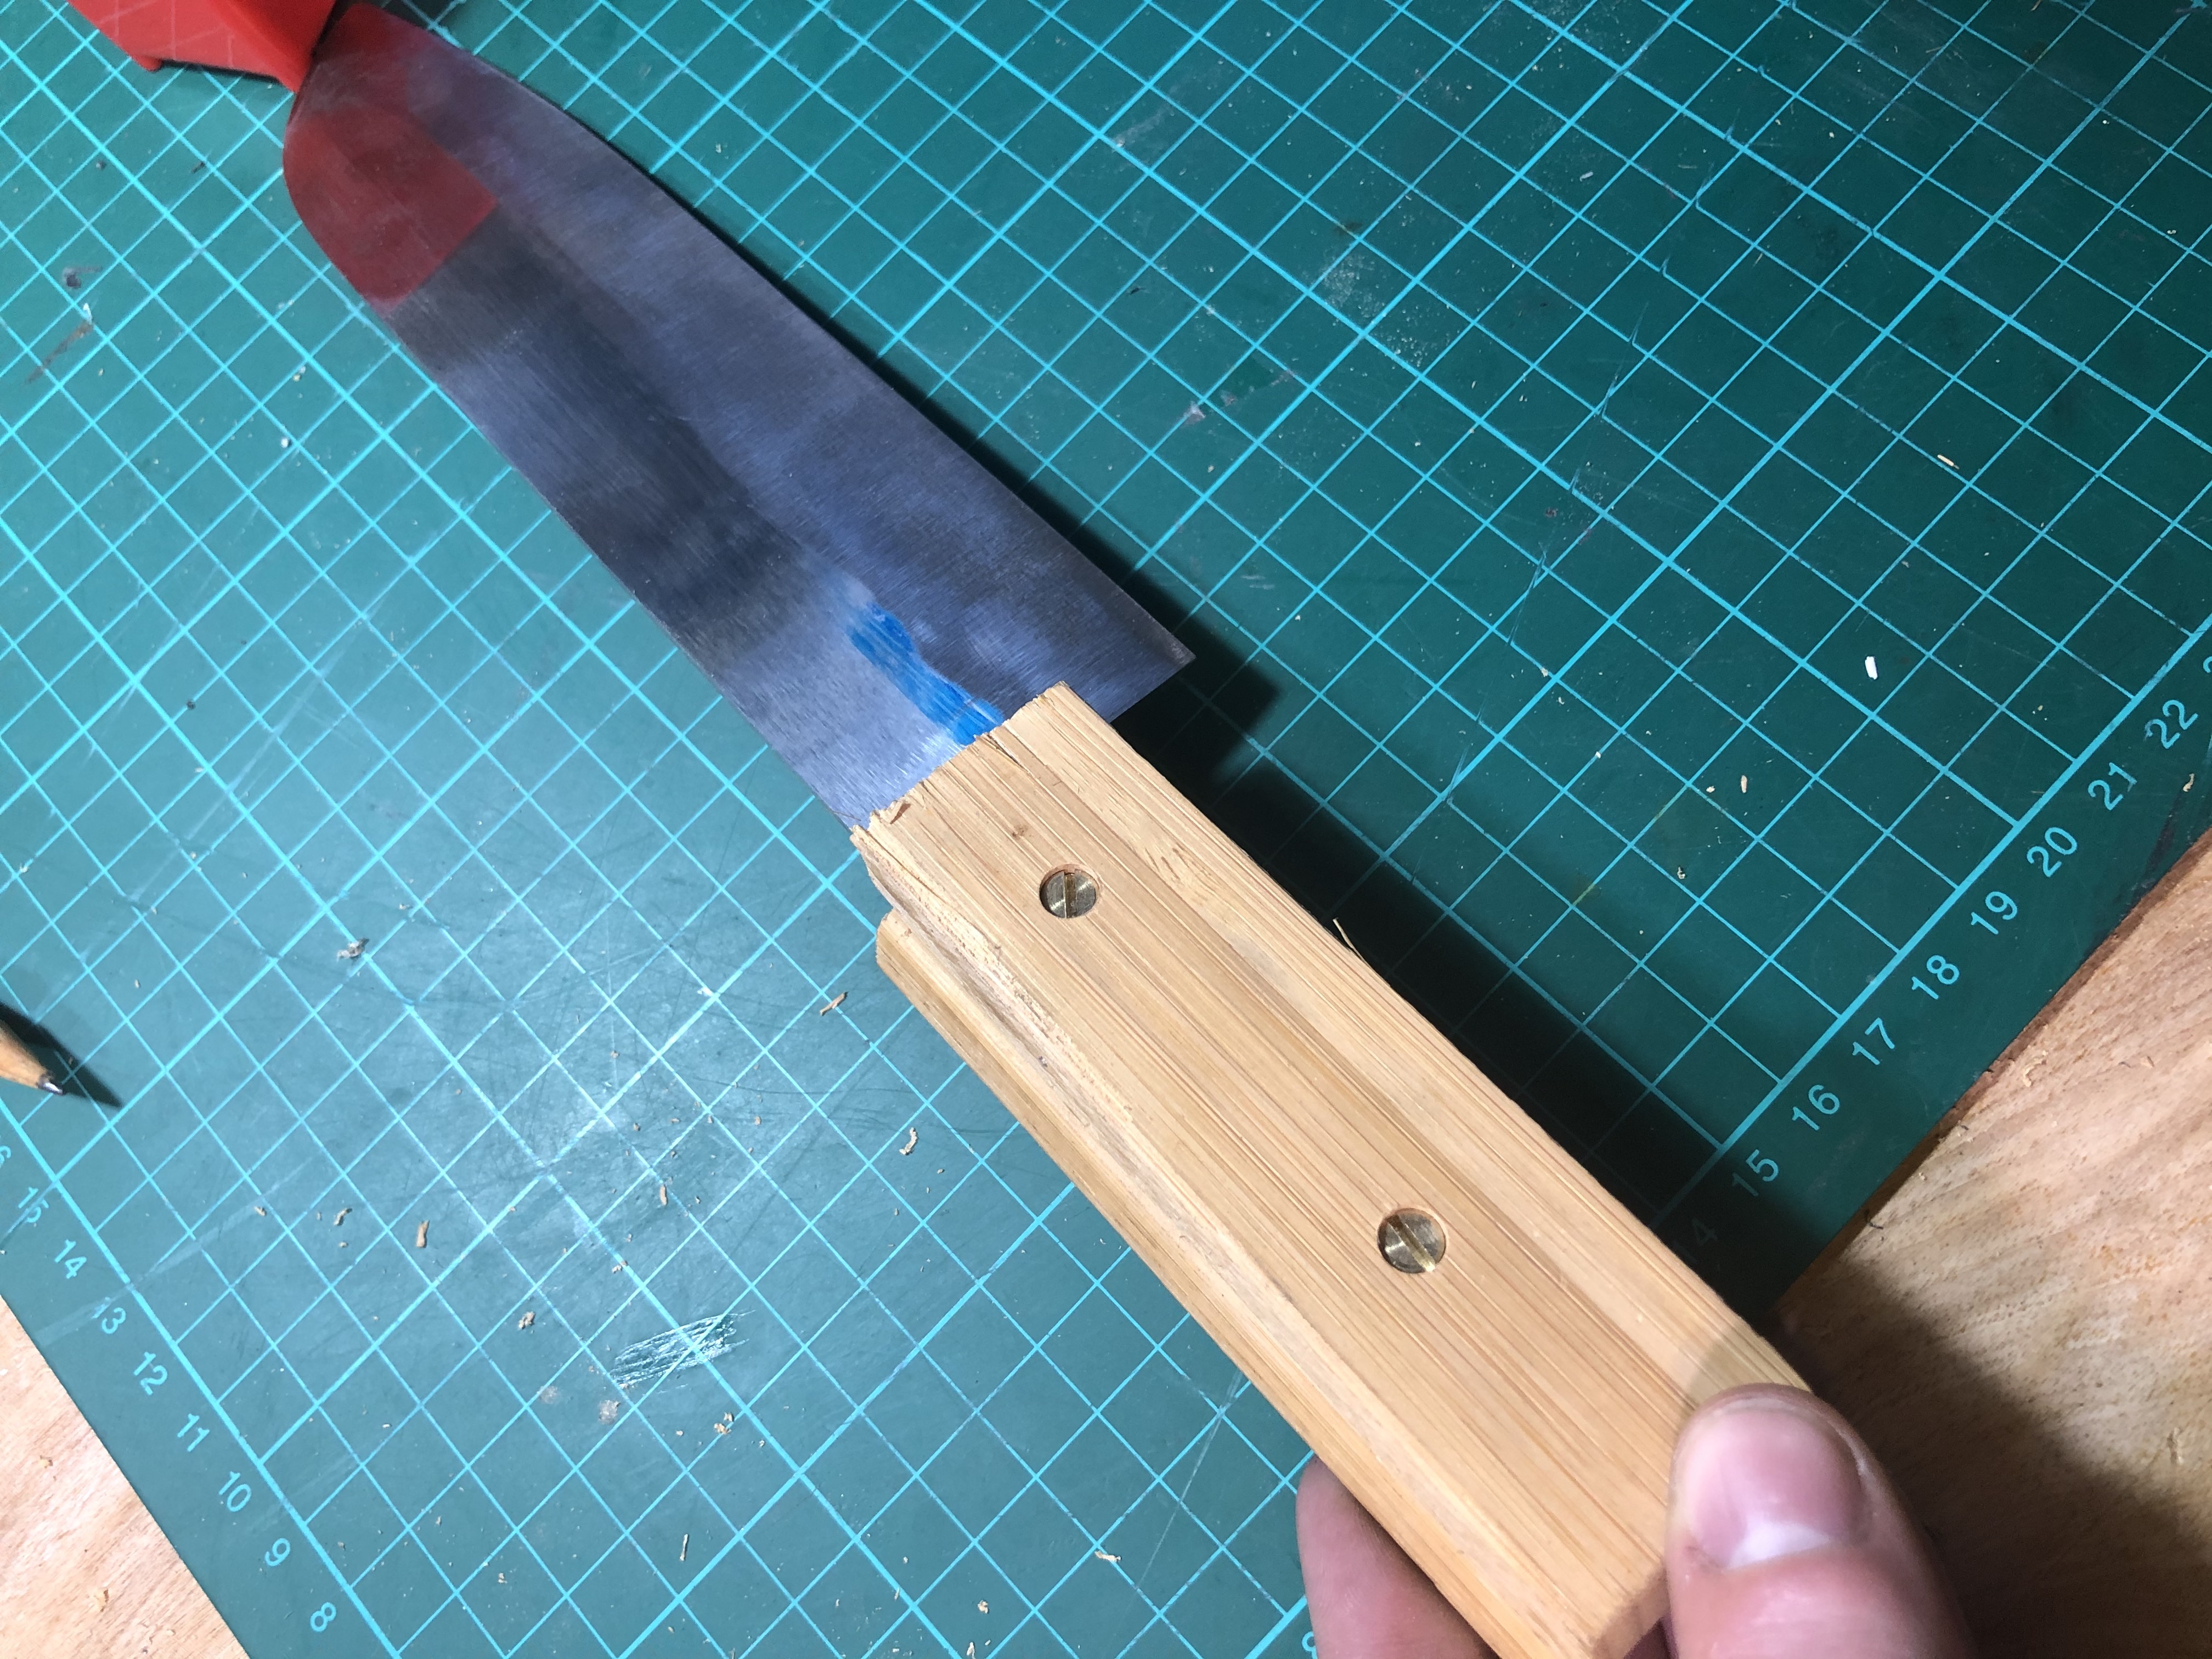
This is where I maybe made a mistake, I then epoxied the scales down and started shaping them. I think I would have been better doing more handsanding on the blade, as once the scales are attached, it gets quite awkward to work the blade.
But, shape the handles, shiny up the blade.
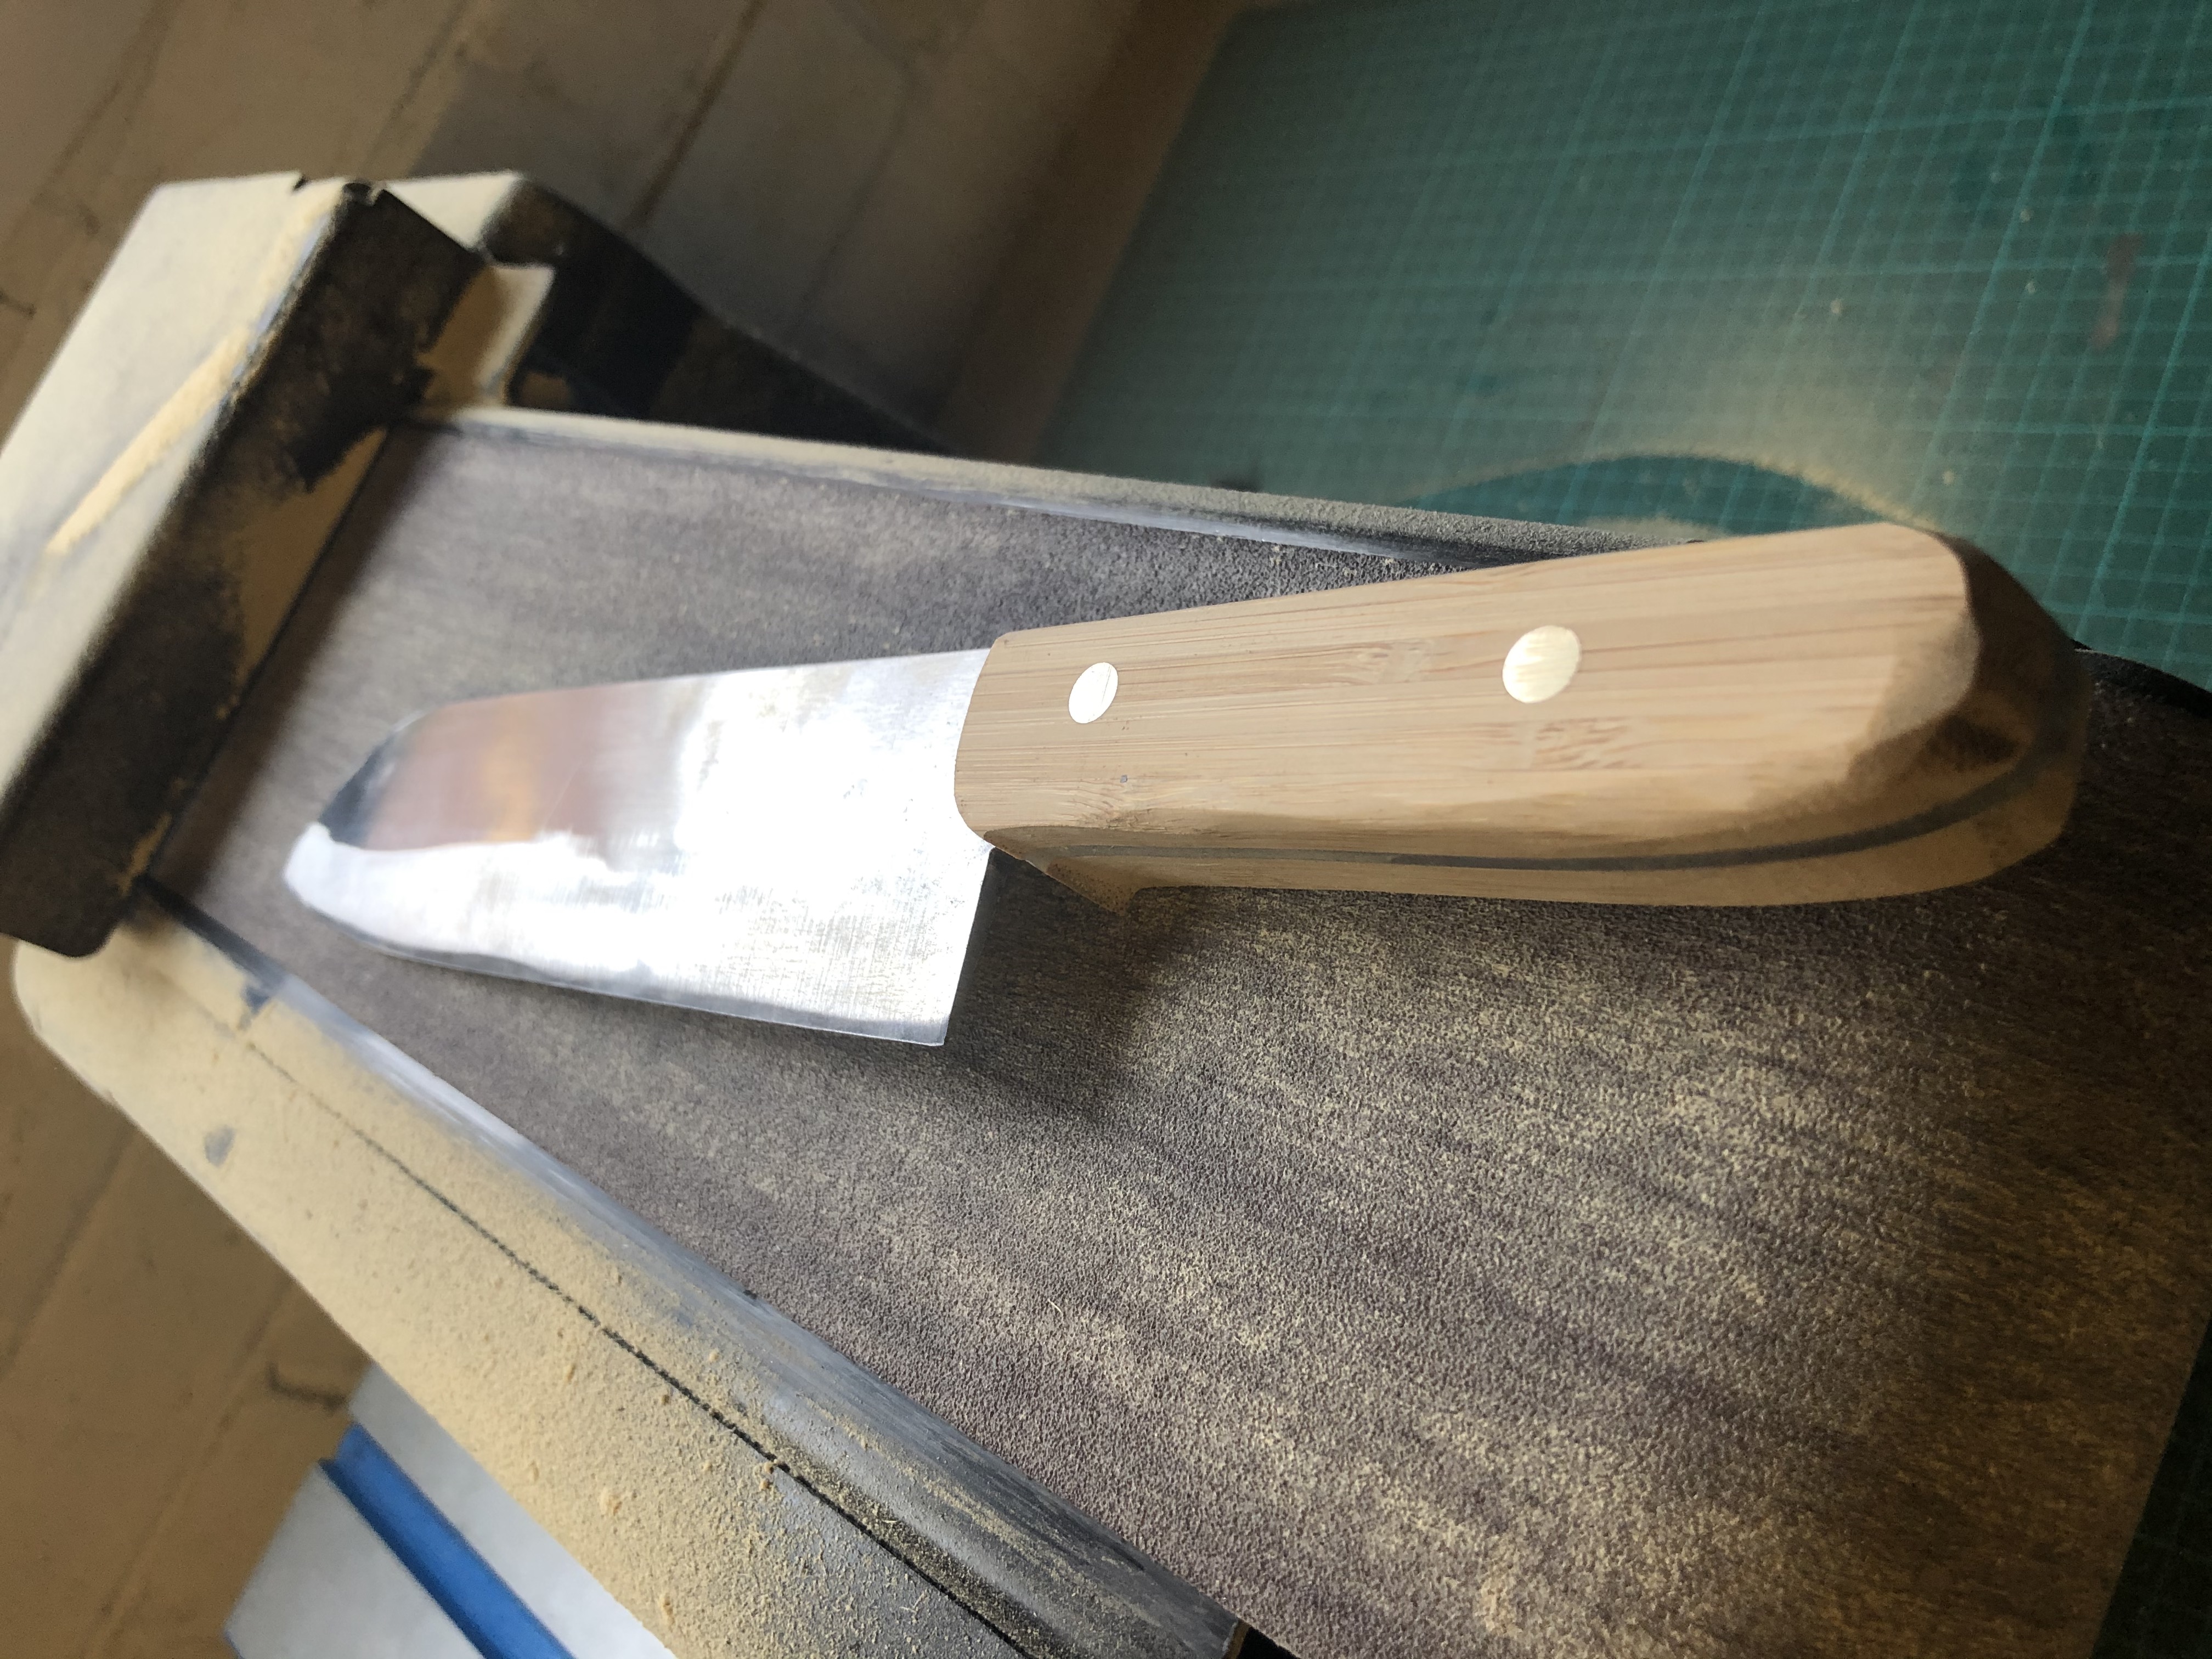
Sharpening
To sharpen this, I eventually ended up buying a cheap knife sharpening jig and stones from Amazon. I was struggling to get the right edge by hand, the jig did make it easier, but doesn’t help with my overall practice.
Result And Analysis
The lighting in my kitchen is atrocious and I’m too lazy to take another photo, but it didn’t turn out half bad.
There’s a couple of problems with it.
- The balance is poor. It’s front weighted due to the thickness of the blade and no bolster.
- It rusts. O1 steel isn’t great in a kitchen.
- A cut wanders slightly. I think the main bevel needs to be thinner at the bottom. The transition from edge to bevel is too steep, so the edge will be pushed slightly.
- Finish could be better. More sanding, more of the time.
All in though, I’m happy with it. For a first attempt on a relatively difficult build for a beginner, I’m happy that I’ve got something usable out of it. More soon!
Suppliers
A list of suppliers and places I used, so I can find these again when I lose them.