3.7g Servo Analog Gauges
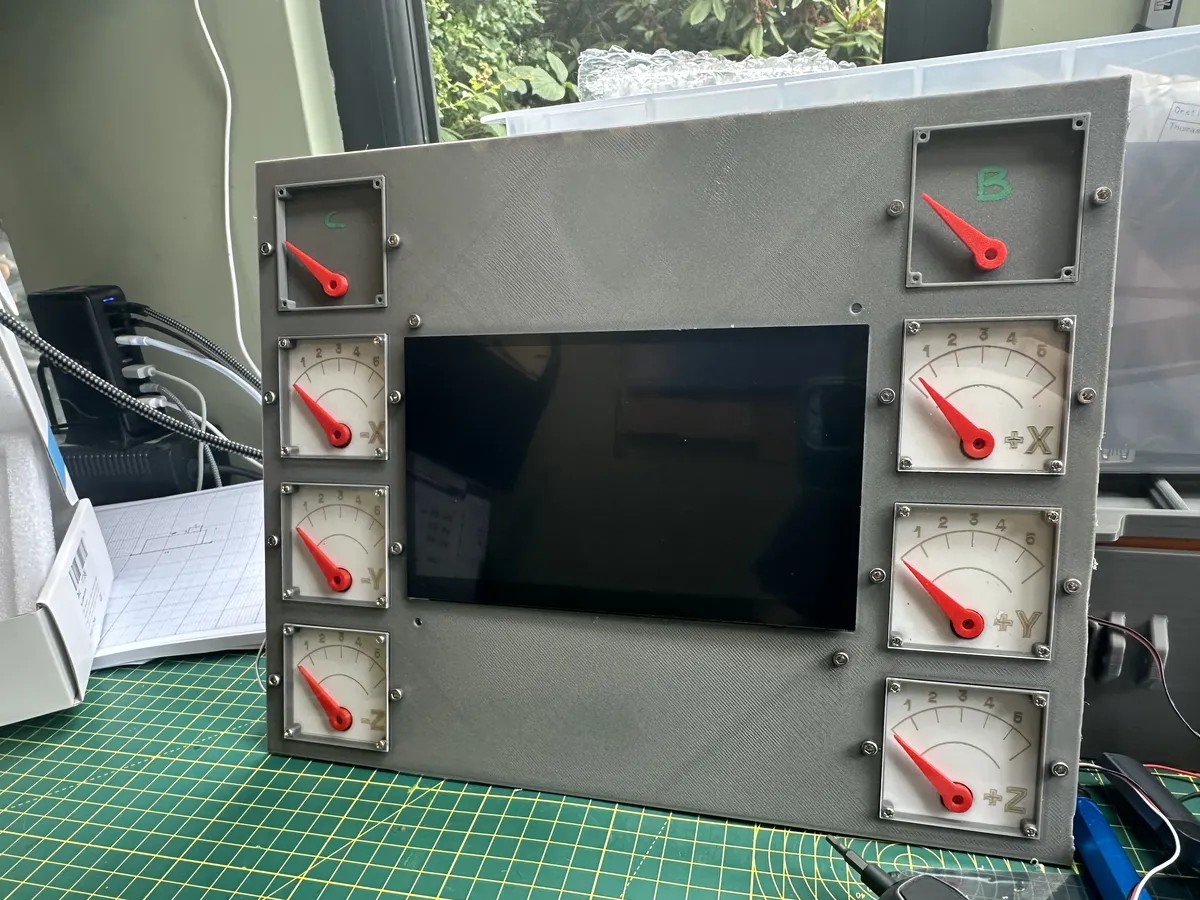
As part of an ongoing project to create an interactive display based around the CubeSatSim that I have been lent I thought it would be nice to display the Solar Panel and Battery voltages in a way that was more than just 'numbers on a screen'.
Initially I thought I'd use something like the analog dial gauges, either the voltmeter or ammeter variants.
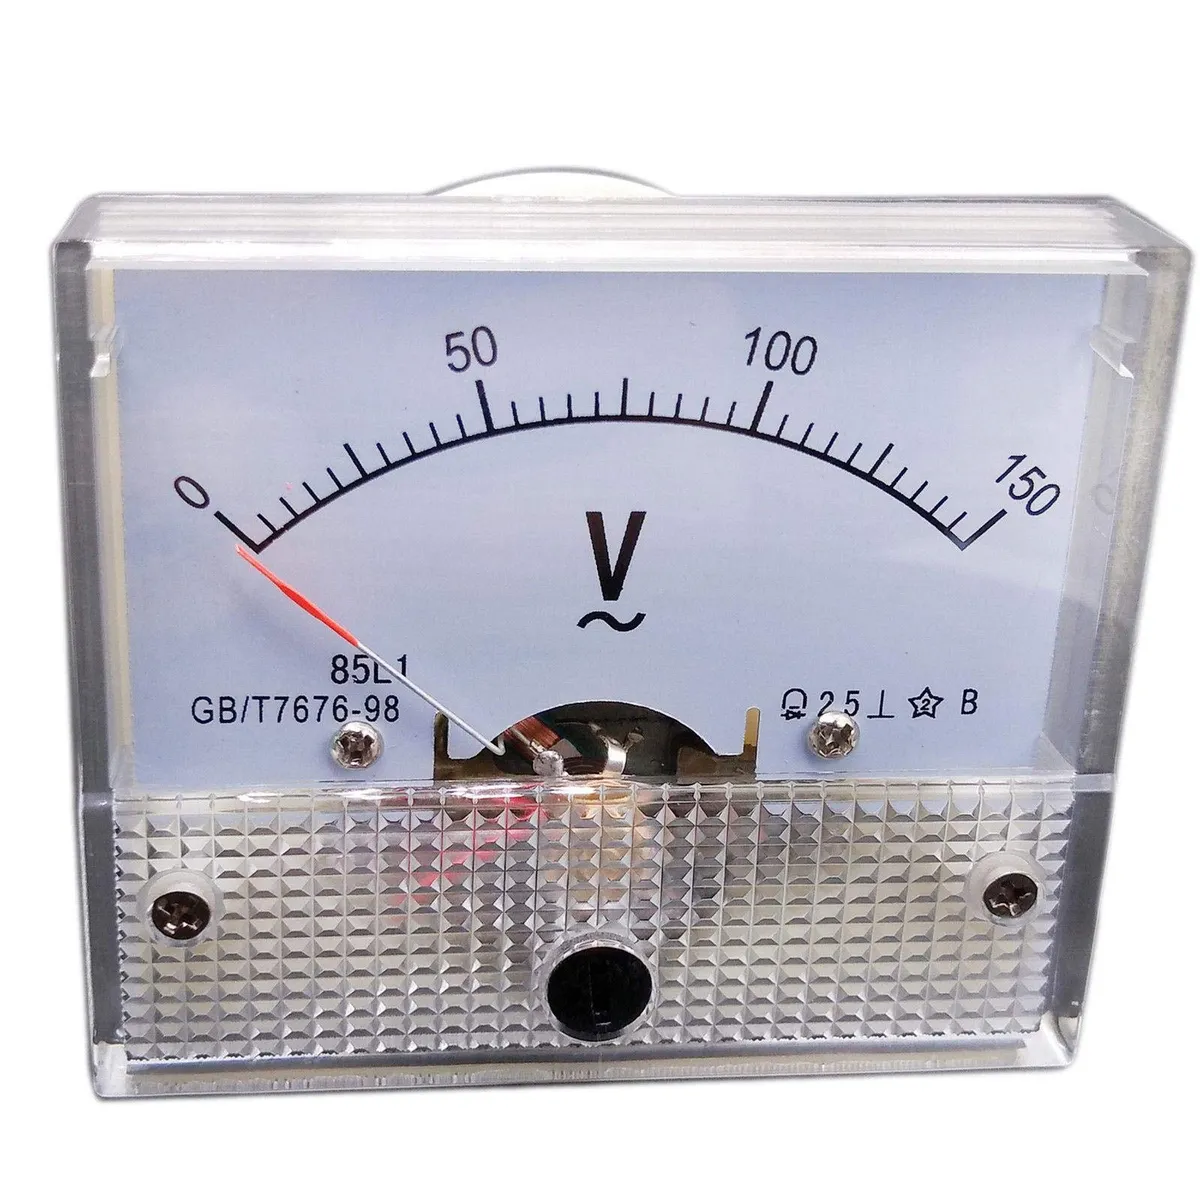
However, these turn out to be surprisingly expensive and I need 0-6V, which appears to mostly not exist as an off the shelf product.
A further problem with this concept is that I'd ideally like to have at least 8 of them in the display, all driven from a single Raspberry Pi. This is fairly hard to arrange. You can PWM drive the Pi pins to get a 'fake' analog signal from 0-3.3v, which would work, but then you'd still need a custom backing for the gauge to display the 'correct' values.
Instead, my thoughts turned to servo motors. I've seen people use servos for driving gauges in a few projects and it would appear to be a good fit here.
A set of 5 '3.7g servos' is £16 on amazon and an I2C 16 channel controller board is a further £9, meaning that 8 gauges would be around £4.35 each for the mechanical parts and I would have complete control over their movement and configuration from a simple python script, thanks to Adafruit's ServoKit.
Given that, the next question is to work out how to create a viable gauge. With some work in OnShape an initial prototype was created.
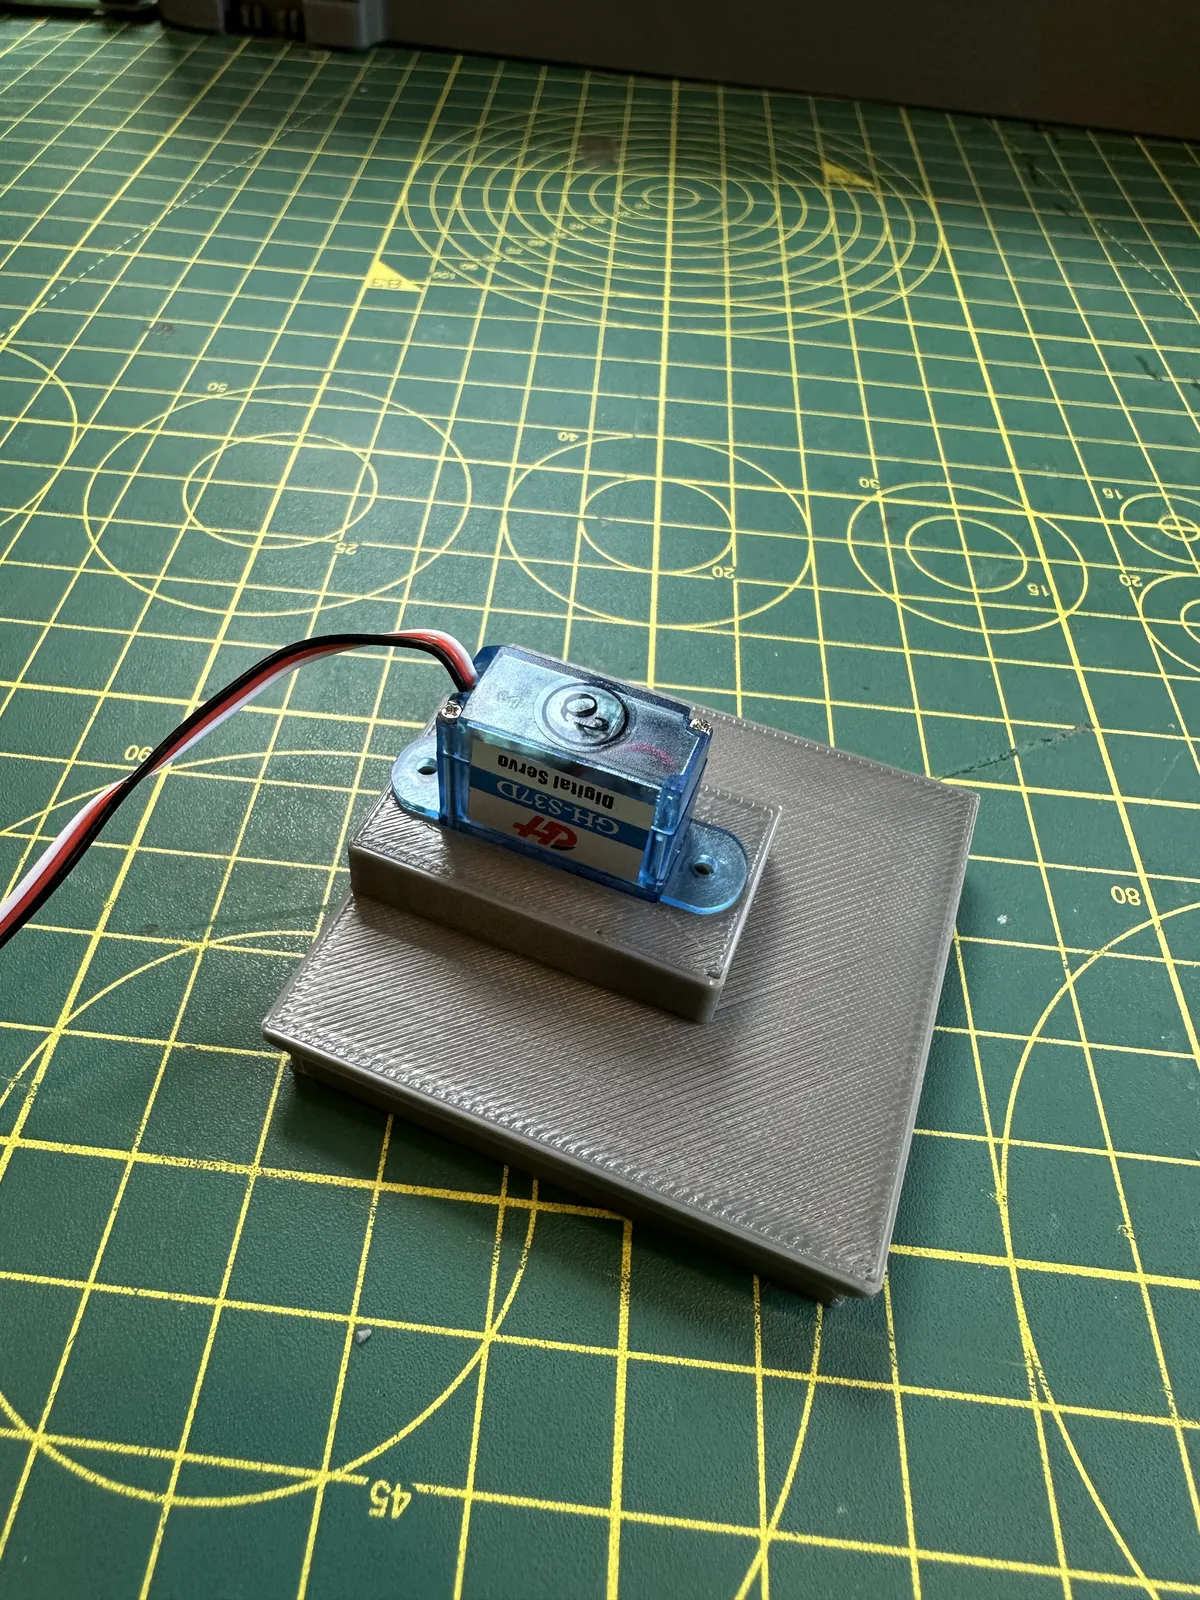
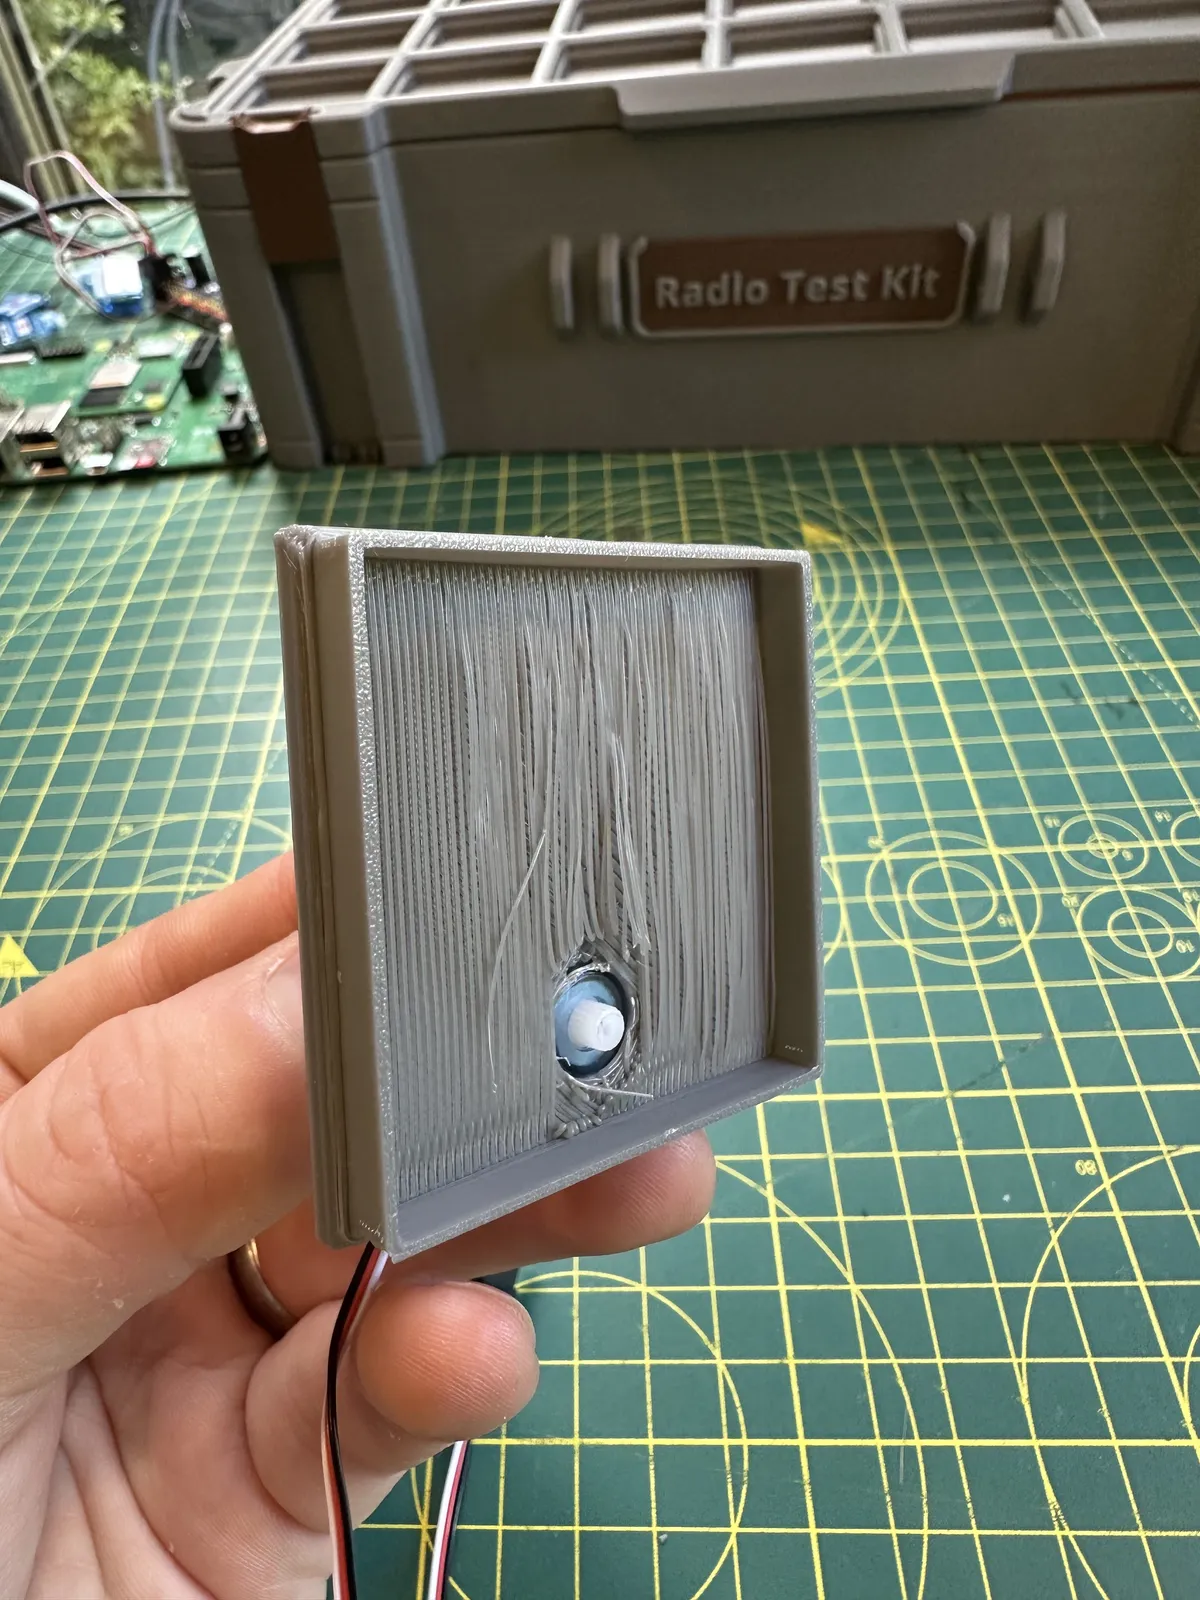
Unfortunately, I made some poor decisions about orientation and printability. However, the overall fit was fine and I was pretty happy with the sizing and there's something quite important missing.
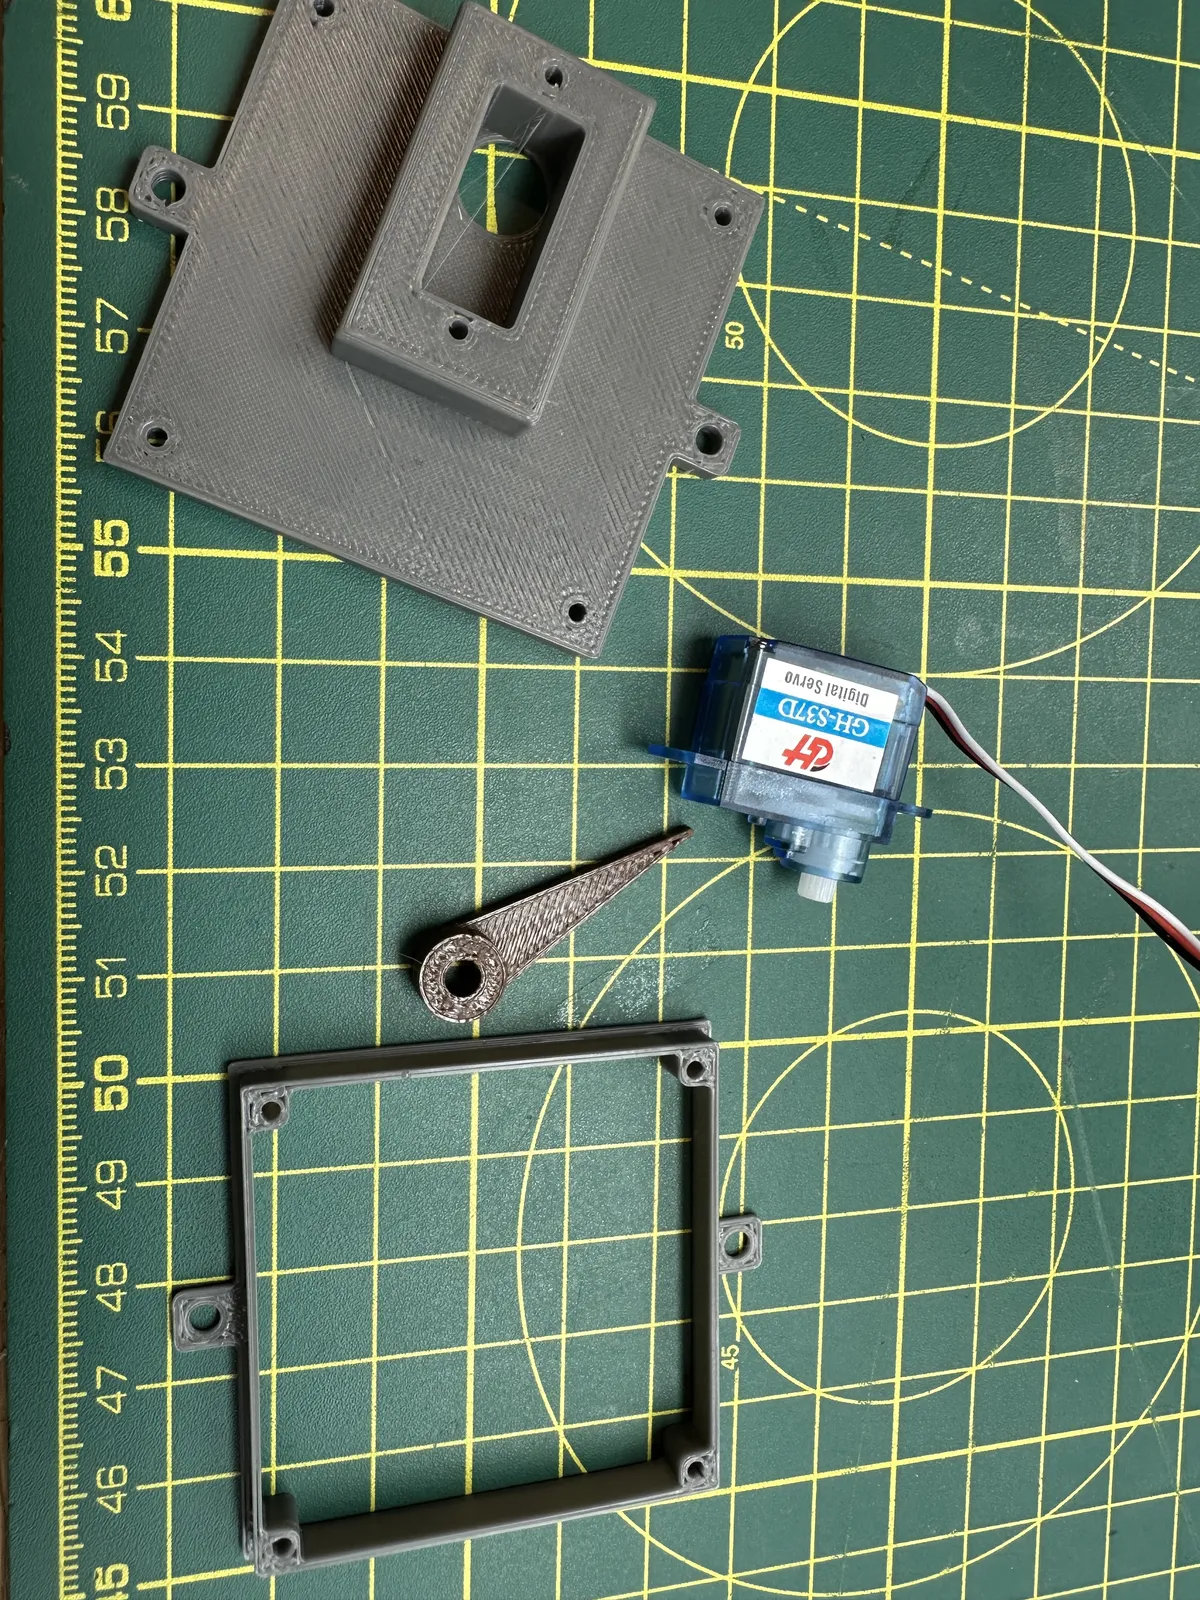
Some more CAD later, I split the gauge into 2 pieces. Both because it meant it was easier to print flat on the bed, and I could design an insert for the dial face. And also designed the important missing piece so I could actually see what the value was.
Dial Face
I recently got trained and inducted on my local hackspace laser cutter, so I made a prototype.
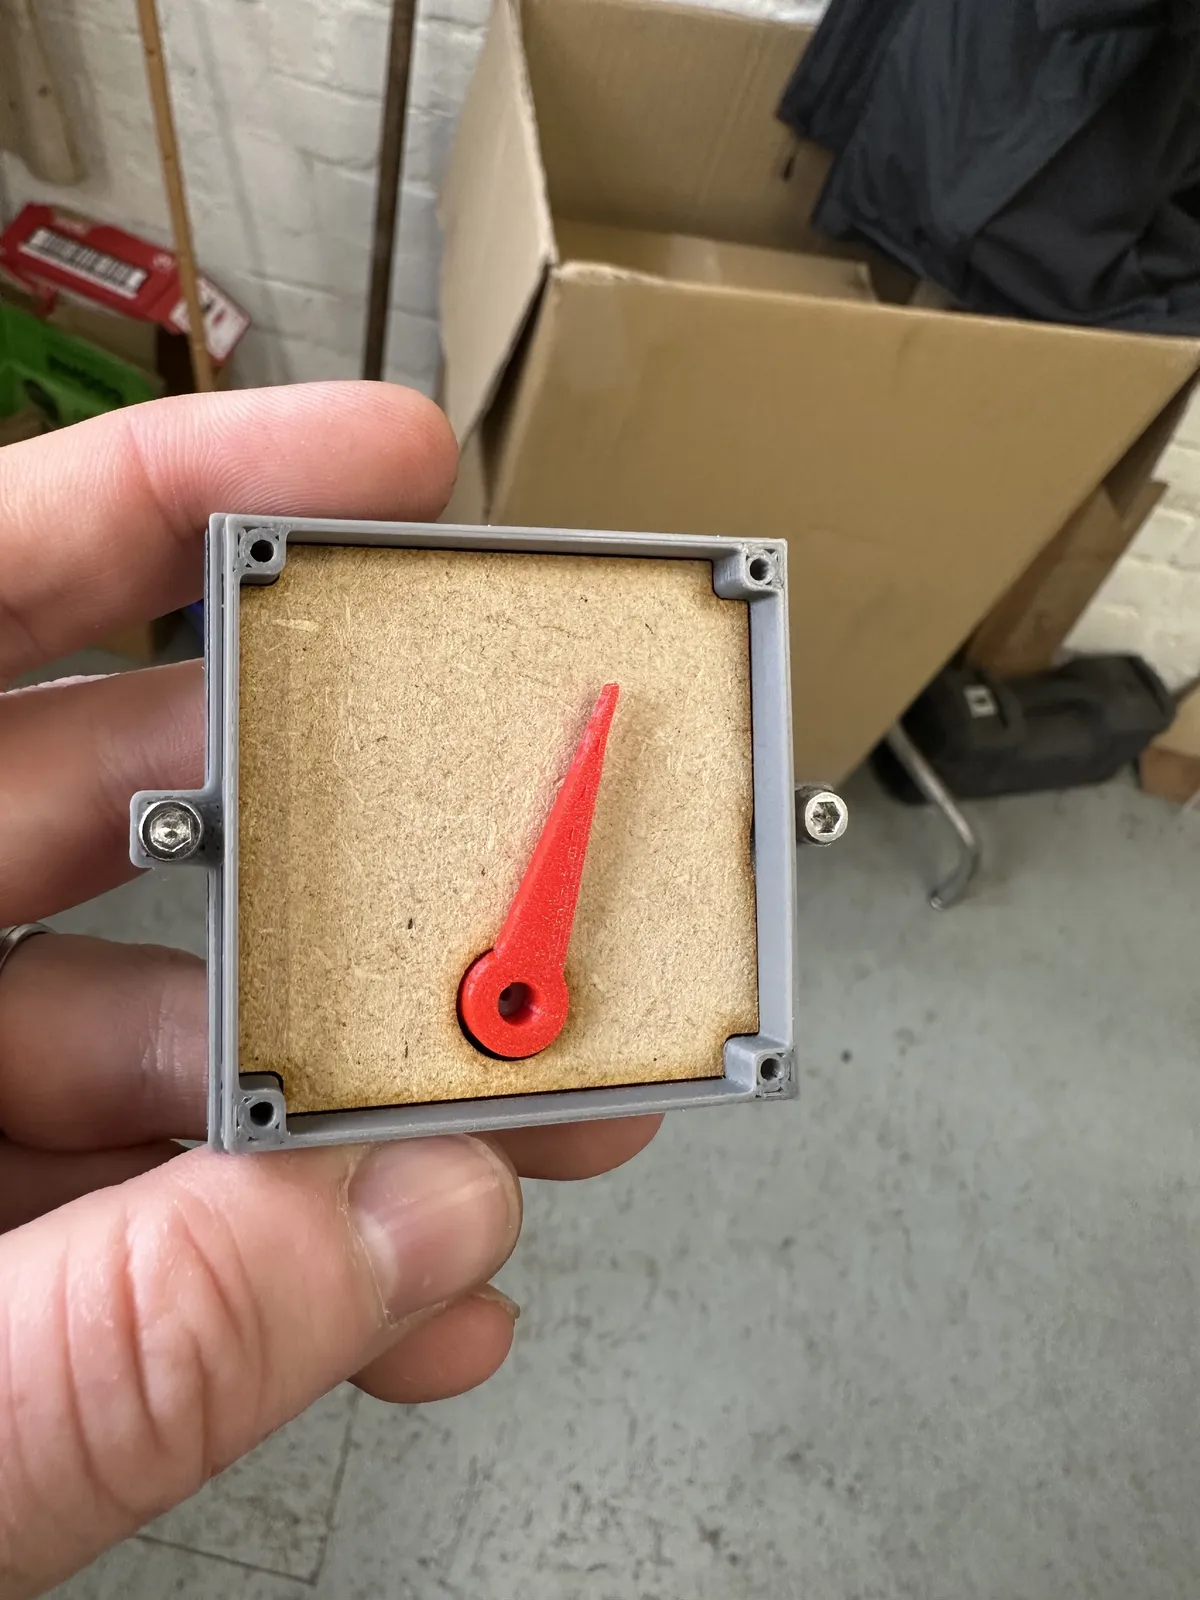
And then with the help of some fancy bilaminate material and some clear acrylic, I had some gauges.